
To find the right organiser box for your wardrobe shelves, you must measure the exact width, depth, and height of your usable shelf space, subtract clearance margins of at least 1 to 2 centimetres on all sides, and match these adjusted dimensions against the manufacturer’s official outer product specifications. Taking these precise measurements prevents the common frustration of buying storage bins that stick out, block sliding doors, or leave large pockets of wasted space. In Singapore’s humid climate, proper sizing also ensures adequate airflow around your clothing, which helps prevent musty odours and mould growth.
Step-by-Step Guide to Measuring Your Wardrobe Shelves
Using a metal measuring tape is the most reliable way to establish a baseline for your wardrobe dimensions. Unlike flexible sewing tapes, metal tapes remain rigid over long distances, allowing you to capture straight-line measurements across wide shelves without sagging. Always measure in centimetres for the highest precision, as even a few millimetres of error can prevent a rigid box from sliding smoothly onto a shelf.
Begin by measuring the width of the usable shelf space from the inner left wall to the inner right wall of the compartment. If your wardrobe features adjustable shelf pegs, support brackets, or vertical partition panels, measure the distance between these physical obstacles rather than the bare walls. These small hardware pieces often protrude into the storage area and can easily scratch or block a tightly fitted box.
Products mentioned in this guide
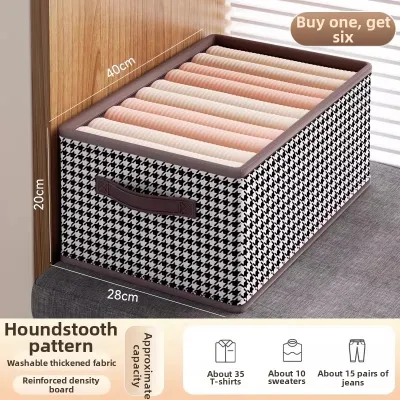
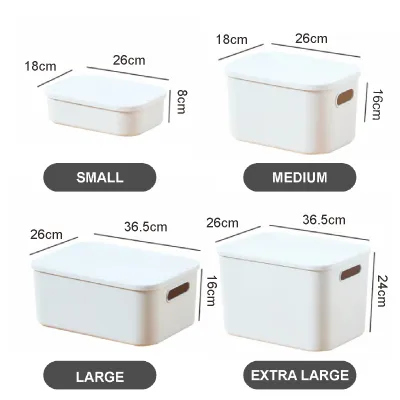
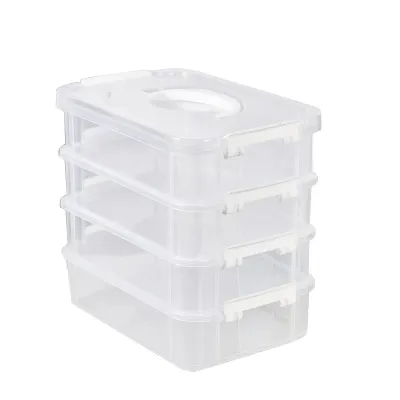
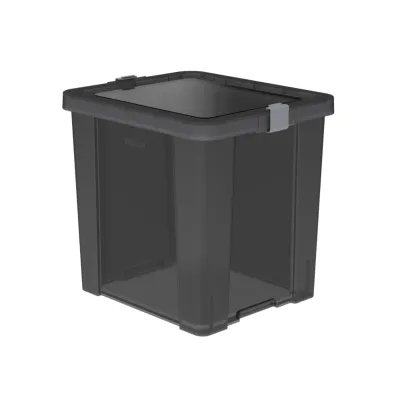
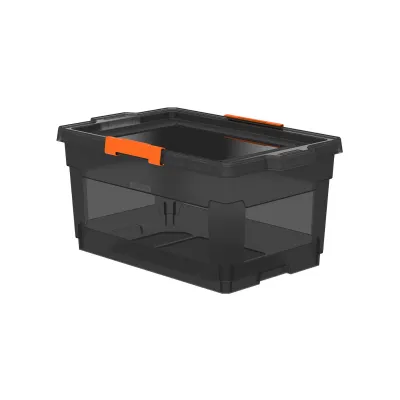
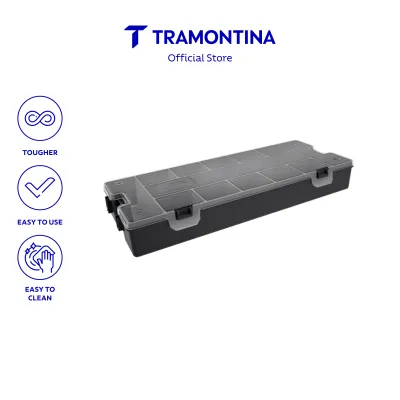
Prices are valid at publication and may change. Please refer to the product page for the latest price.
Next, measure the depth of the shelf from the back wall of the wardrobe to the front edge of the shelf. For wardrobes with sliding doors, measure only up to the rear edge of the door track rather than the very front of the shelf. If your wardrobe has hinged doors, ensure you measure up to the point where the door sits when fully closed, as doors that close flush against the shelves will compress any protruding storage containers.
Measure the vertical height from the top surface of the shelf to the underside of the shelf or frame directly above it. It is highly recommended to take this measurement at both the front and the back of the compartment. Older wooden wardrobes or custom built-in units can sag slightly in the middle over time, resulting in a height clearance that is slightly shorter at the back than at the front.
Finally, verify these dimensions across multiple shelves within the same wardrobe unit. Even if the shelves appear identical, minor structural variations during installation can result in different clearances. Measuring each shelf individually ensures you do not buy a set of identical boxes only to find that half of them do not fit.
How to Calculate the Ideal Organiser Box Dimensions
Once you have recorded your raw shelf measurements, you must calculate the maximum allowable outer dimensions for your organiser box by subtracting a safety clearance margin. A practical guideline is to deduct 1 to 2 centimetres from both the width and the height, and 2 to 3 centimetres from the depth. This simple adjustment ensures that your boxes will slide in and out effortlessly without scraping the wardrobe frame.

The clearance gap at the top and sides is particularly important for physical accessibility. It provides enough space for your fingers to grip the edges or handles of the box when pulling it forward. Furthermore, in tropical environments, these small gaps facilitate continuous air circulation, reducing the risk of stagnant air trapping moisture inside your wardrobe.
To determine how many boxes can fit side-by-side on a single shelf, divide your adjusted shelf width by the outer width of the candidate box. For instance, if your shelf has a usable width of 80 centimetres and you want to place two boxes side-by-side, each box should have an outer width of no more than 38 centimetres. This leaves a combined 4 centimetres of wiggle room across the shelf, preventing the boxes from jamming against each other.
When planning to stack boxes vertically, calculate the combined height of the stacked units and ensure it remains at least 3 to 5 centimetres below the upper shelf. This vertical clearance is necessary to let you lift the top box slightly to clear any front shelf lips or door tracks during retrieval. If the fit is too tight, you will find yourself struggling to remove the top box without pulling down the entire stack.
For unusually deep wardrobe shelves, standard boxes can leave a large amount of wasted space at the back. In this scenario, consider placing two shallower boxes in a front-to-back configuration, using the rear box for seasonal garments and the front box for daily wear. For shallow shelves, look for boxes designed with a portrait orientation, where the depth is greater than the width, to maximise the limited frontage.
Choosing the Right Organiser Box Type for Your Space
Selecting the appropriate box style depends heavily on your measured dimensions and the specific items you plan to store. Rigid plastic or heavy-duty cardboard boxes offer excellent structural support and are ideal for heavy items like jeans or sweaters, but they have zero flexibility. If your shelf measurements are tight or slightly uneven, rigid boxes leave no room for error and must be sized conservatively.
Collapsible fabric boxes provide a small amount of give, making them a more forgiving option if your measurements are off by a few millimetres. They are highly suitable for storing soft items like t-shirts, socks, or bed linens, and can be folded flat when not in use to save space. When choosing fabric options, check for sturdy internal support panels and breathable materials that resist moisture buildup.
Open bins are best for shelves positioned between waist and eye level, where you can easily reach in to grab items without removing the container. They require less vertical clearance because you do not need extra space to lift a lid. This makes them highly efficient for daily-use items like undergarments or activewear.
Lidded boxes are preferable for high shelves or long-term storage, as they protect clothing from dust and allow for stable stacking. However, they require a larger vertical clearance margin so you can comfortably lift the lid or slide the entire box out from a tight shelf gap. Always ensure the lid’s overhang is included in your depth and width calculations, as some lids extend up to a centimetre beyond the box walls.
Always check the manufacturer’s official product label or online specification sheet for the exact outer dimensions, including any protruding handles, lids, or decorative trim. Do not rely on generic size labels like “Medium” or “Large,” as these terms are not standardised across different brands and can lead to costly purchasing mistakes.
Common Sizing Mistakes and How to Avoid Them
One of the most common errors is confusing the inner storage capacity of a box with its outer physical dimensions. Thick-walled plastic bins, woven baskets, and boxes with overhanging lids often have outer dimensions that are significantly larger than their internal storage space. Always use the outer dimensions for shelf compatibility and the inner dimensions to estimate how much clothing the box can actually hold.
Another frequent oversight is ignoring the path of the wardrobe doors and the protrusion of hinges. Hinges on swing doors often stick out several centimetres into the shelf space, while sliding door tracks can block the front edge of the shelf, preventing you from sliding a wide box straight out. Measure the clearance with the doors fully open to identify these potential obstructions.
Never assume that all shelves within a single wardrobe unit share identical dimensions. Even in mass-produced modular furniture, middle shelves are sometimes fixed for structural stability and may have different vertical clearances than the adjustable shelves above or below them. Measure every single level where you plan to place a box.
Avoid buying organiser boxes in bulk before testing a single unit on your shelves. Purchasing one test box allows you to verify the fit, check the ease of handling, and ensure the material suits your wardrobe’s microclimate before investing in a complete storage system. This cautious approach saves time, money, and the hassle of returning bulky items.
Frequently Asked Questions (FAQ)
Should I leave space between organiser boxes on the shelf?
Yes, leaving a small gap of about 1 to 2 centimetres between organiser boxes is highly recommended. This space provides essential finger clearance, allowing you to grip and pull individual boxes forward without dragging the adjacent containers along with them. It also prevents friction damage to delicate box materials, such as fabric or woven straw, and ensures adequate air circulation around your clothing.
What if my wardrobe shelves are not perfectly square?
If your wardrobe shelves are slightly warped, sloped, or out of square, always use the narrowest measurement you recorded as your maximum limit for rigid boxes. Alternatively, opt for flexible fabric or soft felt organiser boxes, which can gently conform to minor structural irregularities without warping or getting stuck. Avoid heavy, rigid plastic or wooden crates on uneven shelves, as they will wobble and may scratch the interior finish of your wardrobe.
Community discussion
Share your experience or ask a question. Comments are reviewed before publication.