
To select the correct wood strip for a furniture edge repair, you must measure the exact thickness and width of the damaged edge, identify the profile shape, and choose a wood species that matches the original piece. A successful repair depends on preparing a clean substrate, calculating a margin for trimming, and selecting an adhesive compatible with both the wood strip and the furniture core. Taking precise measurements and matching the wood characteristics ensures the repaired edge blends seamlessly and withstands daily use.
Assessing the Damage and Preparing the Edge
Before purchasing any replacement materials, you need to evaluate the condition of the damaged furniture edge. Inspect the entire length of the edge to determine whether you can patch a small section or if you need to replace the entire strip. Partial patches can save material but are often harder to blend seamlessly, whereas a full-length replacement provides a uniform appearance along the entire side of the furniture.
Next, you must prepare the bonding surface by removing all remnants of the old edge. Use a chisel, scraper, or sandpaper to clear away old adhesive, loose wood fibers, and dirt until you reach a flat, stable surface. Any remaining bumps or old glue will prevent the new wood strip from sitting flush, resulting in weak bonds and visible gaps.
Products mentioned in this guide

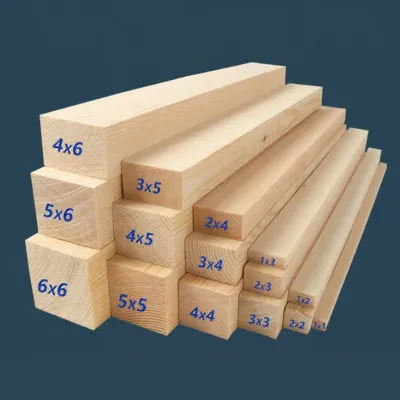
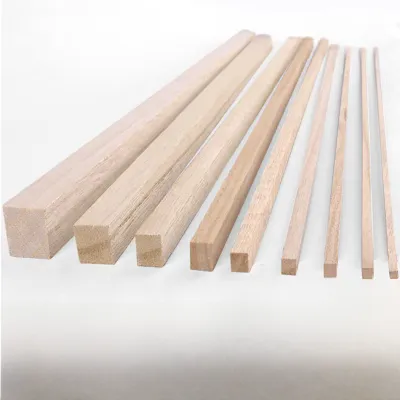
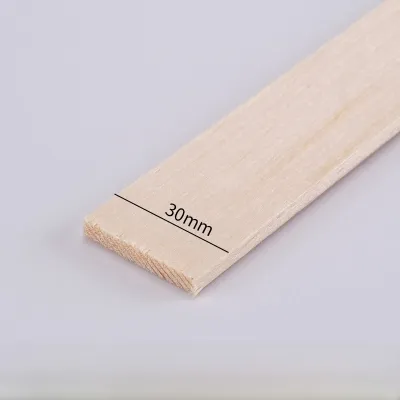
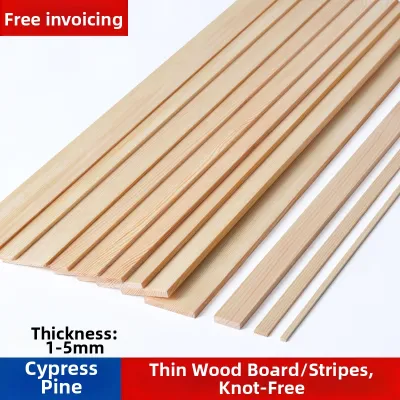
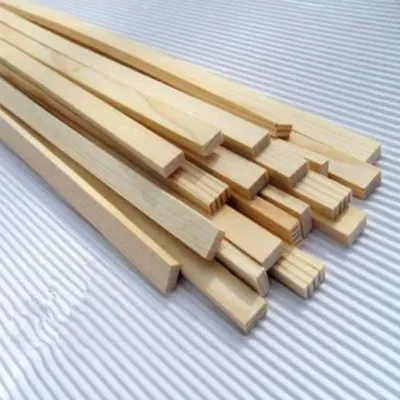
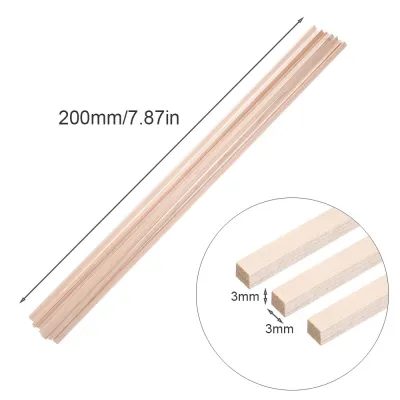
Prices are valid at publication and may change. Please refer to the product page for the latest price.
Identifying the underlying substrate material is crucial because it dictates how you prepare the surface and which adhesive you should use. Solid wood substrates are highly receptive to standard wood glues, while engineered cores like particleboard or medium-density fibreboard (MDF) are more porous and fragile. If you are working with particleboard or MDF, take extra care not to gouge the core during cleanup, as these materials can crumble easily and compromise the structural integrity of the repair.
Measuring Dimensions for a Precise Fit
Accurate measurements are the foundation of a clean, professional-looking edge repair. Use a digital caliper or a high-precision ruler to measure the thickness of the existing edge or the exposed substrate. Relying on a standard tape measure can lead to slight discrepancies that become highly visible once the new wood strip is installed.

When measuring the width of the edge, you must account for the shape or profile of the piece. For a flat, square edge, measure the exact distance from the top surface to the bottom surface of the panel. If the edge has a rounded or bevelled profile, measure the widest point of the profile and plan to purchase a slightly wider strip that you can trim down to match the exact contour later.
Calculate the total linear length of the edge repair and add a waste margin of at least 10 to 15 percent. This extra length accounts for cutting errors, mitred corners, and grain matching, ensuring you have enough material to complete the project without running short. If you are repairing multiple edges, measure each one individually rather than assuming they are identical, as manufacturing tolerances and wear can cause minor variations.
Identifying the Correct Wood Strip Profile
Matching the profile of your new wood strip to the existing furniture design is essential for both visual harmony and safety. The most common profile is the flat or square edge, which is typically used on modern, clean-lined tables, shelves, and cabinets. This profile is straightforward to align and trim, making it an excellent choice for simple repairs.
For furniture with softer lines or in high-traffic areas, you will often encounter a bullnose or rounded profile. Rounded edges are less prone to chipping from accidental impacts and are safer in households with active movement. Another common option is the bevelled or chamfered profile, which features an angled cut along the edge to create a distinct, light-catching shadow line.
When sourcing your replacement wood strip, evaluate whether a standard off-the-shelf profile will suffice or if you require a custom-milled piece. Standard profiles are readily available at local timber merchants and home improvement stores, making them cost-effective and convenient. However, if your furniture features a unique historical molding or an unusual thickness, you may need to consult a local workshop to mill a custom strip that matches the original specifications exactly.
Choosing the Right Wood Species and Finish
Selecting the appropriate wood species involves balancing durability, environmental stability, and aesthetic compatibility. Hardwoods, such as oak, teak, and walnut, are generally selected for their density, which helps them withstand daily wear when properly finished. However, their resistance to dents and scratches depends heavily on the protective topcoat applied and the specific use environment. Softwoods, like pine or cedar, are easier to cut and shape but are more susceptible to daily wear and tear.
In regions with high humidity, such as Singapore, wood is prone to expansion and contraction as moisture levels fluctuate. To prevent the repaired edge from warping, splitting, or pulling away from the substrate, select a wood species known for its dimensional stability and verify its care requirements. Checking the manufacturer’s guidelines or consulting a local timber specialist can help you verify how a specific wood species behaves under local environmental conditions.
To achieve a seamless repair, you must match the grain pattern and color of the replacement strip to the main furniture body. If you plan to apply a stain or varnish, test the finish on a scrap piece of the same wood species first to ensure the color matches after drying. If the original furniture is painted, choose a close-grained wood species that accepts paint smoothly without showing prominent grain lines through the topcoat.
Selecting Adhesives and Fastening Methods
The longevity of your edge repair depends heavily on choosing the right adhesive for your specific substrate and wood strip. Polyvinyl acetate (PVA) wood glue is highly effective for bonding solid wood strips to solid wood or MDF substrates, providing a strong, reliable bond under normal conditions. For areas exposed to moisture or temperature fluctuations, a polyurethane adhesive or water-resistant wood glue offers enhanced durability.
If you are bonding a wood strip to a non-porous or highly unstable substrate, contact cement can provide an immediate, high-strength bond. However, contact cement allows for no repositioning once the surfaces touch, requiring precise alignment on the first attempt. Always check the adhesive manufacturer’s instructions regarding open time, application temperature, and substrate compatibility before starting.
For heavy-use edges or thicker wood strips, relying solely on glue may not be sufficient. In these cases, consider supplementary mechanical fasteners, such as headless pins, brad nails, or internal splines, to reinforce the joint. If you use nails or pins, ensure they are countersunk slightly below the wood surface so you can fill the holes with matching wood putty before applying the final finish.
Installation and Finishing Steps
To begin the installation, apply a thin, even layer of adhesive to both the prepared substrate and the back of the wood strip. Avoid applying excessive glue, which can cause the strip to slide out of alignment and result in messy squeeze-out that is difficult to clean. Position the wood strip carefully, ensuring it overhangs the edges slightly on all sides to allow for precise trimming later.
Secure the strip in place using clamps, masking tape, or specialized edge clamps to maintain consistent pressure while the adhesive cures. Place scrap wood blocks between the clamps and the new wood strip to protect the soft wood fibers from being dented by clamping pressure. Allow the adhesive to cure fully according to the manufacturer’s specified drying time before removing the clamps or attempting any trimming.
Once the glue is completely dry, trim the excess wood from the edges to make the strip flush with the main panel. Use a sharp hand plane, a card scraper, or a flush-trim router bit, always working in the direction of the wood grain to prevent tear-out and splintering. Finish the trimming process by hand-sanding with progressively finer grits of sandpaper until the joint between the wood strip and the furniture is completely smooth to the touch.
Protect the newly repaired edge by applying a matching sealant, stain, or topcoat. Apply the finish in thin, even coats, sanding lightly between layers to achieve a professional, durable surface. This final step not only unifies the appearance of the repair with the rest of the furniture but also seals the wood against moisture and daily wear.
Frequently Asked Questions (FAQ)
Can I use veneer tape instead of a solid wood strip?
Veneer tape, or edge banding, is a thin layer of wood or plastic that is primarily cosmetic and designed to cover the raw edges of plywood or particleboard. While veneer tape is easy to apply using an iron, it lacks the structural strength and impact resistance of a solid wood strip. For high-impact areas, load-bearing shelves, or furniture edges prone to bumps, a solid wood strip is necessary to provide physical protection and long-term durability.
How do I fix a wood strip that is slightly too thick?
If your replacement wood strip is slightly thicker than the furniture edge, you can trim it down using manual tools for maximum control. A sharp hand plane or a card scraper allows you to shave off micro-layers of wood gradually without risking the aggressive tear-out associated with power tools. Always work in the direction of the wood grain and check your progress frequently to ensure you do not accidentally shave into the main furniture panel.
Community discussion
Share your experience or ask a question. Comments are reviewed before publication.