
Finding that a shelf has tilted or collapsed because of a broken or missing shelf support is a common household frustration. Replacing these small but critical pieces of hardware requires precise measurement rather than guesswork. A mismatch of even a fraction of a millimeter can cause the support to slip out of its hole, tilt under pressure, or even split the cabinet wall.
To select the correct replacement shelf support, you must accurately measure the existing mounting hole diameter, determine the hole depth, and assess the thickness and weight requirements of your shelf. By taking systematic measurements and verifying the material compatibility of your cabinet, you can restore the structural integrity of your shelving units with confidence.
Tools and Preparation for Measuring Shelf Hardware
Before attempting to purchase replacement hardware, gathering the correct tools is essential for obtaining accurate dimensions. Standard household rulers can sometimes lack the precision needed for tiny hardware measurements, where differences between metric and imperial sizes are common.
Products mentioned in this guide
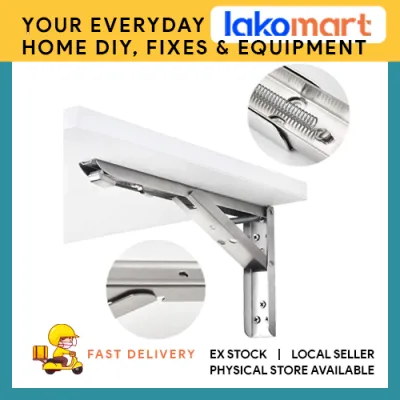
![[SG Local Seller] 10pcs Ecoware Aluminium Shelving / Shelves Support Bracket for Mini Pole](https://img.lazcdn.com/g/ff/kf/S0fac7edb3e2e4b4abbdee97ca7626ab3q.jpg_400x400q80.jpg_.webp)

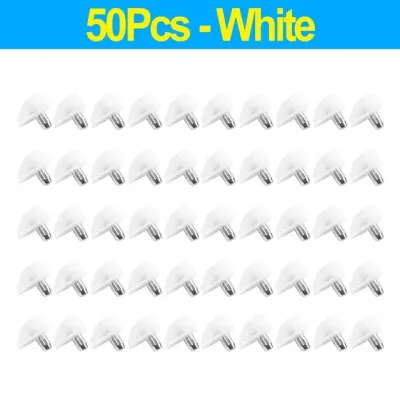
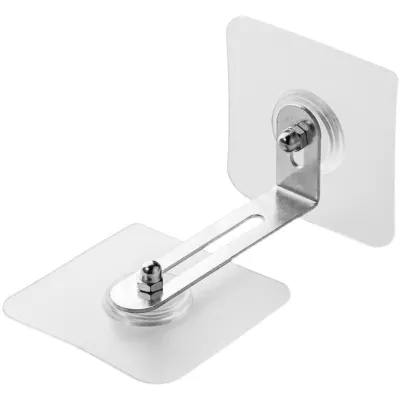
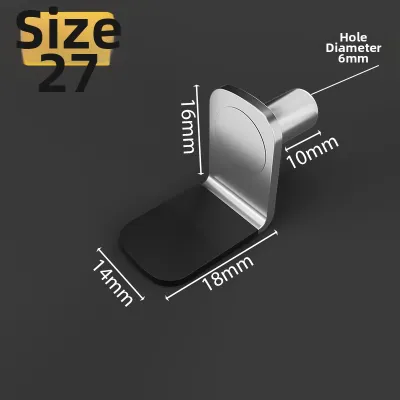
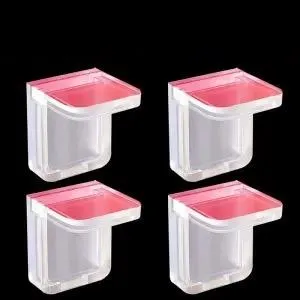
Prices are valid at publication and may change. Please refer to the product page for the latest price.
A digital caliper is the most reliable tool for measuring the internal diameter of cabinet holes and the thickness of existing pins. If a caliper is unavailable, a high-quality tape measure with clear millimeter markings can suffice, though it requires careful visual alignment. You should also have a notepad or a digital device ready to record your findings immediately, preventing memory errors when browsing online marketplaces or local hardware stores.
To prepare the workspace, completely clear the shelf of all items and remove it from the cabinet. Take out any remaining, undamaged shelf supports to use as a reference. Clean the area around the mounting holes using a dry microfiber cloth to remove dust, wood shavings, or debris that might interfere with your measurements.
How to Measure Existing Shelf Holes and Dimensions
Accurate measurements of the cabinet’s mounting holes are the foundation of a successful hardware replacement. The most critical dimension is the hole diameter. To measure this, insert the internal jaws of a digital caliper into an undamaged mounting hole and expand them until they touch the sides. If you are using a tape measure, align the zero mark precisely with one edge of the hole and read the measurement across the widest point of the opening.

Common standard diameters include 5 millimeters and 6 millimeters, as well as imperial sizes like 1/4 inch (approximately 6.35 millimeters) or 3/16 inch (approximately 4.76 millimeters). Because a 5-millimeter pin will wobble and fail in a 1/4-inch hole, verifying this exact dimension is crucial. Always inspect the edges of the hole to ensure the material is not stripped, rounded, or deformed, which can distort your reading.
Next, measure the hole depth to determine the maximum pin length your cabinet can accommodate. Insert a thin, rigid probe—such as the depth gauge of a caliper or a straight toothpick—into the hole until it bottoms out. Mark the point where the probe meets the cabinet wall, withdraw it, and measure that length with a ruler. The replacement pin must be slightly shorter than this depth to ensure it seats fully flush against the cabinet wall without bottoming out or piercing through the exterior veneer of the cabinet.
Finally, measure the shelf itself. Note the shelf thickness and depth using your tape measure. The replacement support must feature a lip, bracket, or flat surface that matches or safely accommodates these dimensions. If the support bracket is too wide, it may protrude past the front edge of the shelf, creating an unsightly appearance and a potential snagging hazard. If it is too narrow, it may fail to provide a stable platform, increasing the risk of the shelf sliding forward and falling.
Evaluating Weight Capacity and Load Requirements
Selecting a shelf support is not merely a matter of physical fit; it also requires evaluating the load-bearing demands of your storage setup. Consider the primary items you plan to store on the shelf. Light decorative items, photo frames, or folded linens place minimal stress on hardware, whereas heavy stacks of books, ceramic dinnerware, or kitchen appliances require robust structural support.
To determine the safe weight limits for your shelving system, start by checking the original manufacturer labels, assembly manuals, or product specifications if they are still available. These documents often outline the maximum load capacity for the entire unit and individual shelves.
In the absence of official documentation, you must evaluate the physical characteristics of your shelving setup. The shelf material and its total span—the distance between the side walls—play a major role in weight distribution. Longer shelves are prone to sagging in the middle, which exerts an inward pulling force on the side supports.
Additionally, consider the cabinet wall material. Solid wood walls offer excellent grip and structural strength, whereas particleboard or medium-density fiberboard (MDF) walls are softer and more susceptible to stripping or tearing under heavy loads. If your cabinet walls are made of composite materials or if the shelf span is exceptionally wide, selecting supports with a wider load-bearing surface or an integrated bracket design can help distribute the weight more evenly and protect the cabinet structure.
Selecting the Compatible Replacement Shelf Support
With your precise measurements and load requirements in hand, you can now select the appropriate replacement shelf support. The primary rule of selection is to match the replacement pin diameter and length strictly to your measured hole dimensions. Attempting to force a slightly oversized pin into a hole can split the cabinet wall, while using an undersized pin will result in a loose, unstable shelf that is prone to sudden collapse.
Next, choose a support style that aligns with your shelf type and aesthetic preferences. Cylindrical pegs are simple and unobtrusive, making them ideal for lightweight wood shelves. Spoon-style supports offer a flat, wider resting surface that provides excellent stability for standard shelves. Bracket-style supports, which often feature a flat horizontal ledge, are highly suitable for heavier loads or glass shelves; some bracket styles include rubber pads or suction cups to prevent glass from sliding or scratching.
You must also verify the material and finish of the replacement hardware to ensure compatibility with your specific environment. Plastic supports are cost-effective and rust-proof, making them suitable for lightweight items, but they can degrade or become brittle over time when exposed to UV light or fluctuating temperatures.
Metal supports, such as those made of solid brass, steel, or zinc alloy, offer superior strength and durability. If you are installing supports in high-humidity areas—such as kitchens, bathrooms, or laundry rooms—check the product packaging or specifications to verify that the metal has a corrosion-resistant finish, such as nickel plating or chrome, to prevent rust and staining over time.
Installation and Stability Verification
Once your replacement shelf supports arrive, the installation process must be handled with care to avoid damaging your cabinetry. Begin by inserting the new supports into the designated mounting holes. They should slide in snugly with gentle hand pressure. If you encounter significant resistance, stop immediately. Forcing a pin that is even slightly too large can crack the surrounding wood or laminate. If the fit is tight, verify your measurements again or check for minor debris inside the hole.
Ensure that all supports for a single shelf are installed at the exact same height. Use the cabinet’s pre-drilled hole rows to align them horizontally. If the supports are misaligned by even one hole level, the shelf will tilt, causing stored items to slide and placing uneven, dangerous stress on a single support pin.
After placing the shelf onto the newly installed supports, perform a stability check. Press down gently on each corner of the shelf to ensure there is no wobbling or rocking. If the shelf is stable, test its load-bearing capacity by gradually adding items, starting at the center and working outward. Monitor the supports and the cabinet walls for any signs of bending, slipping, or cracking. This gradual testing ensures the system is secure and ready for daily use.
Frequently Asked Questions (FAQ)
What should I do if the existing shelf hole is stripped or too large?
If a mounting hole has become enlarged, stripped, or damaged, standard shelf pins will no longer sit securely. One effective solution is to install specialized metal or plastic hole repair sleeves, also known as grommets or shelf pin sleeves. These sleeves are inserted into the damaged hole to provide a tight, standardized inner diameter for your replacement pins.
Alternatively, for wooden or plywood cabinets, you can fill the damaged hole completely with a high-quality wood filler or two-part epoxy. Once the filler has cured fully according to the manufacturer’s instructions, sand the surface flush and carefully drill a new hole using a drill bit that matches your desired pin diameter. If the cabinet wall is severely cracked, structurally compromised, or if you are uncomfortable drilling, it is best to stop the DIY process and consult a qualified carpenter or furniture repair professional.
Can I use a different style of shelf support than the original?
Yes, you can transition to a different style of shelf support, provided that the pin diameter matches your existing cabinet holes exactly. For instance, you can replace basic cylindrical pegs with spoon-style or bracket-style supports to gain a larger surface area for the shelf to rest upon.
When changing styles, ensure that the new support’s lip or bracket does not interfere with the shelf’s fit within the cabinet frame. It is also critical to replace all supports for a single shelf at the same time. Mixing different styles or brands on the same shelf can lead to slight height variations and uneven weight distribution, which compromises stability and increases the risk of a shelf collapse.
Community discussion
Share your experience or ask a question. Comments are reviewed before publication.