
Designing a custom made TV console for your HDB living room is an excellent way to maximize space, hide wires, and create a cohesive aesthetic. Unlike off-the-shelf furniture, a bespoke unit can be tailored to the exact footprint of your home, turning a standard living area into a highly functional media hub. However, achieving a seamless fit requires careful planning, precise measurements, and a clear understanding of the structural constraints common in Singapore’s public housing.
A successful custom carpentry project balances visual appeal with practical utility. If you overlook the placement of a single electrical socket or fail to account for the thickness of your skirting boards, you could end up with a console that blocks essential access points or sits awkwardly away from the wall. By taking a systematic approach to measuring your space, planning your storage, and understanding local renovation guidelines, you can design a beautiful, functional feature piece.
Assessing Your Living Room Space and Wall Constraints
Before sketching design ideas, you must thoroughly assess the physical wall where the console will be installed. Use a high-quality steel measuring tape to record the total wall width and the floor-to-ceiling height. Measure these dimensions at three different points—top, middle, and bottom—as walls in both new BTO flats and older resale units are rarely perfectly square.
Products mentioned in this guide
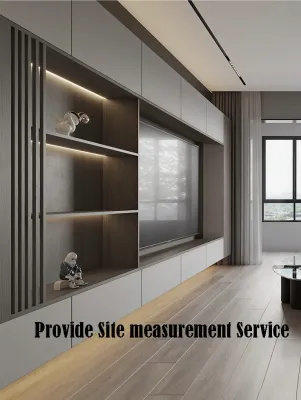
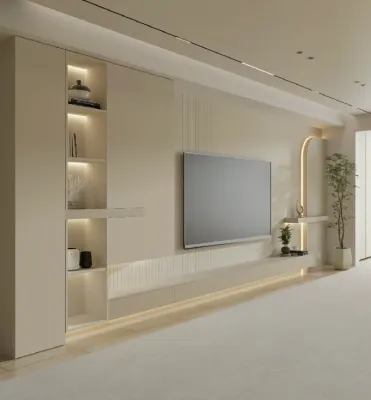
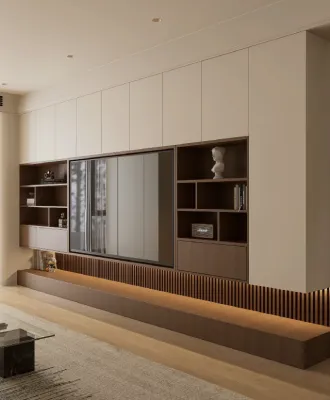
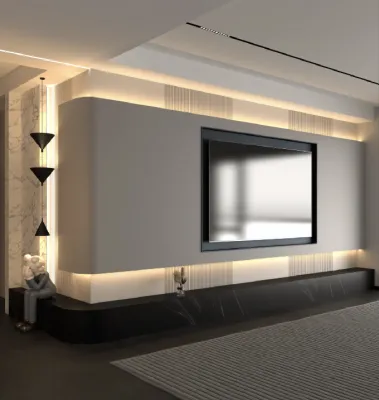
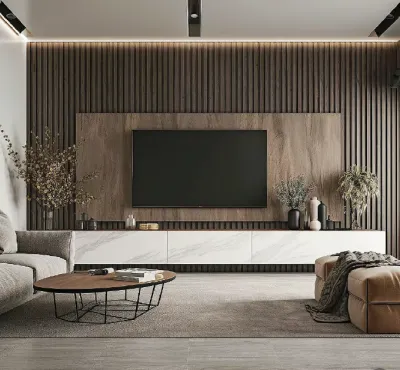
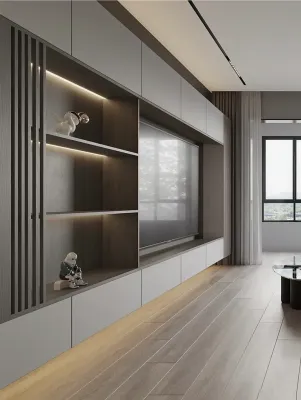
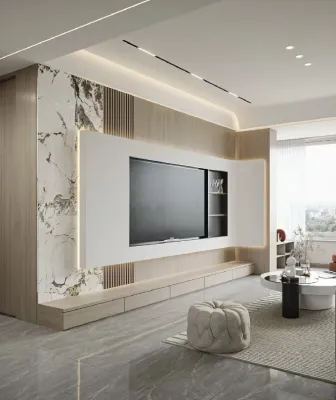
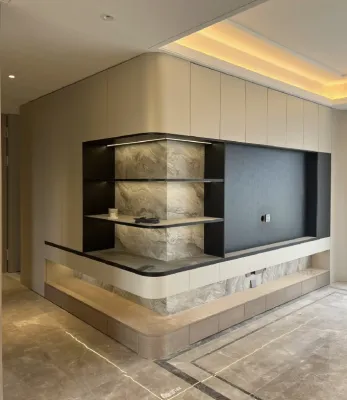
Prices are valid at publication and may change. Please refer to the product page for the latest price.
Next, pay close attention to architectural details that project from the wall. Skirting boards along the floor and cornices or plaster moldings at the ceiling can reduce the usable width and depth of your space. If your custom console is designed to fit flush against the wall, you must subtract the thickness of these elements from your final measurements to prevent installation issues.
You must also map out all existing wall fixtures. Locate and mark the positions of electrical sockets, cable TV ports, fiber termination points, and the main distribution board (DB box). In many HDB layouts, the DB box is integrated into the living room wall; your custom carpentry must allow complete, unobstructed access to this panel for safety. Additionally, note the path of any air-conditioning trunking, as your carpentry will need to be scribed or cut to fit neatly around these pipes.
Determining the Ideal Dimensions for Your Custom Made TV Console
Finding the right dimensions for your custom made TV console involves balancing the size of your television, the layout of your seating, and the overall flow of traffic through the living room. The width of the console should always be visually balanced with your TV screen. As a general guideline, the console should extend at least 10 to 20 centimeters beyond the outer edges of the television on both sides, preventing the setup from looking top-heavy.

The depth of the console is another critical factor, especially in compact HDB living rooms where floor space is at a premium. Measure your deepest piece of equipment, add at least 5 to 10 centimeters for cable clearance at the back, and ensure the resulting depth leaves a comfortable walking path between the console and your coffee table or sofa.
To determine the ideal height, you must consider your viewing comfort. The center of your TV screen should align with your eye level when you are seated on your sofa to prevent neck strain. Measure the height of your sofa seat, add the distance to your eyes when sitting upright, and use this measurement to position the TV. If you plan to wall-mount the TV above a floating console, ensure the gap between the bottom of the TV and the top of the console is sufficient for a soundbar or decorative items without blocking the screen.
Planning the Internal Layout and Equipment Storage
A well-designed custom console does more than just support your TV; it organizes and protects your electronic devices. Begin by listing every piece of equipment you plan to house inside the console, including set-top boxes, routers, gaming consoles, and audio-video receivers. Measure the height, width, and depth of each device, and allocate specific compartments with a few centimeters of extra clearance on all sides to allow for easy handling.
Proper ventilation is essential for the longevity of your electronics. Enclosed wooden cabinets trap heat, which can cause modern gaming systems and media players to overheat and malfunction. To prevent this, design your console with open shelving for high-heat devices, or incorporate cabinet doors with perforated metal mesh, slatted wood, or breathable cane webbing. These materials allow heat to escape while keeping your equipment hidden from view.
Effective cable management must be integrated into the design from the very beginning. A highly recommended solution is to incorporate a false back into your custom carpentry. By setting the inner back panel of the cabinet forward by 50 to 100 millimeters, you create a hidden cavity where power cords, HDMI cables, and extension strips can run freely. Ensure your carpenter drills neat grommet holes between compartments and through the top surface of the console to route wires directly into this hidden space.
Verifying Structural and HDB Installation Requirements
Before finalizing your custom design, you must ensure that your plans comply with HDB renovation guidelines and structural safety standards. HDB flats feature a mix of structural reinforced concrete walls and non-structural partition walls. You are strictly prohibited from drilling deeply or hacking into structural walls, columns, or beams, which are indicated by thick black lines on your official flat floor plan.
The type of wall you are mounting to will dictate the installation method and weight capacity of your console. If you are planning a floating TV console, the wall must be strong enough to support the cantilevered weight of the carpentry plus all your media equipment. Concrete walls provide excellent support when fitted with heavy-duty masonry plugs. However, if your TV wall is a lightweight drywall partition, your contractor must install internal plywood backing or locate the metal studs to anchor the console securely.
If your planned layout requires moving electrical sockets or data points to align with your new console, you must hire a licensed electrical contractor. HDB regulations require all electrical wiring to be installed safely, and running cables inside custom carpentry must be done using proper conduits. Planning these electrical adjustments early in the design phase ensures that your outlets end up exactly where they are needed, completely hidden within the cabinet structure.
Common Measurement and Planning Mistakes to Avoid
One of the most frequent mistakes in custom carpentry projects is forgetting to account for the depth of cable plugs and power adapters. While a media player might measure 30 centimeters deep, the HDMI cable and power plug protruding from the back can easily add another 5 to 8 centimeters. If your cabinet shelves are built to the exact depth of the device, you will not be able to close the cabinet doors without bending and damaging the cables.
Another critical error is blocking access to essential utility panels. In many HDB flats, the fiber termination point, main water valves, or DB boxes are located on the primary living room wall. Designing a fixed, non-removable console over these areas can lead to major complications during maintenance. Always ensure your design includes removable back panels, hinged doors, or open cutouts that provide quick and easy access to these utilities.
Finally, avoid measuring your space only once. Walls are rarely perfectly straight, and floors can slope slightly. Always take multiple measurements across the width and height of the wall, and use the smallest dimension as your guide. This ensures that your custom console can be easily maneuvered into place during installation without scraping your walls.
Frequently Asked Questions (FAQ)
Can I hack the wall to create a recessed niche for my TV console?
HDB regulations strictly prohibit any hacking or structural modification of reinforced concrete walls, columns, and load-bearing structures. If the wall where you want to create a recessed niche is a structural wall, you cannot alter it under any circumstances. For non-structural walls, such as lightweight concrete panels or drywall partitions, modification may be possible but requires a formal renovation permit from HDB. You must always refer to your flat’s official floor plan and consult a licensed HDB renovation contractor to verify the wall type before planning any recessed designs.
How do I hide messy cables behind a custom made TV console?
The most effective way to hide cables is to design your custom console with a false back panel. This creates a hidden cavity of about 5 to 10 centimeters between the cabinet back and the actual wall, allowing you to route all power cords and connection cables out of sight. You can also have your carpenter drill plastic-capped grommet holes between the internal shelves to pass wires horizontally. For wall-mounted TVs, installing a concealed cable trunking or a dedicated PVC conduit within the wall partition during the renovation phase will keep the connection between the TV and the console completely clean and wire-free.
Community discussion
Share your experience or ask a question. Comments are reviewed before publication.