
To successfully measure and install a replacement privacy screen on an outdoor furniture frame, you must determine whether you are mounting the screen inside or wrapping it around the frame, take precise three-point measurements to account for frame warping, subtract an allowance for your chosen tensioning hardware, and secure the fabric starting from the top center to ensure even tension.
Replacing a worn or damaged privacy screen outdoor fabric is a practical, cost-effective way to restore shade, wind protection, and seclusion to your balcony, patio, or garden furniture. In tropical environments like Singapore, where intense UV exposure and heavy monsoon downpours accelerate the wear of outdoor materials, choosing the right fabric and installing it with proper tension is crucial for longevity. By taking the time to measure accurately and select compatible hardware, you can ensure a professional, sag-free fit that withstands the elements.
Gather Your Tools and Materials
Before beginning your replacement project, gathering all necessary equipment will ensure a smooth, uninterrupted installation process. Having the right tools on hand prevents mid-project delays and helps you achieve a clean, secure fit.
Products mentioned in this guide
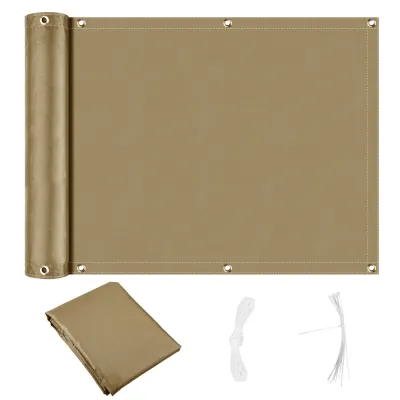
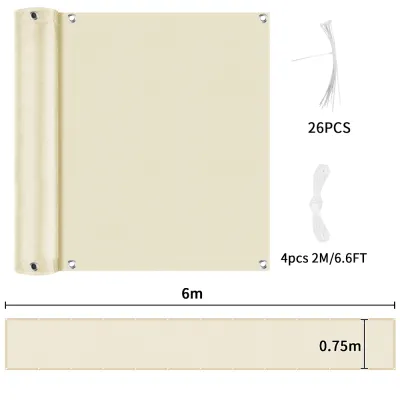
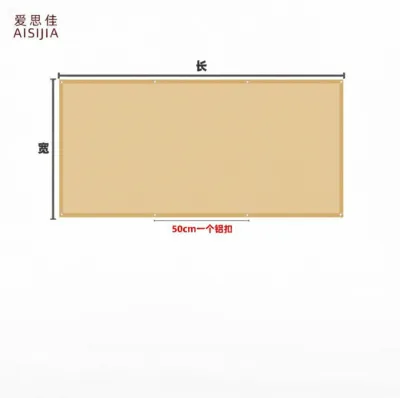
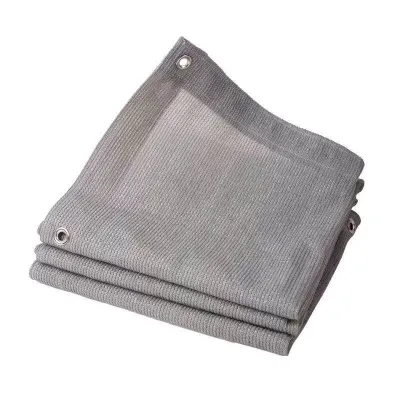
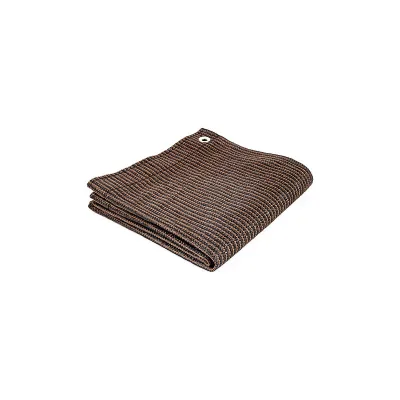
Prices are valid at publication and may change. Please refer to the product page for the latest price.
For the preparation and measuring phase, you will need:
- A flexible metal tape measure: Avoid fabric measuring tapes, as they can stretch over long distances and lead to inaccurate dimensions.
- A notepad and pencil: Essential for sketching your frame layout and recording multiple measurement points.
- A permanent marker or chalk: Useful for marking alignment points on the frame or fabric during dry-fitting.
Depending on your chosen attachment method, prepare the following installation hardware:
- UV-resistant nylon zip ties: Standard zip ties degrade rapidly under intense sunlight; look for heavy-duty, UV-stabilized options.
- Elastic ball bungees: These provide flexible tension and are highly recommended for windy areas.
- Stainless steel S-hooks or carabiners: Ideal for quick-release setups or frames with built-in tracks.
- Heavy-duty scissors or a utility knife: Needed for trimming excess tie lengths or opening packaging.
For safety and access, ensure you have:
- A sturdy step stool or ladder: Essential if your outdoor furniture frame or privacy trellis is tall, allowing you to reach the top corners safely without overextending.
- Work gloves: Protect your hands from sharp metal burrs, splinters on wooden frames, or rust flakes on older wrought iron structures.
Measure the Outdoor Furniture Frame Accurately
Accurate measurements are the foundation of a successful privacy screen replacement. A screen that is too large will sag, flap noisily in the wind, and wear out prematurely from friction, while a screen that is too small will overstretch, tearing the seams or bending the frame.

First, determine whether your screen will mount inside the frame opening or wrap around the outer perimeter. Inner-dimension mounting is common for recessed panels on metal patio screens, where the fabric sits flush within the frame borders. Outer-dimension mounting is typically used when wrapping a continuous screen around the exterior of a balcony railing or a large wooden trellis frame. Clearly decide which style matches your furniture design before pulling your tape measure.
Because outdoor frames can warp, bow, or settle over time due to heat, humidity, and structural load, never rely on a single measurement. Take three width measurements: across the top, the middle, and the bottom of the frame. Next, take three height measurements: down the far-left side, the center, and the far-right side. Write down all six numbers on your notepad. To ensure the replacement screen fits within the narrowest boundaries of the frame without bunching, use the smallest width and height measurements as your baseline.
Once you have your baseline frame dimensions, you must calculate the attachment allowance. Do not order a replacement screen that matches your frame dimensions exactly. You must leave a clearance gap around the perimeter to accommodate your mounting hardware and allow the screen to be pulled taut.
For example, if you are using elastic ball bungees through metal grommets, you typically need to subtract 1 to 2 inches (approximately 2.5 to 5 cm) from all four sides of the fabric. This means your finished screen dimensions should be 2 to 4 inches shorter in both total width and height than the frame opening. If you are using direct tie straps or hook-and-loop fasteners, check the manufacturer’s instructions to see if a smaller allowance is acceptable.
Finally, inspect the frame for structural squareness and potential obstructions. Measure diagonally from the top-left corner to the bottom-right corner, and then from the top-right corner to the bottom-left corner. If these two diagonal measurements differ by more than an inch, your frame is out of square. You will need to adjust the tension of your fasteners during installation to compensate for the skew. Note any physical obstructions such as crossbars, hinges, mounting brackets, or decorative scrolls that the screen must bypass, as you may need to order a screen with custom grommet placements to avoid these areas.
Select the Right Attachment Method for Your Frame
Choosing the correct hardware depends on your frame’s material, shape, and the wind conditions of your outdoor space. Matching the attachment method to your specific frame design ensures a secure hold and prevents damage to both the fabric and the structure.
Grommets with Bungee Cords or Zip Ties
This is the most common and versatile attachment method for rigid frames made of metal or wood. The replacement screen features reinforced hems with metal grommets (usually brass or stainless steel) spaced evenly along the edges.
Elastic ball bungees are highly recommended for this setup because they provide flexible tension. When wind gusts hit the screen, the bungees stretch, absorbing the kinetic energy and reducing stress on the fabric’s seams and the frame’s joints. Zip ties, on the other hand, offer a highly rigid, permanent hold and a very clean, flush look. However, because they do not stretch, they can snap under extreme wind loads or transfer excessive force to lightweight aluminum frames, potentially bending them.
Tie Straps and Hook-and-Loop Fasteners
If you have a tubular or rounded furniture frame, such as a powder-coated steel or aluminum patio set, drilling holes or using rigid hooks is often impractical. Fabric tie straps and hook-and-loop (Velcro-style) fasteners are the ideal solutions for these designs.
Built-in fabric tie straps are sewn directly into the reinforced hem of the screen. You simply wrap them around the frame poles and secure them with a double knot or a plastic toggle. Hook-and-loop wraps offer an even faster installation and a clean, flush appearance against round tubing. When selecting hook-and-loop fasteners, verify that the material is specifically rated for outdoor use and UV resistance, as standard indoor adhesive strips will quickly fail in hot, humid climates.
Snap Clips and S-Hooks
For specialized frames that feature wire mesh panels, built-in tracks, or specific horizontal top rails, snap clips and S-hooks offer a highly functional alternative.
Heavy-duty plastic snap clips grip the reinforced top edge of the privacy screen fabric securely. These clips then connect to the frame’s horizontal rail or mesh via stainless steel S-hooks or small carabiners. The primary advantage of this method is convenience; it allows the screen to slide horizontally like a curtain or be easily detached and stored away before severe weather without having to untie knots or cut zip ties.
Install the Replacement Screen Step-by-Step
Mounting your replacement privacy screen requires a systematic approach to ensure even tension, prevent wrinkles, and avoid damaging the fabric during the process. Follow these steps for a professional finish.
1. Preparation and Frame Inspection Before bringing the new fabric near the frame, clean the structure thoroughly with mild soapy water to remove dirt, algae, and bird droppings. Inspect the entire frame for rust, splinters, peeling paint, or sharp metal burrs. Sharp edges can easily slice through new fabric under tension. Use a fine-grit sandpaper to smooth out any rough spots on wooden or metal frames. For added protection, apply a layer of heavy-duty outdoor tape over any sharp corners or joints that will come into direct contact with the screen.
2. Alignment and Dry-Fitting Unpack your replacement screen and lay it flat on a clean surface to let any packing creases relax. Identify the top edge of the screen, ensuring that any decorative patterns, reinforced hems, or water-drainage features are oriented correctly. Lift the screen up to the frame to dry-fit it. Use a few loose zip ties or spring clamps to temporarily hang the screen from the top corners. This allows you to verify that your calculated clearance gaps are even on all sides and that the screen is centered.
3. Securing the Top Edge Always begin securing the screen permanently from the top center, working your way outward toward the left and right corners. If you are using ball bungees or zip ties, thread them through the center grommet first, securing them loosely to the top rail. Move outward, installing fasteners in an alternating pattern to the left and right. Do not tighten the fasteners completely at this stage; leave them loose enough to allow the fabric to shift slightly as you align the rest of the screen.
4. Applying Tension to the Sides and Bottom Once the top edge is loosely secured, move to the bottom of the screen. Pull the fabric downward gently and secure the bottom center grommet or strap to the lower frame rail. Next, secure the side grommets, starting from the middle of each side and working upward and downward toward the corners.
To achieve a professional, wrinkle-free finish, apply tension using an “alternating cross” pattern, similar to tightening lug nuts on a car wheel. Tighten a fastener on the top-left, then the bottom-right, followed by the top-right and bottom-left. Pull the screen taut, but do not overstretch it. The fabric should have a slight amount of give—approximately 1 inch of deflection when pressed with a hand. This small amount of play prevents the fabric from tearing when it contracts in cooler night temperatures or when subjected to sudden wind loads.
5. Finishing Touches and Clearance Checks Walk around the frame to inspect the installation from both sides. Check for any localized wrinkling or sagging, and adjust individual fastener tensions as needed to smooth them out. Once you are satisfied with the fit, use heavy-duty scissors or flush-cut pliers to trim the excess tails off all nylon zip ties, leaving a clean, professional edge. Ensure that the bottom hem of the screen clears the ground or patio floor by at least 1 to 2 inches. This gap is essential to prevent the fabric from wicking up standing water, accumulating dirt, or rubbing against rough concrete.
Avoid Common Measuring and Installation Mistakes
Avoiding simple errors during the planning and mounting phases will save you time, money, and frustration, while significantly extending the lifespan of your outdoor privacy screen.
- Ignoring Attachment Clearance: The most frequent mistake is ordering a screen that matches the exact outer dimensions of the frame. Without the necessary 1-to-2-inch clearance gap on each side, you will not have enough space to loop bungee cords or tighten zip ties. The screen will end up overlapping the frame edges, resulting in a loose, saggy installation that cannot be tensioned properly.
- Over-tensioning the Fabric: While a drum-tight screen looks appealing, over-tightening is highly destructive. Excessive tension puts immense stress on the grommets, causing them to pull out of the reinforced hem. It can also warp lightweight aluminum or vinyl frames, pulling the vertical posts inward. Always leave a slight amount of physical give in the fabric.
- Neglecting Wind Load: Installing a solid, non-porous canvas screen completely rigidly on a large, flat frame in an exposed area creates a giant sail. During high winds, the immense force can rip the screen or even tip over heavy furniture frames. If your area experiences high winds, opt for a breathable mesh fabric that allows air to pass through, or use flexible ball bungees that stretch to relieve wind pressure.
- Installing in High Winds: Never attempt to install a privacy screen on a windy day. The loose fabric will act as a sail, catching the wind and pulling violently. This makes alignment nearly impossible, increases the risk of the frame tipping over onto you, and can easily tear the fabric before it is fully secured.
Maintain the Screen and Hardware for Longevity
Regular, low-risk maintenance is essential to protect your investment and keep your outdoor privacy screen looking clean and performing well for years.
Perform a routine cleaning every six months to remove accumulated dust, pollen, and environmental grime. Wash the screen using a soft-bristle brush or sponge and a bucket of mild, soapy water (such as dishwashing liquid). Gently scrub the fabric, paying extra attention to the hems and grommets where dirt tends to collect.
Warning: Never use a high-pressure washer or harsh chemical bleach on your privacy screen. High-pressure water can blast through the fabric fibers and strip away protective UV coatings, while bleach can degrade the synthetic polymers, leading to premature fading and brittleness.
Every few months, perform a quick hardware inspection. Check nylon zip ties for signs of UV damage, such as color fading, cracking, or brittleness, and replace them proactively before they snap. Inspect elastic bungee cords for fraying of the protective fabric sheath or loss of elasticity. If you notice rust forming on metal S-hooks or frame joints, clean the area with a wire brush and apply a rust-inhibiting outdoor paint.
Finally, establish a severe weather protocol. If a major storm, monsoon, or high-wind warning is issued, take a few minutes to unclip or loosen your privacy screen. Storing the fabric safely indoors during extreme weather events prevents catastrophic tearing and protects your furniture frame from being blown over by strong winds.
Frequently Asked Questions (FAQ)
Can I install a privacy screen on a curved or irregular furniture frame?
Yes, you can install a privacy screen on curved or irregular frames, but it requires flexible attachment methods rather than rigid tracks. Measure along the curve using a flexible tailor’s tape to find the true length, and order a screen with closely spaced grommets or flexible fabric tie straps. This allows the fabric to contour smoothly along the frame’s shape without bunching or creating awkward folds.
How much wind can a standard outdoor privacy screen withstand?
Wind tolerance depends heavily on the fabric’s porosity and the strength of your frame. Solid canvas screens act as sails and can experience structural failure in winds as low as 30 to 40 km/h if not heavily anchored. Breathable mesh screens (which typically block 80% to 90% of light) allow wind to pass through, significantly reducing structural stress and safely withstanding much higher wind speeds.
Should the privacy screen touch the ground or patio floor?
No, the bottom of your privacy screen should never touch the ground. Always leave a gap of at least 1 to 2 inches (2.5 to 5 cm) between the bottom hem and the patio floor. This gap prevents the fabric from wicking up standing rainwater, accumulating dirt and mold, or fraying due to constant friction against rough concrete, tiles, or decking boards.
Community discussion
Share your experience or ask a question. Comments are reviewed before publication.