
Replacing a torn or sagging dust cover on the underside of your sofa, armchair, or box spring is a straightforward DIY project that restores both the appearance and hygiene of your furniture. This breathable fabric, commonly known as cambric, acts as a barrier against dust, pests, and pet hair while concealing the internal springs and webbing. By carefully removing the old material, measuring a replacement with adequate margins, and securing it with a staple gun using a balanced tension pattern, you can achieve a professional-grade finish that protects your furniture for years.
In humid climates like Singapore, maintaining an intact bottom cover is especially important to prevent airborne dust and moisture from settling directly into the internal upholstery layers. A damaged cover not only looks untidy but also allows dust mites to colonize the interior cushioning. Taking the time to perform this repair yourself ensures that the underside of your seating remains sealed, clean, and structurally sound.
Identify the Dust Cover Type and Gather Necessary Tools
Before starting your repair, it is essential to distinguish between an interior bottom dust cover and an exterior protective slipcover. An interior bottom dust cover, or cambric, is a thin, non-woven black or grey fabric stapled directly to the wooden frame on the underside of upholstered furniture. It is designed to be breathable, allowing air to circulate through the cushions while stopping dust from entering. In contrast, exterior slipcovers are removable, washable fabric drapes designed to protect the visible seating surfaces from spills and wear.
Products mentioned in this guide
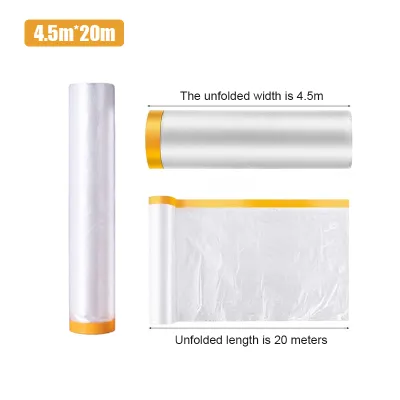
![[SG SELLER]Plastic Dust Cover Dust Prevention Renovation Drop Sheet Protective Plastic Film Furniture Dustproof Cover Paintproof Waterproof Cover Sheet Rolls](https://img.lazcdn.com/g/p/d2c82f6cde5eed649a28d487364fc7d2.png_400x400q80.png_.webp)
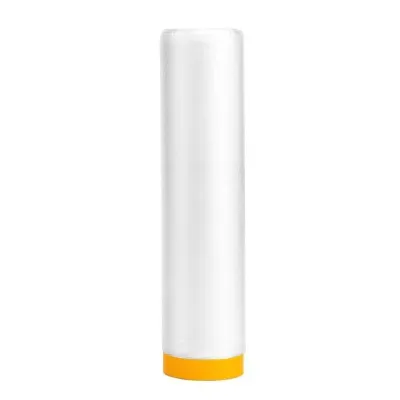
![[2-3 Days Delivery] 4.5m x 20m Plastic Dust Cover Protective Plastic Sheet Disposable Furniture Dustproof Cover Protective Cover Plastic Cover Plastic Film for Home Improvement CNY Gift Present](https://img.lazcdn.com/g/p/37fceab8fc43d4b3b58593d55aae9bcb.jpg_400x400q80.jpg_.webp)
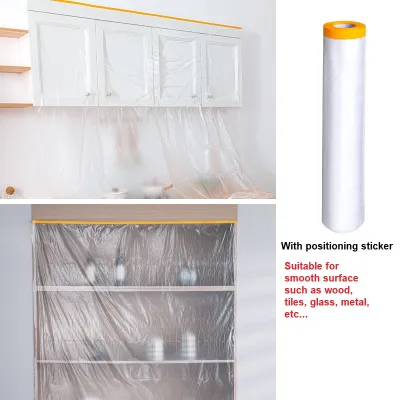
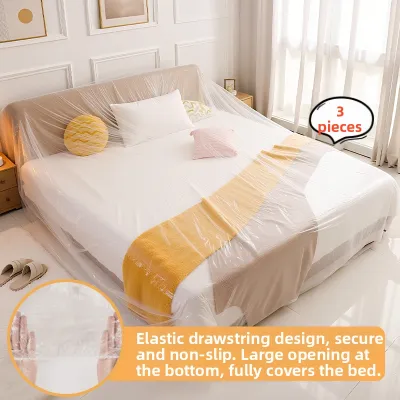
Prices are valid at publication and may change. Please refer to the product page for the latest price.
To replace a bottom dust cover successfully, you will need a specific set of tools. Acquire a reliable manual, electric, or pneumatic upholstery staple gun along with fine-wire staples, typically 22-gauge with a 3/8-inch crown. You will also need a dedicated staple remover or a sturdy tack puller, needle-nose pliers to pull out stubborn wire remnants, a sharp utility knife or fabric shears, a flexible measuring tape, and a soft mallet. Having these tools prepared beforehand prevents interruptions once the furniture is disassembled.
Safety must be your top priority when preparing the workspace. Upholstered furniture like sofas and heavy armchairs can be incredibly heavy and awkward to maneuver, especially in tight apartment layouts or high-rise homes where space is limited. Always ask a partner to help you lift and flip the furniture onto its back or headrest, ensuring it is stable and will not tip over during the process. Lay down a clean blanket or drop cloth to protect the visible upholstery from dirt and scratches, and wear safety glasses to shield your eyes from flying staples or wood splinters.
Remove the Old Dust Cover and Prepare the Frame
To begin the removal process, position the furniture so the entire underside is easily accessible and stable. Slide the tip of your staple remover or tack puller under each staple securing the old cambric fabric to the wooden frame. Work slowly around the perimeter, applying gentle leverage to lift the staples out without gouging or splintering the wood. Avoid tearing the old fabric away forcefully, as this can leave rusted staple legs embedded in the frame, which are difficult to remove later and can snag your new material.

Once the old fabric is detached, inspect the wooden rails for any remaining metal fragments. Use your needle-nose pliers to grip and pull out any broken staples, tacks, or adhesive residues until the mounting surface is completely flat and smooth. A clean, debris-free frame is crucial because any protruding metal points can prevent the new staples from driving in flush, potentially causing the new dust cover to tear under tension or scratch your flooring.
With the internal structure fully exposed, take this rare opportunity to inspect the inner workings of your furniture. Check the wooden frame joints for cracks, examine the webbing or zig-zag springs for sagging, and look closely for any signs of pests or mold. In warm, humid environments, moisture can easily accumulate under closed furniture, making this inspection vital before you seal the base back up. If you detect any musty odors or surface mold on the interior wood, clean it thoroughly with an appropriate wood-safe disinfectant and allow it to dry completely before proceeding.
Measure, Cut, and Position the Replacement Material
Accurate measurements are the foundation of a neat, sag-free installation. Use your flexible measuring tape to measure the maximum width and length of the furniture’s bottom frame, measuring from the outer edges of the wooden rails. Once you have these dimensions, add an allowance of at least 5 centimeters to all four sides. This extra margin is essential because it gives you enough fabric to fold the raw edges under, creating a clean, double-thick hem that resists tearing when stapled.
When cutting your replacement non-woven cambric fabric, lay it flat on a clean, hard floor or a large table. Use sharp fabric shears or a rotary cutter guided by a straightedge to make clean, straight cuts along your measured lines. Non-woven synthetic fabrics do not fray like woven textiles, but cutting them cleanly still prevents uneven stretching and ensures a professional look. Avoid using dull household scissors, which can chew the fabric and create jagged edges that are difficult to fold evenly.
Position the cut fabric over the bottom of the furniture, centering it so that the excess margin overhangs evenly on all sides. Smooth the material out from the center to the edges with your hands to eliminate any major wrinkles or folds. To keep the fabric aligned during the stapling process, you can temporarily secure the corners with upholstery pins or a single light staple in the center of each rail. This temporary positioning ensures the fabric remains square with the frame and does not shift diagonally as you apply tension.
Secure the New Dust Cover to the Furniture Frame
Attaching the new dust cover requires a systematic stapling sequence to maintain even tension across the entire surface. Start by folding the excess fabric margin under along one of the long sides to create a clean, folded edge aligned with the outer edge of the wooden rail. Drive a single staple into the exact center of this folded edge. Move directly to the opposite long side, pull the fabric moderately taut—ensuring there is no sagging but without over-stretching—fold the edge under, and drive a staple into the center of that rail. Repeat this centering process for the two short sides.
With the four center points secured, work your way outward from the center of each rail toward the corners. Place staples approximately 5 to 8 centimeters apart, maintaining consistent, gentle tension on the fabric as you go. Always fold the raw edge under before stapling to ensure the staple penetrates two layers of fabric, which distributes the pulling force and prevents the material from ripping away from the fastener over time. Keep your staple gun pressed firmly and flat against the wood to ensure the staples drive in completely flush.
When you reach the corners, you will need to manage the excess fabric to achieve a flat, professional appearance. Fold the fabric neatly at a 45-degree angle, similar to wrapping a gift or making a hospital corner on a bed, tucking the excess material underneath itself. Pull the folded corner tight against the frame and secure it with two or three closely spaced staples. Managing the tension carefully at the corners prevents unsightly bunching and ensures the dust cover does not hang down or interfere with the installation of the furniture’s legs.
Inspect the Installation and Maintain the Cover
After completing the stapling, conduct a thorough visual and physical inspection of the underside. Run your hand carefully along the perimeter of the frame to check for any loose staples, bent wires, or sharp edges that did not seat fully into the wood. If you find any partially raised staples, use a soft mallet or hammer to tap them flush, or remove and replace them entirely. Protruding metal points are a hazard that can easily scratch delicate parquet, marble, or vinyl flooring once the furniture is upright.
When turning the furniture back over and moving it into its final position, never drag it across the floor. Dragging can catch the newly installed bottom cover on carpet fibers, door thresholds, or floor transitions, causing immediate tears or loosening the staples. Always lift the furniture completely with the help of another person, ensuring clear clearance through doorways and hallways. If your furniture has screw-in legs, carefully pierce small holes through the dust cover at the mounting points and reinstall the legs firmly.
To maintain the dust cover and prolong its lifespan, incorporate it into your routine cleaning schedule. Gently vacuum the underside of the furniture once every few months using a soft brush attachment to remove accumulated dust and pet dander. Avoid using wet cloths or harsh chemical cleaners on the cambric fabric, as moisture can weaken the non-woven fibers and encourage mold growth in humid rooms. Periodically check the tension of the cover to ensure no staples have loosened over time, keeping your furniture’s interior fully protected.
Frequently Asked Questions (FAQ)
Can I use regular fabric instead of specialized cambric for the bottom dust cover?
While it is tempting to use leftover cotton, polyester, or canvas fabric, specialized non-woven cambric is highly recommended for furniture bases. Cambric is specifically engineered to be highly breathable, allowing air to escape when someone sits on the furniture, which prevents ballooning and reduces strain on the seams and frame. Standard woven fabrics, especially heavy or tightly woven materials, can trap moisture inside the furniture frame, creating an environment ripe for mold, mildew, and wood rot in humid climates.
What should I do if the wooden frame is damaged while removing the old staples?
Minor surface splintering or small holes left by old staples are common and generally do not affect the structural integrity of the furniture. You can easily repair these minor imperfections by sanding the area smooth and applying a high-quality wood filler, allowing it to dry completely before stapling the new cover. However, if you discover deep cracks, rotting wood, or loose joints that compromise the stability of the frame, stop the installation immediately. Structural damage requires reinforcement with corner brackets or professional repair before you seal the underside.
Community discussion
Share your experience or ask a question. Comments are reviewed before publication.