
Repairing a damaged furniture edge with a replacement wood strip is a highly effective way to restore both the appearance and structural integrity of your tables, cabinets, or shelving. Achieving a seamless, professional-looking finish depends entirely on precise measurement and clean, splinter-free cuts. By carefully assessing the damage, preparing the substrate, and using the right tools for the job, you can successfully execute this repair at home. This guide provides a step-by-step methodology to measure, cut, and dry-fit a new wood strip, ensuring your furniture looks cohesive and remains durable for years to come.
Assess the Damage and Prepare the Edge
Before purchasing or cutting any replacement material, you must thoroughly inspect the damaged furniture edge to determine the most appropriate repair strategy. Common issues include chipped solid wood, peeled veneer, or localized water rot, which is particularly common in humid climates where moisture can seep into unprotected joints. If the damage is superficial or limited to a thin outer layer, a flexible wood veneer strip may suffice. However, deeper structural gouges or impact damage along the edge of a heavy-use surface will typically require a thicker, solid wood strip to restore the profile.
Once you have identified the scope of the repair, you must prepare the surface to ensure an accurate measurement and a strong adhesive bond. Begin by removing any loose wood fibers, peeling veneer, or crumbling material from the damaged area. Use a sharp chisel or a scraper to clear away old, hardened adhesive and residual backing material. The goal is to expose a completely flat, stable, and clean substrate that allows your measuring tools and the replacement strip to sit perfectly flat.
Products mentioned in this guide

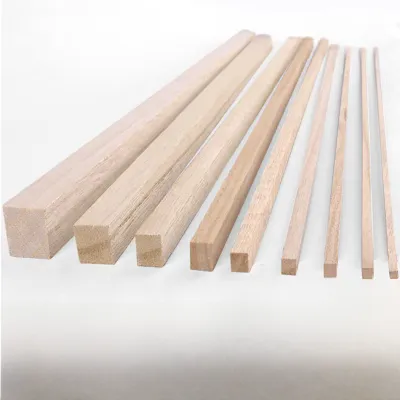
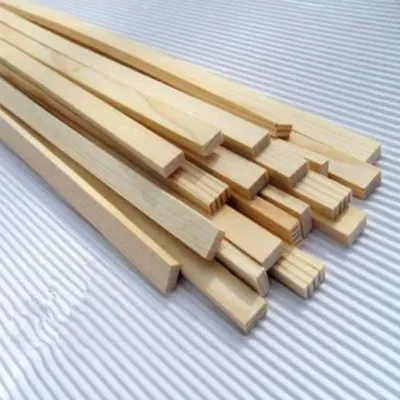
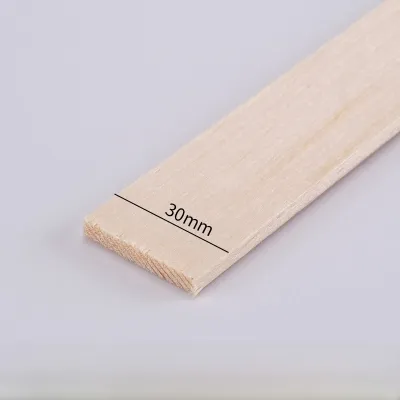
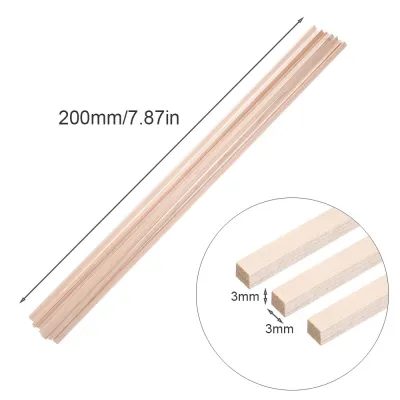
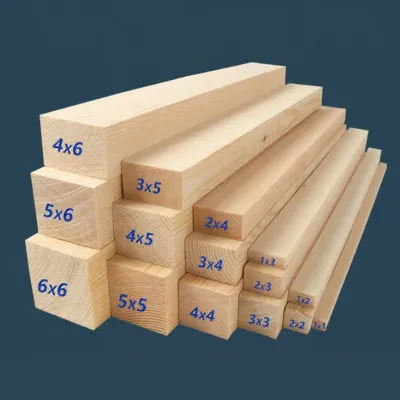
Prices are valid at publication and may change. Please refer to the product page for the latest price.
Finally, verify the composition of the underlying substrate. Furniture constructed from particleboard or medium-density fiberboard (MDF) requires careful handling, as these engineered woods can crumble easily when damaged or exposed to moisture. Solid wood substrates offer a more robust foundation but may still require light sanding to remove splinters. Understanding what lies beneath the surface helps you select the correct adhesive and clamping pressure, ensuring the substrate can adequately support the new wood strip without further degradation.
Tools and Materials Needed
Executing a precise edge repair requires a specific set of tools designed for fine woodworking and accurate measurement. Having these items organized beforehand prevents errors and ensures a smoother workflow.

For measuring, you will need a standard tape measure for overall length, but relying on it alone is rarely sufficient for fine furniture work. A combination square is essential for marking square lines and verifying 90-degree angles. To achieve the level of precision required for thickness and width, a set of digital calipers is highly recommended, as it can measure down to fractions of a millimeter.
Your choice of cutting tools depends heavily on the thickness of the wood strip you are using. For thin veneer strips, a heavy-duty utility knife with a fresh, sharp blade is often the most controllable tool. For thicker, solid wood strips, you will need a fine-toothed hand saw, such as a Japanese flush-cut saw or a backsaw, or a power miter saw equipped with a high-tooth-count blade to prevent splintering.
Additionally, gather your preparation and finishing supplies. Keep medium and fine-grit sandpaper (such as 120-grit and 240-grit) on hand, along with high-quality wood glue, several adjustable clamps, a sharp pencil, and a roll of low-tack masking tape.
How to Measure the Furniture Edge Accurately
Achieving a flush, unnoticeable joint between the old furniture and the new wood strip requires meticulous measurement. Even a discrepancy of half a millimeter can leave a visible gap or an awkward overhang that is difficult to correct later.
Start by measuring the total length of the damaged section using your tape measure. When recording this dimension, always add a small allowance of approximately 1 to 2 millimeters at each end. This extra length acts as a safety margin, allowing you to trim or sand the ends perfectly flush with the adjacent edges after the strip is glued in place.
Next, use your digital calipers to measure the width and thickness of the intact edge immediately adjacent to the damaged area. Take measurements at multiple points along the edge, as older furniture or pieces exposed to varying humidity levels may have slight structural variations. The replacement wood strip should match these dimensions as closely as possible, though selecting a strip that is slightly wider (by about 0.5 millimeters) is a common woodworking practice, as the excess can be shaved or sanded down to create a perfectly flush surface.
Be sure to record all measurements clearly on a notepad. If the repair extends around corners, pay close attention to whether they are inside or outside corners. For corners, you will need to account for the extra length required to cut precise miter angles, typically 45 degrees, which ensures the wood grain flows naturally around the bend without exposing the raw end grain of the strip.
How to Cut the Wood Strip to Size
Cutting a thin or delicate wood strip without causing splintering, tear-out, or cracking requires patience and the correct technique. Wood fibers tend to split when subjected to the aggressive action of a saw blade, making preparation vital.
Begin by transferring your recorded measurements to the wood strip. Use a sharp pencil and a combination square to draw a perfectly perpendicular line across the face and edges of the strip. To protect the wood fibers from tearing during the cut, apply a layer of low-tack masking tape directly over the marked line, then redraw the cutting line on top of the tape. The adhesive on the tape helps hold the wood fibers together as the blade passes through.
Select your cutting method based on the material thickness. If you are working with a thin veneer wood strip, place it on a flat cutting mat. Align a metal straightedge with your marked line, and use a utility knife to score the surface lightly. Make several shallow, controlled passes rather than trying to cut through in a single motion. Once scored deeply, the veneer can be gently bent and snapped cleanly along the line.
For thicker solid wood strips, secure the material to your workbench using clamps, ensuring the cut line overhangs the edge slightly to allow room for the saw. Position your fine-toothed saw on the waste side of the marked line. Begin the cut with a few light, backward strokes to establish a groove. Keep the saw blade perfectly perpendicular to the wood strip, and apply steady, even downward pressure. Avoid forcing the saw; let the teeth do the work to prevent splitting the exit side of the cut. Always wear safety glasses to protect your eyes from flying wood dust and small splinters.
Test Fitting and Final Adjustments
Never apply adhesive immediately after cutting. A dry fit is a critical quality-control step that allows you to verify the accuracy of your work and make minor adjustments while the wood is still dry.
Place the cut wood strip directly against the prepared furniture edge. Hold or lightly clamp it in place and inspect the entire length. Look closely for any visible gaps between the strip and the substrate, and check if the strip sits flush with the surrounding intact surfaces. If the strip is slightly too long, do not force it into place, as this can cause the strip to bow outward.
To make minor adjustments, use a fine wood file or a sanding block wrapped with 120-grit sandpaper. Work slowly, removing small amounts of material at a time, and re-test the fit frequently. If the strip is slightly too thick or wide, it is generally safer to glue it in place first and sand it flush afterward, provided the overhang is minimal and uniform.
If your repair involves corners, carefully inspect the miter joints. The two angled ends should meet to form a tight, seamless 45-degree angle with no visible gaps. If the joint is not perfectly tight, adjust the angle slightly using a sanding block before proceeding to the final gluing and clamping stage.
Frequently Asked Questions (FAQ)
Can I use a utility knife to cut thick wood strips?
A utility knife is generally not suitable for cutting solid wood strips that are thicker than 1 to 2 millimeters. Attempting to force a utility knife through thick wood requires excessive pressure, which can easily cause the blade to slip, leading to jagged, uneven edges and a high risk of personal injury. For thicker wood strips, always use a fine-toothed hand saw or a miter saw to ensure a clean, straight, and safe cut.
How do I measure an edge that is not perfectly straight?
Measuring a curved or irregular furniture edge requires transferring the profile accurately to your replacement material. You can use a flexible contour gauge, pressing it against the curved edge to capture the exact shape, and then trace that profile onto your wood strip. Alternatively, tape a piece of stiff cardboard over the curved area, trace the shape with a pencil, and cut out the cardboard to create a custom template for marking your wood strip before cutting.
Community discussion
Share your experience or ask a question. Comments are reviewed before publication.