
Replacing a table support leg is a practical and cost-effective way to revive a beloved piece of furniture, customize its height, or improve its overall stability. Whether you are upgrading a dining table, a home office desk, or a console table, selecting the correct replacement requires careful planning. A mismatched leg can lead to a wobbly surface, structural damage to your tabletop, or an uncomfortable seating posture. By systematically assessing your table, taking precise measurements, and identifying the correct mounting hardware, you can ensure a successful installation that extends the lifespan of your furniture.
Assess Your Current Table and Replacement Needs
Before purchasing a new table support leg, you must determine if replacing the legs will actually resolve the issue. Inspect the tabletop thoroughly to confirm that the core structure is sound. If the tabletop is warped, cracked, or suffering from moisture damage, installing new legs will not create a level or stable surface. Look closely at the underside of the table, especially around the existing mounting points, to ensure the material is strong enough to hold new screws or inserts.
Next, consider the physical environment where the table will be used. Measure the available floor space, seating clearance, and walkway paths in your room. In compact living spaces, the style and placement of the table legs significantly impact usability. For example, thick pedestal legs or wide-angled legs might restrict how far you can push in your chairs, or they may obstruct walkways. If you need to move the table to a workshop or balcony for assembly, verify that the tabletop and legs can easily pass through your doorways and lift access points.
Products mentioned in this guide
![[SG Stock]Adjustable Telescopic Table Leg Heavy Duty Furniture Support Leg Cabinet Sofa Bed Replacement Leg Height Adjus](https://img.lazcdn.com/g/p/e78187956e5e275d0c3db08ff12669b7.jpg_400x400q80.jpg_.webp)
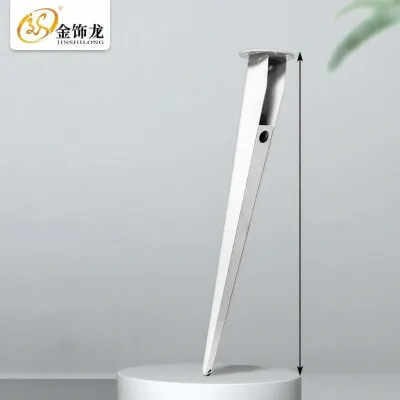
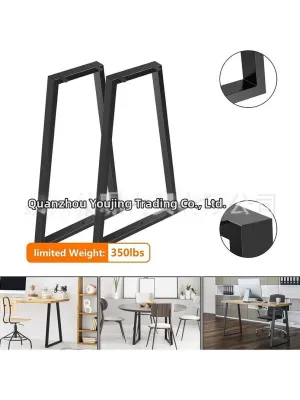
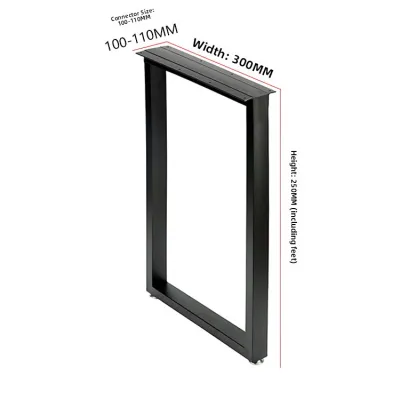
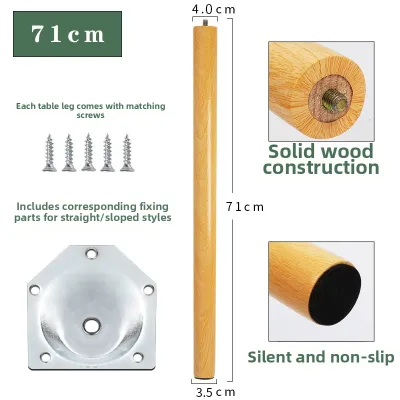
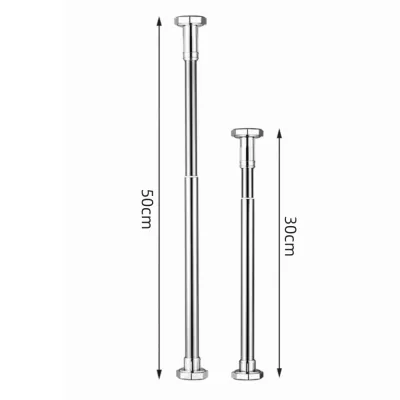
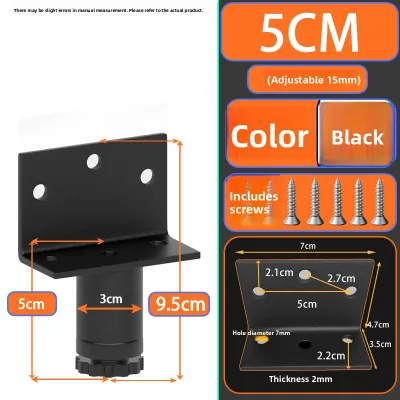
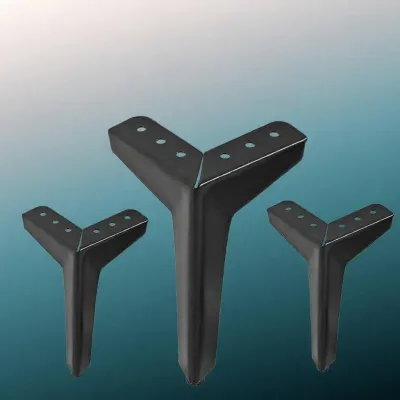
Prices are valid at publication and may change. Please refer to the product page for the latest price.
Finally, identify the tabletop material and internal structure. Solid wood tables offer the greatest flexibility because they can be drilled and re-drilled easily. However, engineered woods like MDF, particleboard, or hollow-core materials require specialized anchors or specific mounting plates to prevent the wood from crumbling under lateral stress. Glass, stone, or metal tabletops require pre-installed mounting bosses or brackets; you cannot simply screw a standard table support leg into these materials without professional adhesive or factory-fitted inserts.
Measure for the Correct Table Support Leg Size
Achieving proper ergonomics and stability depends entirely on accurate measurements. To determine the required leg length, first decide on your ideal overall table height. Standard dining tables and desks typically stand between 70 and 76 centimeters high, while coffee tables and side tables are much lower. Once you have this target height, measure the exact thickness of your tabletop using a caliper or a precise tape measure. Subtract the tabletop thickness from your desired overall height to find the exact length of the replacement table support leg.

Load-bearing capacity is another critical dimension that dictates leg size and thickness. Calculate the total weight the legs must support, which includes the weight of the tabletop itself plus the maximum expected load during daily use. For a home office desk, account for heavy monitors, desktop towers, and books. For a dining table, consider the weight of tableware and the occasional pressure of users leaning on the surface. When shopping for a table support leg, always check the manufacturer’s rated load capacity per leg rather than guessing based on visual thickness alone.
Additionally, map out the width and placement of the new legs relative to the tabletop edges. If the legs are set too far inward, the table may become top-heavy and prone to tipping when weight is applied to the outer edges. If they are placed too close to the corners, they might interfere with the legs of your chairs or restrict user legroom. Measure the distance between the existing mounting holes and compare them to the footprint of the new leg’s top plate to ensure a clean, uncrowded fit.
Identify the Mounting Type and Attachment Method
The connection between the tabletop and the table support leg is the most common failure point in DIY furniture repairs. Inspect the underside of your table to identify the current attachment method. The most common systems include flat top plates secured with wood screws, threaded inserts embedded in the wood, or hanger bolts that screw directly into a pre-installed bracket. Matching the new legs to the existing mounting system will simplify the installation process and preserve the integrity of the tabletop.
If the existing mounting holes are stripped or damaged, you must decide whether to repair them or establish new attachment points. For stripped wood screw holes, you can glue wooden dowels into the cavities, let them dry, cut them flush, and drill new pilot holes. Alternatively, you can install threaded metal inserts, which provide a highly secure, reusable connection for machine bolts. If you choose to drill new pilot holes, ensure they are positioned far enough away from the old, weakened holes to maintain structural strength.
Selecting the correct screw length is paramount to preventing irreversible damage to your tabletop. A screw that is too long will pierce through the finished top surface, ruining the table’s appearance. A screw that is too short will not engage enough wood fibers, leading to a weak joint that can pull out under lateral pressure. To find the safe screw length, measure the thickness of the tabletop and the thickness of the leg’s mounting plate. Subtract at least 5 millimeters from the total tabletop thickness to determine the maximum depth the screw should penetrate into the wood.
Choose the Right Material and Design for Stability
The material and design of your replacement table support leg directly influence both the structural rigidity and the visual balance of the furniture. Do not rely solely on material names like “metal” or “wood” as a guarantee of strength. Instead, look for specific construction details. For metal legs, check the gauge or wall thickness of the steel or aluminum, as well as the quality of the welds at the mounting plate. For wooden legs, ensure they are crafted from dense hardwoods rather than softwoods, which can split under heavy loads.
The physical shape of the leg also plays a major role in tipping resistance and stability. Straight, vertical legs provide direct downward support and keep the table’s footprint compact. Angled or splayed legs offer a wider base, which increases lateral stability and reduces wobble, but they require more floor space and can become a tripping hazard if they extend past the tabletop’s perimeter. Pedestal bases centralize the support, freeing up legroom, but they must be paired with a heavy, wide base plate to prevent the table from tipping when pressure is applied to the edges.
If your table will be placed on uneven flooring, such as rustic tiles, stone, or slightly sloped apartment floors, look for legs equipped with adjustable leveling feet. These threaded glides allow you to adjust the height of each leg individually by a few millimeters. This simple feature eliminates the need for unsightly shims or folded cardboard, ensuring the table remains perfectly level and wobble-free on almost any surface.
Step-by-Step Installation and Stability Verification
Proper installation techniques protect your furniture from damage and ensure the long-term stability of the replacement legs. Begin by preparing a clean, flat workspace. Lay down a thick, soft blanket, moving pad, or clean cardboard on the floor to protect the tabletop’s finished surface from scratches, dents, or pressure marks. Carefully flip the table upside down onto the protected surface, ensuring it is stable and will not shift during the process.
Align the new table support leg mounting plates with your marked or pre-drilled holes. When securing the hardware, always follow the manufacturer’s instructions regarding torque and tightening sequences. Use a hand screwdriver rather than an impact driver to avoid over-tightening and stripping the threads, especially when working with engineered wood or MDF. Tighten the screws or bolts gradually in a cross-pattern—similar to tightening lug nuts on a car wheel—to distribute the clamping force evenly across the mounting plate.
Once all legs are securely attached, carefully flip the table back onto its feet with the help of another person to avoid putting excessive lateral leverage on the new joints. Perform a manual wobble test by gently shaking the table from side to side and front to back. Check for any structural flex or gaps between the mounting plates and the tabletop. If you notice any persistent wobbling, check that the leveling feet are adjusted correctly. If the joints show signs of stress, or if the tabletop material begins to crack, stop using the table immediately and consult a qualified carpenter or furniture professional.
Frequently Asked Questions (FAQ)
Can I use longer table support legs on a small tabletop?
Using significantly longer legs on a small tabletop increases the risk of tipping because it raises the table’s center of gravity. To maintain stability, a taller table requires a wider base footprint, cross-bracing, or a heavier tabletop to anchor the structure. Before modifying your table’s original proportions, consult the leg manufacturer’s maximum height-to-width ratio guidelines to ensure the configuration remains safe for daily use.
How do I remove stripped screws from old table legs?
To remove a stripped screw, first try placing a wide rubber band over the screw head and inserting your screwdriver firmly to gain extra grip. If that fails, you can use a manual screw extractor tool designed to grip damaged screw heads. If the screw head breaks off entirely or the wood insert becomes severely damaged, stop immediately and seek professional carpentry assistance to avoid permanently ruining the underside of your tabletop.
Community discussion
Share your experience or ask a question. Comments are reviewed before publication.