
Selecting the right screw hole cover requires measuring the exact inner diameter of the pre-drilled pocket or recess, rather than the screw head itself, and choosing a style—such as self-adhesive caps, push-in plastic plugs, or wooden caps—that matches both the depth of the hole and the aesthetic of the furniture. In Singapore’s humid climate, factors like adhesive quality and material resistance to moisture expansion are critical to preventing covers from peeling or popping out over time.
When assembling or repairing furniture, exposed screw heads and empty pre-drilled holes can disrupt the clean, polished look of your shelves, cabinets, or wardrobes. The solution is a simple, inexpensive accessory: the screw hole cover. However, finding a cover that sits perfectly flush and blends seamlessly with your furniture requires precise measurement and careful selection. Choosing the wrong size or style can lead to covers that pop out, sag, or protrude, creating an uneven surface that catches dust and snags fabrics.
Whether you are dealing with flat-pack particle board furniture, solid wood cabinets, or metal frames, taking the time to prepare and measure will guarantee a professional finish. By understanding the physical dimensions of the hole and selecting the appropriate material, you can restore the seamless appearance of your furniture and protect the underlying structure from dust and moisture.
Products mentioned in this guide
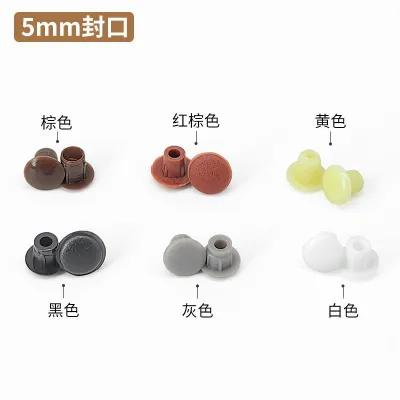
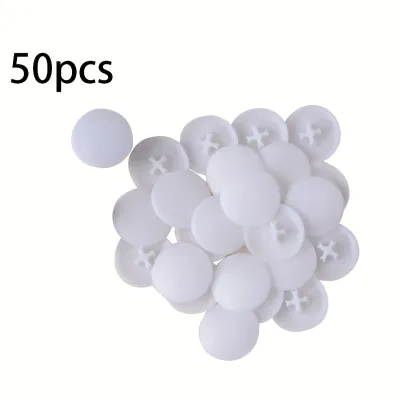
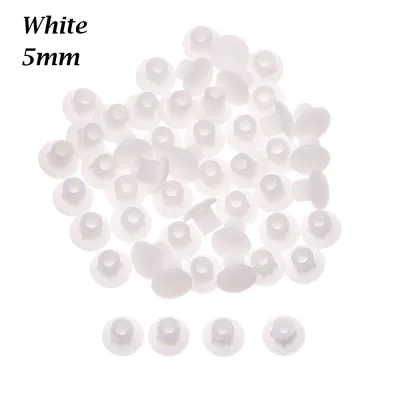
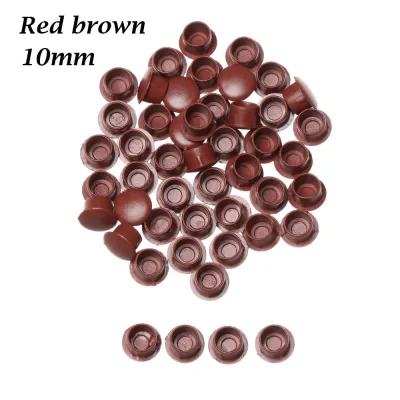
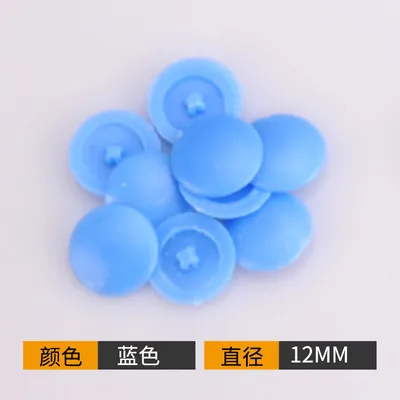
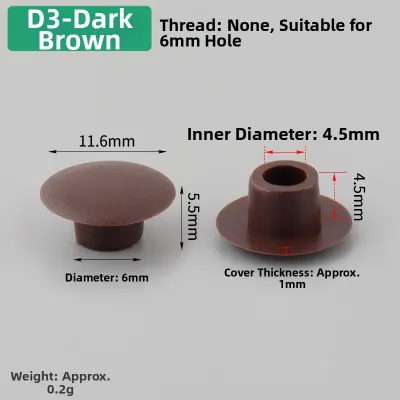
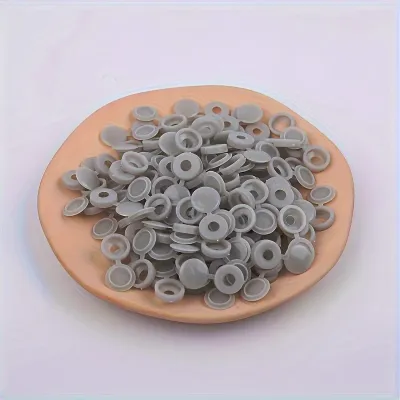
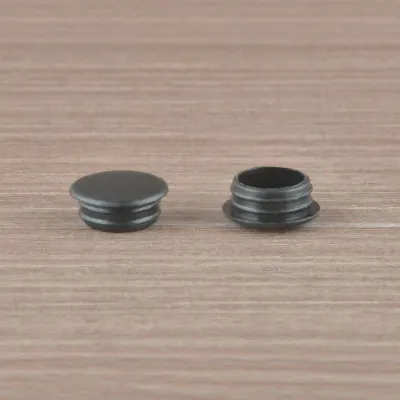
Prices are valid at publication and may change. Please refer to the product page for the latest price.
Tools and Materials for Accurate Measuring and Installation
Before you begin measuring or ordering replacement covers, gathering the correct tools will save you time and prevent costly sizing mistakes. While a standard household tape measure is useful for general dimensions, it often lacks the precision needed for tiny screw holes, which are typically measured in single millimeters.
Here are the essential tools and materials you should assemble:
- Digital Calipers: This is the single most important tool for achieving a professional finish. A digital caliper provides millimeter-level accuracy, allowing you to measure the exact inner diameter of a hole and the depth of a recess without the parallax errors common with flat rulers.
- Metric Ruler or Tape Measure: If calipers are unavailable, a high-quality metal ruler with clear millimeter markings can serve as a basic alternative. Avoid using soft fabric tape measures, as they can stretch and distort measurements.
- Cleaning Supplies: Isopropyl alcohol (minimum 70% concentration) is crucial for prepping the surface. You will also need a microfiber cloth to wipe away residue, and a soft-bristled brush or wooden toothpicks to clear out loose wood fibers, dust, or old adhesive from inside the hole.
- Installation Aids: Fine-tipped tweezers are incredibly helpful for handling small adhesive stickers or tiny plastic plugs without touching the adhesive backing. A plastic scraper or a stiff plastic card (like an old membership card) is useful for smoothing out stickers and removing old, damaged covers without scratching the furniture's finish.
- Furniture-Grade Adhesive: For unbacked wooden plugs or loose-fitting plastic caps, a small bottle of clear, fast-curing polyurethane or acrylic-based furniture glue can provide a permanent bond.
How to Measure Screw Holes for a Precise Fit
Achieving a completely flush finish relies entirely on how accurately you measure the existing holes. Many homeowners make the mistake of measuring the head of the screw or guessing the size based on the tool they used to assemble the piece. Instead, you must measure the physical cavity that the cover will occupy. Follow these four steps to ensure a perfect fit:

Step 1: Clean the hole
Before taking any measurements, the hole must be completely free of debris. Manufacturing processes often leave behind wood chips, sawdust, or dried glue inside pre-drilled holes. Use a wooden toothpick to gently scrape the inner walls and bottom of the hole, then use a soft brush to sweep out the loose particles. Finally, dampen a microfiber cloth with a small amount of isopropyl alcohol and wipe the interior and the immediate surrounding surface. This ensures that your measuring tools can sit flat against the true edges of the hole and that future adhesives will bond correctly.
Step 2: Measure the diameter
The diameter of the hole determines the size of the cover you need to purchase.
- Using Digital Calipers: Insert the upper internal jaws of the caliper into the hole. Gently expand the jaws until they make firm contact with the inner walls of the recess. Read the measurement on the digital screen. Repeat this measurement at a slightly different angle to ensure the hole is truly round and not oval-shaped.
- Using a Metric Ruler: Place the ruler flat across the opening of the hole. Align the zero mark precisely with the inner left edge of the hole. Look directly down over the hole—not from an angle—to read the millimeter mark on the inner right edge.
- Key Rule: Always measure in millimeters. Most furniture hardware in Singapore and internationally is standardized on the metric system (common sizes include 5mm, 8mm, 10mm, 12mm, 15mm, and 20mm).
Step 3: Measure the depth
The depth of the hole dictates whether a plug-style cover can sit flush or if you must use a flat adhesive sticker.
- Insert a wooden toothpick straight into the hole until it presses flat against the top of the screw head.
- Use a fine-tip pen or pencil to mark the toothpick exactly where it meets the flush surface of the furniture panel.
- Remove the toothpick and measure the distance from the tip to your mark using your ruler or calipers.
- If you are using digital calipers, you can simply slide the depth probe (the thin metal rod extending from the bottom of the caliper) into the hole until it bottoms out against the screw, then slide the caliper body down to the furniture surface to read the depth directly.
- The depth must be deep enough to accommodate the stem or thickness of your chosen cover. If the hole is shallower than 1.5mm, a push-in plug will likely protrude, meaning a flat adhesive sticker is the better option.
Step 4: Check the hole shape and condition
Examine the entry point of the hole. Is it a clean, sharp, 90-degree edge, or is it countersunk (beveled at the top to allow a screw head to sit flush)? If the edge is chipped, blown out, or slightly enlarged due to over-tightening during assembly, a standard plug might not cover the damage. In such cases, you will need to choose an oversized cover that overlaps the edges of the hole rather than sitting entirely inside it.
How to Select the Correct Size, Style, and Material
Once you have your precise measurements, you can select the correct type of screw hole cover. The market offers several styles and materials, each suited to specific furniture types, aesthetic goals, and environmental conditions.
Matching the diameter
Your choice of cover style determines how you should match your measured diameter:
- For Push-In Plugs: The stem of the plug must match the measured inner diameter of the hole exactly. For example, if your caliper reads 8.0mm, you must purchase an 8mm plug. The flexible ribs on the stem are designed to compress slightly to create a tight friction fit.
- For Self-Adhesive Caps (Stickers): You should select a sticker diameter that is at least 2mm to 4mm larger than the hole diameter. This extra width provides a secure, flat border that adheres to the furniture surface around the hole, preventing the sticker from sagging into the cavity or peeling off at the edges. For a 10mm hole, a 12mm or 14mm sticker is ideal.
Choosing the installation type
- Self-Adhesive Covers: These are thin, flexible discs made of PVC or paper with a pressure-sensitive adhesive backing. They are the easiest to install and are perfect for shallow holes, flat-pack laminate furniture, and areas where clearance is tight (such as behind sliding wardrobe doors).
- Snap-In / Friction-Fit Plugs: These are rigid plastic caps with a ribbed or tapered stem. They are designed to be pressed directly into the hole, where the ribs grip the wood or plastic walls. They are excellent for deeper holes, such as those housing cam lock fasteners or deep pocket screws.
- Glue-On Wooden Plugs: Typically made of solid wood (such as oak, pine, maple, or rubberwood), these plugs feature a tapered bottom and a flat or domed top. They are designed to be glued into solid wood furniture, sanded down flat, and finished (stained or painted) along with the rest of the piece.
Selecting the material and finish
- Wood-Grain PVC: These covers feature printed textures that mimic natural wood grains. They are highly resistant to moisture, making them suitable for Singapore's humid climate. However, a material name alone does not guarantee long-term durability; always check the product specifications to ensure the finish is scratch-resistant and UV-stabilized, especially if the furniture is placed near windows where intense sunlight can cause fading or peeling.
- Solid-Color ABS Plastic: ABS is a tough, impact-resistant plastic commonly used for solid white, black, grey, or beige furniture. It is highly durable and does not chip easily, making it ideal for high-traffic areas like study desks or living room shelving.
- Natural Wood: Best for high-end solid wood furniture. Because natural wood absorbs moisture, ensure that any wooden plug you use is sealed with a clear lacquer, varnish, or wax after installation to prevent it from swelling, warping, or developing mold in humid environments.
Profile and thickness
Consider the physical clearance of your furniture. If the screw hole is located on the inside frame of a kitchen cabinet door or a sliding drawer runner, a protruding cap can block the door from closing completely or cause the drawer to stick. For these tight clearance zones, always opt for ultra-thin self-adhesive covers (which typically have a profile of less than 0.3mm) rather than thicker plastic plugs. Price-wise, basic plastic plug packs of 50 to 100 pieces generally range from S$2 to S$5 on online marketplaces, while high-quality textured PVC sheets or solid wood plugs can range from S$6 to S$15 depending on the wood species and finish.
Step-by-Step Installation and Flush-Fit Verification
Installing your screw hole covers correctly ensures they remain secure and virtually invisible for years. Follow these step-by-step instructions to achieve a professional, flush-fit result:
Step 1: Final surface preparation
Even if you cleaned the hole during the measuring phase, a final wipe-down is essential right before installation. Human skin naturally transfers oils to furniture during handling, and any airborne dust can settle quickly. Dampen a clean microfiber cloth with isopropyl alcohol and thoroughly clean the area immediately surrounding the hole. Let the surface air-dry completely for one to two minutes. Do not use household glass cleaners or multi-purpose sprays, as they often leave behind a thin silicone or chemical film that prevents adhesives from bonding.
Step 2: Application technique
- For Self-Adhesive Covers: Use fine tweezers to peel the sticker from its backing sheet. Avoid touching the adhesive side with your fingers, as skin oils will weaken the glue. Align the sticker directly over the center of the hole. Lower it gently onto the surface. Once aligned, press your thumb firmly down in the center of the sticker, then slide your thumb outward in a spiral motion toward the edges. This forces out any trapped air bubbles and ensures a strong bond.
- For Snap-In Plugs: Position the plug's stem straight over the opening of the hole. Press down firmly with your thumb. If the fit is tight, do not force it with a metal hammer, which can dent the furniture or crack the plastic cap. Instead, place a soft microfiber cloth over the cap and tap it gently with a rubber mallet or the flat plastic handle of a screwdriver until it sits flush.
- For Wooden Plugs: Apply a tiny drop of wood glue to the inner wall of the hole (not too much, or it will squeeze out and ruin the finish). Insert the tapered end of the wooden plug, place a block of scrap wood over it to protect the surface, and tap it home with a mallet. Wipe away any squeezed-out glue immediately with a damp cloth.
Step 3: Curing time
For adhesive-backed covers and glued wooden plugs, patience is key. While the covers may feel secure immediately, the adhesive requires time to cure and form a permanent bond. Avoid touching, dusting, or applying furniture polish to the area for at least 12 to 24 hours. In Singapore’s high relative humidity, adhesives can take slightly longer to reach their full bonding strength.
Step 4: Verification method
Once the curing time has passed, test the quality of your installation. Run your fingernail or the flat edge of a plastic card gently across the cover. The card should glide smoothly from the furniture surface onto the cover without catching, lifting, or hitting any raised edges. Inspect the cover from a low angle to ensure there are no visible gaps or warping. If you used wood-grain stickers, stand back a few paces to verify that the grain direction aligns naturally with the surrounding wood pattern.
Troubleshooting Fit, Depth, and Adhesion Issues
Even with careful measurement, you may occasionally run into issues during installation. Here is how to solve the most common problems safely and reversibly:
Cover sits too high (protruding)
If a snap-in plug or wooden cap refuses to sit flush, the hole is likely too shallow, or the screw head inside the hole is not driven deep enough.
- The Fix: First, try tightening the screw by a quarter-turn using a manual screwdriver to see if it can be recessed further without stripping the wood fibers. If the screw is already fully tight, do not force it. Instead, use a pair of sharp utility shears or wire cutters to trim a millimeter or two off the bottom of the plastic plug's stem. If the entire cavity is simply too shallow, replace the plug with a thin self-adhesive sticker.
Cover falls out or won't stick
If a self-adhesive cover peels off or a plug falls out of the hole, the culprit is usually poor adhesion or an oversized hole.
- The Fix: Peel off the failing cover and discard it. Thoroughly re-clean the area with isopropyl alcohol to remove any residual glue, wax, or manufacturing oils. If you are using a plastic plug that is slightly too loose, wrap a single layer of plumber's Teflon tape around the ribbed stem to increase its diameter and create a tighter friction fit. For a more permanent solution, apply a tiny speck of clear, furniture-safe acrylic adhesive inside the hole before inserting the plug.
Damaged or oversized holes
If the edges of the screw hole are chipped, cracked, or blown out (common in particle board furniture), a standard plug or sticker will look messy and fail to seal.
- The Fix: You must rebuild the structural edge of the hole before covering it. Clean out any loose wood fibers. Apply a high-quality wood filler or a wax repair stick that matches the color of your furniture. Pack the filler tightly into the chipped areas, smooth it flat with a plastic putty knife, and let it dry completely according to the manufacturer's instructions. Once cured, sand the area lightly until it is perfectly flat, wipe away the dust, and apply an oversized adhesive cover to conceal the repair beautifully.
Community discussion
Share your experience or ask a question. Comments are reviewed before publication.