
Raising a table with a table height extender is a practical way to improve ergonomics, accommodate new seating, or repurpose existing furniture. Achieving a stable and level result requires careful preparation, precise measurement, and systematic installation. By matching the extender type to your table’s leg design and following a structured attachment process, you can safely elevate your workspace or dining area without compromising structural integrity.
Assess Furniture and Extender Compatibility
Before purchasing or installing any table height extender, you must verify that your existing furniture can safely support the modification. Start by examining the shape and diameter of your table legs. Round, square, and tapered legs all require specific extender designs to ensure a snug, secure fit. Measure the bottom profile of the leg precisely with a tape measure, and compare these dimensions with the internal opening of the extender.
Next, evaluate the material of both the table and the extenders. Solid wood and metal legs are generally excellent candidates for modifications, whereas hollow metal, thin plastic, or engineered wood legs may crack or collapse under concentrated stress. Check the manufacturer’s specifications for the weight capacity of the extenders. This limit must accommodate the weight of the tabletop itself and the maximum expected load of items or equipment.
Products mentioned in this guide
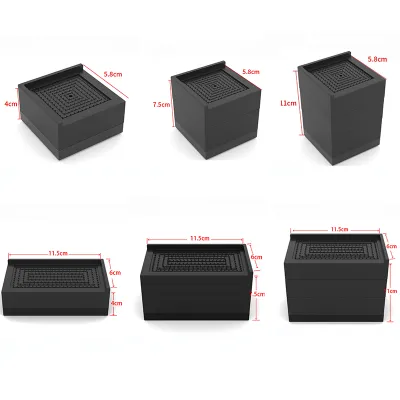
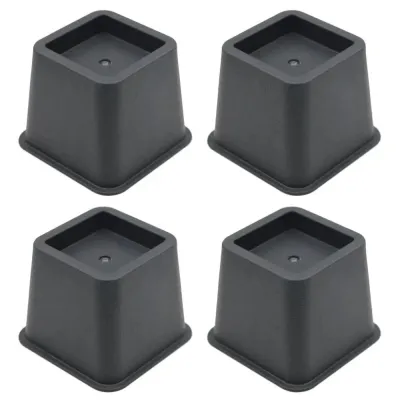
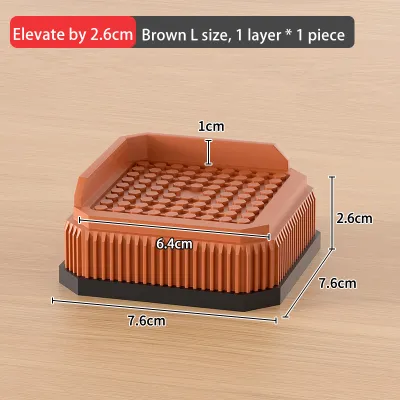
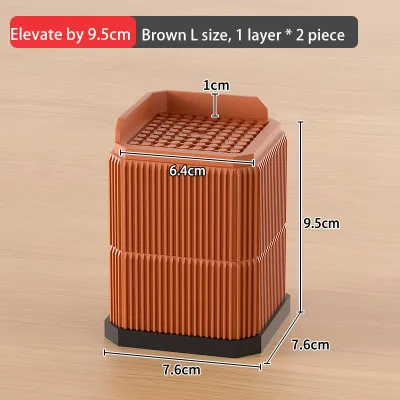
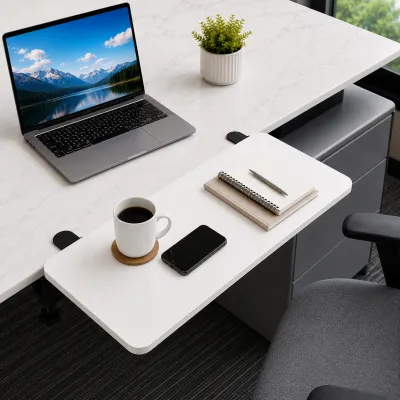
Prices are valid at publication and may change. Please refer to the product page for the latest price.
Finally, identify the mounting mechanism that best suits your table. Slip-on extenders slide over the bottom of the leg and rely on friction. Screw-in models require an existing threaded insert or drilling a pilot hole to secure a hanger bolt. Clamp-on extenders grip the sides of the leg using adjustable tension screws. Ensure the chosen mechanism aligns with your comfort level for modification and the structural limits of the furniture.
Gather Required Tools and Materials
Having the correct tools on hand prevents interruptions and reduces the risk of damaging your furniture during installation. For screw-in or clamp-on extenders, gather basic hand tools such as screwdrivers, adjustable wrenches, or hex keys that match the provided hardware. A rubber mallet can be useful for gently tapping slip-on extenders into place without marring the finish of the wood or metal.

Precision is key to a level table, so keep a tape measure and a spirit level nearby. The tape measure allows you to verify that each extender is set to the exact same height, while the spirit level will confirm the final alignment of the tabletop.
Protecting your workspace is equally important. Lay down a thick moving blanket or heavy cardboard on the floor. This cushioning prevents scratches on your tabletop when it is turned over and protects your flooring from tools or hardware dropped during the assembly process.
Step-by-Step Installation Process
Modifying your furniture requires a methodical approach to ensure the final setup is safe and reliable. The installation process is divided into three distinct phases: preparing the workspace and table, physically attaching the extenders, and performing the final leveling adjustments. Always read the specific manufacturer’s instructions included with your table height extender kit, as hardware configurations and torque requirements can vary significantly between brands.
Preparing the Table and Workspace
Begin by clearing the entire area around the table to give yourself ample room to maneuver. Remove all objects from the tabletop, including computers, books, or decor, to prevent accidents. Lay your protective blanket or cardboard flat on the floor next to the table.
With the workspace prepared, carefully tilt or flip the table upside down so the legs point upward. If the table is heavy or constructed of solid hardwood, always ask a second person to assist with the lifting. Attempting to flip a heavy table alone can lead to personal injury or cause the legs to bend and splinter under lateral pressure.
Once the table is securely positioned, clean the bottom of each leg thoroughly. Use a damp microfiber cloth to remove accumulated dust, dirt, or old adhesive residue. A clean, dry surface ensures that the extenders sit completely flush against the leg, preventing microscopic shifting that can lead to instability later.
Attaching the Extenders
With the table legs fully accessible, you can begin the attachment process. The exact method depends on your chosen table height extender. For slip-on models, align the extender opening with the bottom of the leg and slide it on smoothly. If the fit is tight, use a rubber mallet to tap it gently until the leg bottom bottoms out completely inside the cup.
For screw-in extenders, inspect the existing threaded inserts in the table legs. If they match the thread pitch of the extender bolts, screw them in clockwise by hand. If you must drill pilot holes for new inserts, use a drill bit matched to the insert specification and install the hardware straight. For clamp-on models, position the bracket at the designated height on the leg and tighten the clamping bolts manually to hold them in place.
Avoid forcing any components during this stage. Forcing a tight slip-on sleeve can split wooden legs, while cross-threading a screw-in bolt can permanently ruin the internal threads. Secure each extender temporarily so it is held firmly in place, but do not apply maximum torque yet. This allows you to check the alignment of all four legs before finalizing the installation.
Securing and Leveling the Table
Once all extenders are temporarily aligned, proceed to tighten the fasteners fully. Work in a diagonal pattern around the table, tightening opposite legs progressively to distribute the tension evenly. Avoid over-tightening screws or clamps, as excessive force can strip threads, crush hollow metal legs, or split natural wood fibers.
With the extenders securely fastened, carefully lift and flip the table back onto its feet with the help of your assistant. Place the table in its permanent location on the floor. Place a spirit level flat on the center of the tabletop, checking the reading from front to back and side to side.
If the bubble in the spirit level is not centered, identify which legs require adjustment. Many high-quality table height extenders feature built-in adjustable leveling feet at the bottom. Rotate these feet clockwise or counterclockwise to fine-tune the height of individual legs. If your extenders do not have built-in levelers, you can insert thin, durable furniture shims beneath the lowest legs until the tabletop sits flat.
Post-Installation Stability and Safety Checks
Before returning the table to regular service, you must verify its structural stability. Perform a manual wobble test by placing both hands on the center of the tabletop and applying gentle downward and lateral pressure. Repeat this test at the corners and edges. The table should feel firm and resist swaying; any significant movement indicates a loose connection or uneven leg lengths.
Next, perform a close visual inspection of all connection points. Get down to eye level with the extenders and look for any visible gaps between the original leg and the extender body. Check for signs of material stress, such as hairline cracks in wooden legs, bending in metal brackets, or deformation of plastic sleeves. If you observe any of these issues, disassemble the components immediately to inspect for damage.
Finally, evaluate the ergonomics of the new setup. Sit in your standard chair at the elevated table to confirm there is adequate clearance for your knees and thighs. The new height should allow your arms to rest comfortably on the surface without straining your shoulders or back. Ensure that the modified height does not block nearby walkways, power outlets, or window clearances in your room.
Troubleshooting Common Installation Issues
Even with careful installation, you may encounter minor issues that require troubleshooting. If the table exhibits a persistent wobble despite all extenders being tightened, check the flatness of your flooring. Uneven tile grout lines or warped wooden floorboards can cause rocking. Relocating the table slightly or adjusting the built-in leveling feet can often resolve this issue without further modification.
If you discover that your table legs are slightly smaller than the opening of a slip-on extender, do not leave them loose. You can bridge the gap by wrapping the bottom of the table leg with high-friction rubber tape or inserting thin felt padding inside the extender cup. This creates a snug, customized fit and prevents the leg from shifting inside the sleeve.
Knowing when to stop is critical for safety. If you encounter structural damage, such as a leg that splinters during drilling, or if the table remains severely unstable after multiple adjustment attempts, halt the installation immediately. Do not attempt to use adhesive or makeshift bracing to force a fit. In these situations, consult a professional furniture repair specialist or replace the legs entirely to ensure the table remains safe for daily use.
Frequently Asked Questions (FAQ)
Can I install table height extenders on tables with wheels or casters?
Installing height extenders on furniture equipped with wheels or casters requires extreme caution. Raising the height of a table shifts its center of gravity upward, which naturally increases the risk of tipping when the table is pushed or moved. Most standard table height extenders are designed for stationary legs and do not provide a secure mounting point for casters.
If your table has wheels, you should check if the extenders are specifically rated to support caster stems. In most cases, the safest approach is to remove the wheels entirely before installing the extenders. If mobility is essential, look for specialized heavy-duty risers that lock both the leg and the wheel securely in place, or consult the manufacturer’s guidelines to ensure the modified setup remains stable during movement.
Will adding height extenders void my furniture's warranty?
Modifying your furniture with aftermarket accessories can have implications for its warranty coverage. Many furniture manufacturers include clauses stating that any structural alterations, drilling, or unauthorized modifications will void the warranty. If you drill pilot holes into the legs or attach clamp-on extenders that scratch or dent the original finish, any future warranty claims regarding structural failures may be denied.
To protect your investment, always review the original manufacturer’s warranty policy before making permanent changes. If you want to preserve the warranty, opt for non-invasive, damage-free solutions like slip-on padded risers that do not require drilling or adhesive. This allows you to elevate your table while keeping the original structure completely intact.
Community discussion
Share your experience or ask a question. Comments are reviewed before publication.