
Installing modular shelving in a corner cabinet is one of the most effective ways to reclaim lost space in your kitchen or pantry. Corner cabinets, particularly those with deep blind corners, often become dark zones where items are forgotten or left inaccessible. By choosing a modular system, you can customize the height, layout, and accessibility of your storage to fit your specific household needs.
To achieve a successful installation, you must carefully measure your cabinet’s interior, select compatible hardware, and secure the supports to withstand daily use. This guide walks you through the entire process, from initial assessment to final organization, ensuring your new shelving system is stable, level, and fully optimized for maximum storage.
Assess Your Corner Cabinet and Shelving Compatibility
Before purchasing any modular shelving components, you must determine if your chosen system is compatible with the physical dimensions and structural limits of your corner cabinet. Start by measuring the interior depth, width, and height of the cabinet. Pay close attention to the “blind corner”—the deep, recessed area that extends past the door opening—as this space requires careful planning to ensure shelves can be accessed easily.
Products mentioned in this guide
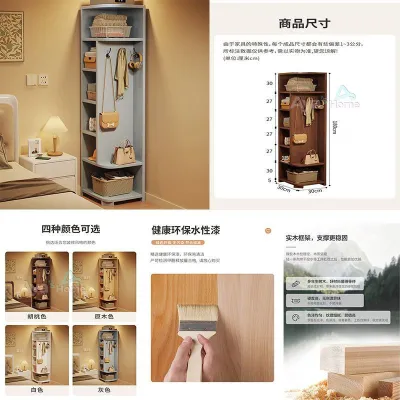
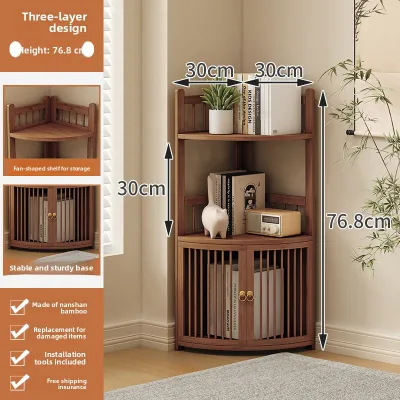
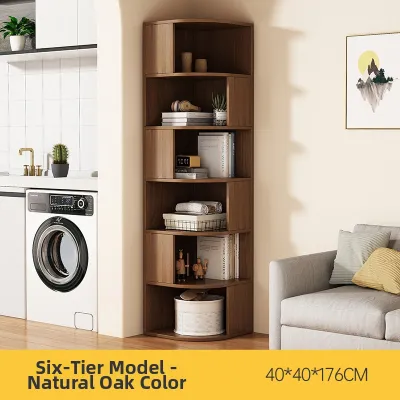
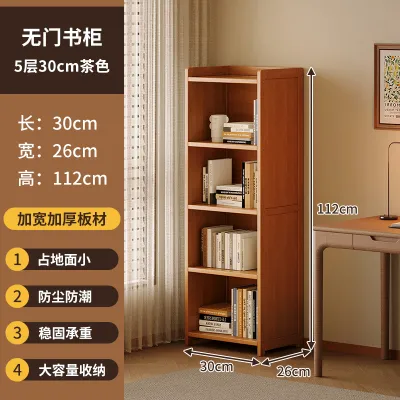
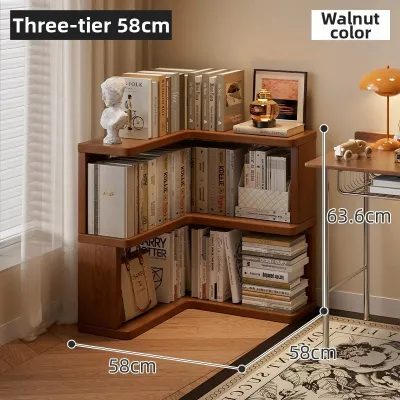
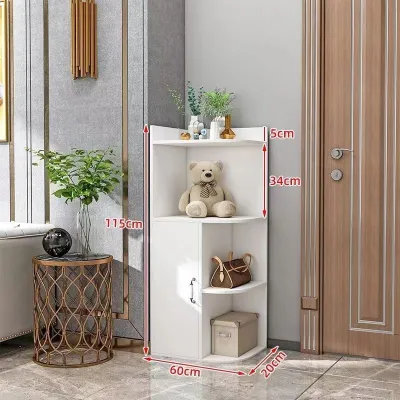
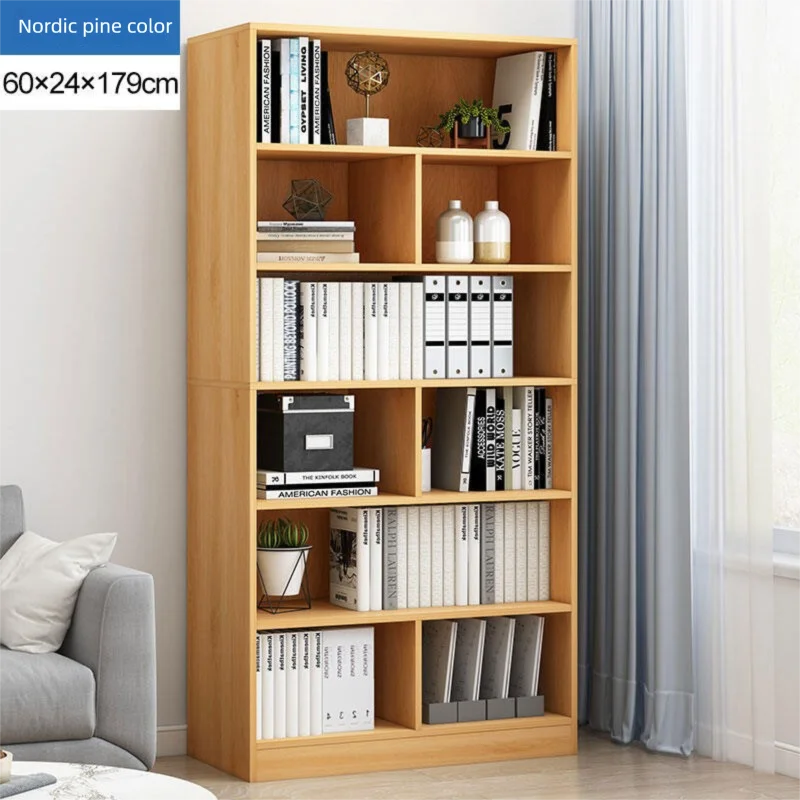
Prices are valid at publication and may change. Please refer to the product page for the latest price.
You must also measure the door clearance. The door opening width is often significantly narrower than the interior cabinet width, which is a common layout challenge in compact apartments. Ensure that any modular shelves, especially those designed to slide or swing out, can pass through the open door frame without scraping the cabinet face or obstructing the door hinges. Take note of any protruding hinges or door-closing mechanisms that might reduce the usable entry width.
Next, examine the construction of your cabinet’s back panel and side walls. Many modern cabinets are constructed from engineered wood, such as particleboard or medium-density fiberboard (MDF), while others may feature solid wood or plywood. The material type and thickness dictate the load-bearing capacity of the cabinet walls and determine the specific anchors and fasteners you will need. If the back panel is thin hardboard, you cannot rely on it to support heavy shelving loads; instead, you must anchor your supports into the sturdier side panels or the structural wall studs behind the cabinet.
Finalizing your assessment requires verifying that the fully assembled modular shelving system will allow the cabinet doors to close completely. Even a minor misalignment or a protruding bracket can prevent the door from latching, leaving your kitchen looking untidy. Check the manufacturer’s specifications for the minimum depth required for installation and compare it against your actual interior measurements.
Gather the Right Tools and Hardware
Having the correct tools and hardware on hand prevents delays and ensures a clean, professional installation. For measuring and marking, you will need a reliable tape measure, a sharp pencil, and a spirit level. A spirit level is essential to ensure your shelves are completely horizontal, preventing stored items from sliding or tipping over.

Your choice of drill bits and fasteners must match the cabinet wall material. For standard wood or engineered wood cabinets, high-speed steel (HSS) drill bits are suitable for boring clean pilot holes. If you are mounting brackets into thin particleboard, standard wood screws may not provide enough grip; instead, look for specialized thread-forming screws or hollow-wall anchors designed specifically for manufactured wood.
Safety gear and surface protection are equally important. Wear safety glasses to protect your eyes from falling wood dust when working inside the dark cabinet interior. Keep a roll of high-quality masking tape nearby. Applying masking tape over your marked drill points prevents the cabinet’s laminate or veneer finish from splintering or chipping when the drill bit first makes contact.
Install the Modular Shelving Components
Executing the physical installation of your modular shelving requires a systematic approach. By breaking the process down into logical phases—preparing the space, mounting the structural supports, and securing the shelves—you can avoid alignment errors and ensure a sturdy final result. Take your time during each step to verify measurements and check for level alignment.
Prepare the Cabinet Interior
Begin by completely emptying the corner cabinet. Remove all existing items, loose shelves, and old shelf pegs. Clean the interior surfaces thoroughly with a mild degreasing cleaner and a microfiber cloth to remove any accumulated dust, grease, or cooking residue. A clean surface makes it much easier to see your pencil marks and ensures that masking tape adheres properly.
Once the cabinet is clean and dry, plan your shelf heights based on the items you intend to store. Use your tape measure to mark the desired heights on the interior side walls. To keep the shelves level, measure up from the cabinet floor at multiple points and connect the marks with a light pencil line. Use a spirit level to double-check that these lines are completely horizontal.
After finalizing your height marks, apply a strip of masking tape directly over the areas where you plan to drill. Re-mark your drill points on top of the tape. The tape stabilizes the surface fibers of the cabinet material, ensuring a clean hole without unsightly chipping around the edges of the laminate or veneer.
Mount the Shelving Supports
With your drill points marked and taped, you are ready to drill pilot holes. Select a drill bit that is slightly smaller than the shank of your mounting screws. To prevent drilling entirely through the cabinet wall to the exterior, wrap a piece of masking tape around the drill bit at the desired depth to act as a visual depth stop, or use a mechanical drill stop collar. Drill straight and steady into each marked point.
If your cabinet walls are made of thin particleboard or if you plan to store heavy items, insert the appropriate wall anchors into the pilot holes now. Gently tap them flush with the cabinet surface using a rubber mallet. If you are screwing directly into solid wood or thick plywood, you can skip the anchors and proceed directly to mounting the hardware.
Align your vertical tracks or mounting brackets with the drilled holes. Insert the screws and tighten them by hand or with a drill on a low torque setting to avoid stripping the wood threads. Before tightening the screws completely, place your spirit level against the tracks or brackets to ensure they are plumb and aligned with one another. Adjust as necessary, then secure the screws firmly.
Secure and Level the Shelves
Once the supports are securely mounted, you can install the modular shelves. Depending on your specific system, this may involve sliding the shelves into vertical tracks, resting them on adjustable brackets, or snapping them onto pre-installed pegs. Follow the manufacturer’s instructions to engage the locking mechanism for each shelf.
After placing the shelves, check them with your spirit level from front to back and side to side. If the shelves are not level, adjust the brackets or tracks slightly. Many modular systems allow for micro-adjustments without redrilling. Once level, tighten any integrated set screws or locking pins to prevent the shelves from shifting, sliding, or tipping when you place items on them.
Before fully stocking your new corner cabinet, perform a basic load test. Place a moderate, evenly distributed weight on each shelf and observe the supports for any signs of bending, sagging, or pulling away from the cabinet walls. If the system remains rigid and stable, your installation is successful, and you can proceed to organizing your items.
Maximize Usable Space with Smart Organization
To get the most out of your newly installed modular shelving, you must organize your items strategically. The deep, hard-to-reach blind corner of the cabinet is ideal for storing bulky, seasonal, or rarely used items, such as holiday platters, large mixing bowls, or backup pantry supplies. Keep your daily essentials, such as frequently used pots, pans, or dinnerware, at the front of the shelves where they are easily accessible.
If your modular shelving system supports add-on accessories, consider incorporating pull-out bins, wire baskets, or tiered risers. Pull-out bins allow you to slide items out of the deep corner into the light, making it easy to retrieve small jars or pantry goods without reaching into the dark. Tiered risers can help you utilize vertical space on individual shelves, preventing smaller items from being hidden behind larger ones.
Take advantage of the adjustability of your modular system by customizing the vertical gaps between shelves. Avoid leaving large, empty spaces above short items. By lowering a shelf to fit low-profile items like canned goods, you can free up enough vertical space to add an extra shelf level elsewhere in the cabinet, effectively doubling your usable storage area.
Troubleshooting Common Installation Issues
Even with careful planning, you may encounter minor issues during or after the installation process. If you find that your shelves are misaligned or wobbly, first check that all brackets are resting at the exact same height. Use your spirit level to identify which corner is out of alignment, loosen the mounting screws slightly, adjust the bracket position, and retighten.
If the cabinet door does not close fully after installation, the shelves or mounting hardware may be protruding too far forward. Check if the shelves can be pushed further back on their brackets. If the hardware itself is obstructing the door swing, you may need to reposition the vertical tracks deeper into the cabinet or use a utility knife or file to carefully trim any plastic or metal components that extend into the door path.
Stripped screw holes are a common problem when working with engineered wood like particleboard. If a screw spins freely without tightening, do not force it, as this compromises the structural integrity of the shelf support. Remove the screw, fill the stripped hole with a mixture of wood glue and wooden toothpicks or a specialized wood filler, and allow it to cure completely. Once dry, sand the area flush, drill a new pilot hole, and reinsert the screw. Alternatively, switch to a slightly larger screw or a heavy-duty toggle anchor designed for hollow walls.
Frequently Asked Questions (FAQ)
Can I install modular shelving in a cabinet with a laminate finish without chipping it?
Yes, you can achieve clean holes in laminate finishes by taking a few precautions. Always apply a strip of high-quality masking tape over your marked drill points before boring. The tape holds the brittle laminate surface together, preventing it from fracturing as the drill bit enters. Use a sharp, high-speed steel or brad-point drill bit, and run your drill at a medium speed with light, steady pressure. For optimal results, you can also use a utility knife to lightly score a small circle through the laminate at your drill point before you begin drilling, which guides the bit and ensures a clean edge.
How much weight can standard particleboard cabinet walls support with modular shelves?
The weight capacity of particleboard cabinet walls depends heavily on the thickness of the board, the type of anchors used, and how the weight is distributed. Standard 15mm to 18mm particleboard can support moderate loads, but it is prone to stripping if screws are inserted directly without anchors. To maximize weight capacity, always use specialized nylon zip anchors, toggle bolts, or threaded drywall anchors designed for engineered wood. Avoid overloading a single shelf; instead, distribute heavy items like canned goods or cookware evenly across the shelf surface and close to the supported side walls rather than in the center. Refer to your modular shelving manufacturer’s guidelines for specific load limits.
Community discussion
Share your experience or ask a question. Comments are reviewed before publication.