
Maximising vertical space in a Singapore Housing & Development Board (HDB) flat is one of the most effective ways to keep your home organised and clutter-free. Installing a hanging storage basket allows you to utilise unused wall space in kitchens, bathrooms, and bedrooms without sacrificing valuable floor area. However, drilling into HDB walls—especially tough concrete structural walls or pre-cast panels—can be a noisy, dusty, and sometimes restricted process. Fortunately, you can securely mount these practical organisers using damage-free methods that preserve your walls and protect your rental deposit or pristine paintwork.
Achieving a secure hold without screws requires matching the right drill-free hardware to your specific wall surface and the weight of your items. By evaluating your wall materials, preparing the surface correctly, and selecting appropriate non-invasive mounting tools, you can enjoy stable, functional vertical storage. This guide outlines how to assess your space, choose the best damage-free mounting methods, and execute a flawless installation that keeps your baskets securely in place.
Assess Your Wall Type and Basket Weight
Before purchasing any mounting hardware, you must identify the material of the wall where you plan to hang your basket. HDB flats typically feature a mix of wall types, each interacting differently with adhesives and tension-based systems. Structural walls and household shelters are made of reinforced concrete, which is incredibly dense and highly receptive to high-quality adhesive hooks because the surface is exceptionally stable. Internal partition walls in newer Build-To-Order (BTO) flats are often made of drywall or lightweight concrete panels, which have a paper or plaster finish that can tear if subjected to excessive weight. Tiled walls, commonly found in HDB kitchens and bathrooms, offer a non-porous, smooth surface that is ideal for suction cups or heavy-duty water-resistant adhesives, provided you avoid placing the adhesive over grout lines.
Products mentioned in this guide
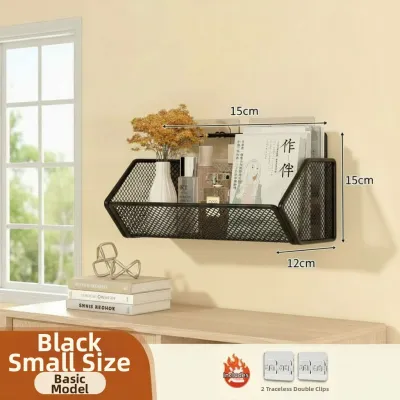
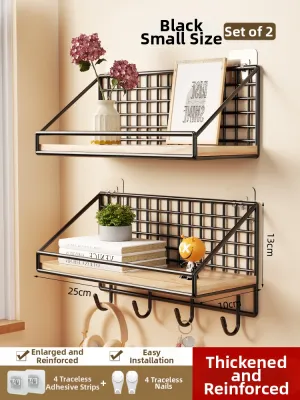
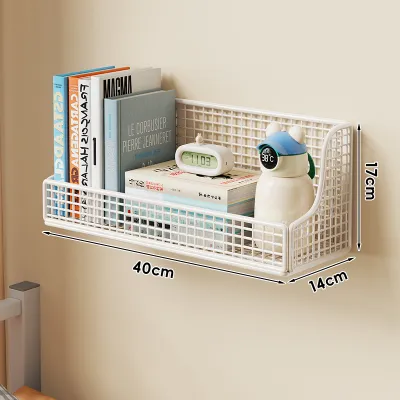
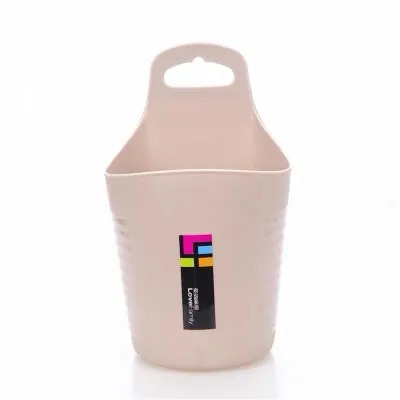
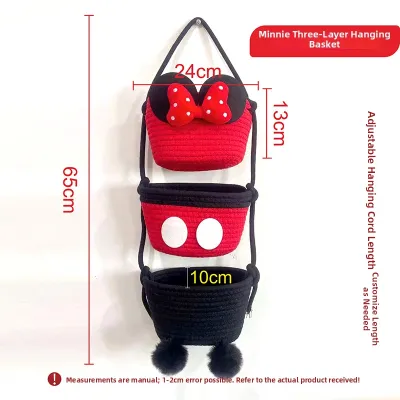
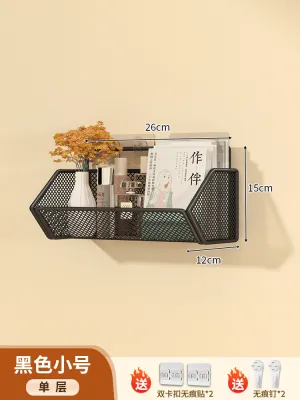
Prices are valid at publication and may change. Please refer to the product page for the latest price.
Next, determine the total weight the mounting system must support. This is a critical step: you must calculate the combined weight of the empty hanging storage basket and the maximum load of the items you intend to store inside it. Weigh the basket on a kitchen scale first, then estimate the weight of its future contents, such as toiletries, spices, or cleaning supplies. Never guess these values, as overloading is the primary cause of adhesive failure.
Additionally, inspect the condition of the wall surface itself. Look closely for signs of peeling paint, powdery plaster residue, bubbling, or moisture. Singapore’s humid climate can cause moisture to trap behind paint layers, weakening the bond between the paint and the underlying wall. If the paint is already flaking or the plaster feels chalky, any adhesive hook will simply pull the paint layer off the wall. In such cases, or if your calculated load exceeds the weight limits specified by adhesive manufacturers, you must stop and opt for alternative freestanding or over-the-door storage solutions instead of wall-mounted adhesives.
Choose the Right Damage-Free Mounting Method
Selecting the correct hardware depends entirely on your wall assessment and the weight of your hanging storage basket. There are three primary damage-free mounting methods suitable for HDB interiors, each offering distinct advantages for different scenarios.

Heavy-duty adhesive hooks and strips are the most versatile option for flat, painted walls and tiled surfaces. These products use specialised adhesives designed to hold substantial weight and release cleanly when pulled correctly. When selecting adhesive hooks, always check the manufacturer’s packaging for the rated weight capacity. Some heavy-duty options can support several kilograms, but this rating only applies when the hook is installed on a pristine, compatible surface.
For areas with doors, over-the-door hooks and organiser racks provide an exceptionally stable, zero-adhesive alternative. These metal or plastic brackets slip over the top edge of standard HDB bedroom or bathroom doors, distributing the weight of the basket across the door frame. This method is ideal for heavier baskets, as it does not rely on adhesive bonds. However, you must verify that your door has sufficient clearance at the top to close smoothly with the hooks in place, and ensure the door hinges are in good condition to handle the extra load.
Tension rods paired with S-hooks offer an excellent solution for recessed spaces, such as window frames, alcoves, or the gaps between two cabinets. By extending the rod until it fits tightly against the opposing walls, you create a sturdy horizontal bar from which you can hang multiple baskets. This method works best on hard, non-slip surfaces like concrete or tile, as the lateral pressure can dent or crack delicate drywall partitions. If none of these methods align with your wall type or weight requirements—such as trying to hang heavy ceramic pots or iron cookware—you should pivot to freestanding shelving units or trolley carts to avoid damaging your home.
Step-by-Step Installation Guide for Adhesive Hooks
To ensure your adhesive hooks achieve their maximum holding power, you must follow a precise installation process. Skipping steps or rushing the curing time will inevitably lead to a fallen basket and potential damage to your items.
Begin with thorough surface preparation. The wall must be completely free of dust, grease, and oils. Wipe the target area with isopropyl rubbing alcohol using a clean, lint-free cloth. Avoid using household glass cleaners or soapy water, as these often leave behind a thin, slippery residue that prevents the adhesive from bonding fully to the surface. Allow the alcohol to air-dry completely for a few minutes. If you are working in a humid bathroom or kitchen, turn on a fan or mechanical ventilator to ensure no ambient moisture settles on the cleaned spot.
Once the surface is dry, prepare the adhesive strip. Remove the protective liner labeled for the wall side and position the hook carefully. Press the hook firmly against the wall for at least thirty seconds. Apply pressure across the entire base of the hook, not just the center, to ensure the adhesive makes full contact with the wall and any tiny air bubbles are squeezed out.
The most crucial step is the curing process. Do not hang your storage basket immediately. Almost all high-quality adhesives require a specific curing time—typically 24 hours—to establish a permanent, secure bond. Leaving the hook completely unloaded during this period allows the adhesive polymers to flow into the microscopic textures of the wall. Once the curing time has elapsed, gently hang your basket onto the hook. Verify that the basket sits level and does not wobble, and place your items inside gradually to avoid sudden shocks to the mounting system.
Alternative No-Drill Solutions for Specific Spaces
Different zones within an HDB flat present unique opportunities for creative, drill-free storage. By utilising existing fixtures and architectural features, you can hang baskets securely without touching your painted walls.
Over-the-door systems are highly effective in bedrooms and bathrooms. When using these, measure the thickness of your door to ensure the hooks fit snugly without rattling. Check the clearance between the top of the door and the frame; a gap of at least two millimetres is usually required for the door to latch properly. Additionally, distribute the weight evenly across the door width to prevent warping or putting uneven strain on the hinges over time.
Inside wardrobes and kitchen cabinets, under-shelf baskets are an excellent way to reclaim lost vertical space. These wire baskets feature flat arms that slide directly onto existing wooden or laminate shelves. They require zero installation hardware and can be repositioned instantly. Before purchasing, measure the thickness of your cabinet shelves to ensure the mounting arms fit tightly, and check that the cabinet doors can still close fully with the brackets in place. Alternatively, you can install a small tension rod inside a cabinet or wardrobe to hang lightweight spice or accessory baskets using S-hooks.
For utility yards or balconies, window frames and metal railings can serve as sturdy anchor points. You can find specialised over-the-rail hooks designed to hang lightweight baskets along balcony railings. Always perform a safety check to ensure the basket cannot slip off or swing excessively in high winds, which is a common occurrence in high-rise HDB flats. Avoid hanging heavy or fragile items in these areas, and ensure the hooks have a soft rubber or silicone backing to prevent scratching the powder-coated finish of your window frames or railings.
Safe Removal and Wall Maintenance
One of the greatest benefits of using damage-free mounting methods is the ability to restore your walls to their original state when moving out or rearranging your decor. However, removing adhesives requires patience to avoid tearing the paint or plaster.
To safely remove adhesive strips, never pull the hook straight off the wall. For stretch-release adhesives, hold the hook gently in place with one hand while using your other hand to pull the exposed tab straight down along the wall. Stretch the strip slowly, keeping it parallel to the wall surface. The strip will stretch significantly—often up to several times its original length—which safely releases the adhesive bond without pulling on the paint. If you are dealing with a stubborn adhesive or a non-stretch tape, apply gentle heat using a hairdryer on a low setting for thirty seconds to soften the adhesive before carefully peeling it away with a plastic scraper or your fingers.
If any sticky residue remains on the wall, clean it gently to protect the paint finish. Dampen a microfiber cloth with a small amount of isopropyl alcohol or a mild adhesive remover designed for painted surfaces. Rub the residue in a gentle, circular motion. Avoid using abrasive scrubbing pads, steel wool, or harsh chemical solvents like acetone, as these will quickly strip away the wall paint and leave unsightly dull patches.
Always monitor the wall surface during the removal process. If you notice the paint beginning to blister, tear, or peel away from the plaster, stop immediately. This indicates that the paint layer was already weakly bonded to the wall. In this scenario, continuing will only create a larger patch of damage. Stop the DIY removal and consult a professional handyman or painter to assess whether the wall requires localised plaster patching and a professional paint touch-up.
Frequently Asked Questions (FAQ)
Can I hang heavy storage baskets on HDB drywall without drilling?
No, you should avoid hanging heavy storage baskets on HDB drywall partitions using only adhesive methods. Drywall is covered in a paper liner that can easily tear under heavy loads, causing the adhesive hook to pull the paint and paper backing clean off the wall. For drywall partitions, keep your hanging baskets exceptionally lightweight, or use alternative solutions like over-the-door organisers or freestanding shelving units that do not rely on the structural integrity of the drywall surface.
How long should I wait before putting items in the hanging basket?
You should wait at least 24 hours before hanging your basket or placing any items inside it. Even if the adhesive hook feels firm immediately after application, the bond requires this curing period to reach its maximum rated strength. Always check the manufacturer’s instructions on the product packaging, as some specialised adhesives or high-humidity environments may require a longer waiting period to cure completely.
What should I do if the adhesive hook fails and leaves a mark?
If an adhesive hook fails and damages the wall, start by assessing the depth of the mark. For minor adhesive residue or light scuffs, clean the area gently with isopropyl alcohol or a specialised wall eraser sponge. If the paint has peeled or a small chunk of plaster has come away, you will need to sand the edges of the damaged area smooth, apply a small amount of wall putty or spackling compound, let it dry, sand it flat, and apply a matching touch-up paint to blend the repair with the surrounding wall.
Community discussion
Share your experience or ask a question. Comments are reviewed before publication.