
Installing a floating shelf in your Housing & Development Board (HDB) flat is an excellent way to maximize vertical space, clear countertop clutter, and display personal items. However, achieving a secure, level installation that does not sag or damage your walls requires a clear understanding of what lies behind your plaster. Because HDB flats utilize a mix of structural concrete, lightweight drywalls, and tiled surfaces, a single mounting method will not work for every room.
To ensure your floating shelf remains safely anchored, you must match your drilling technique, drill bits, and wall anchors to the specific wall material. Taking a systematic approach to identifying your wall type, gathering the correct hardware, and executing precise drilling steps will guarantee a professional-grade finish that stands the test of time.
Assessing Your HDB Wall Type and Load Requirements
Before drilling any holes, you must determine whether you are working with a structural concrete wall, an internal drywall partition, or a tiled surface. In Singapore, structural walls and columns are made of solid, reinforced concrete and are indicated on your HDB floor plan by thick, solid black lines. Non-structural partition walls, which typically separate bedrooms or define newer layout configurations, are represented by thin or hollow lines and are often constructed of drywall panels. Tiled walls are standard in kitchens and bathrooms, usually consisting of ceramic or porcelain tiles laid over a concrete or brick backing.
Products mentioned in this guide
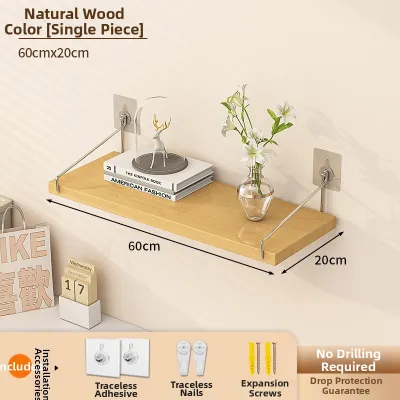
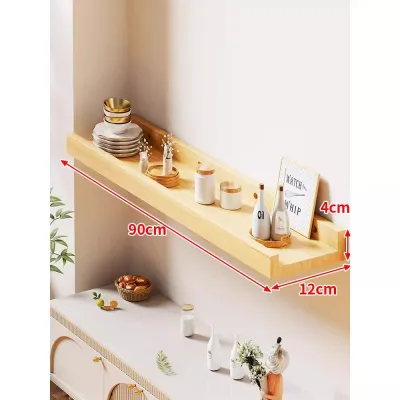
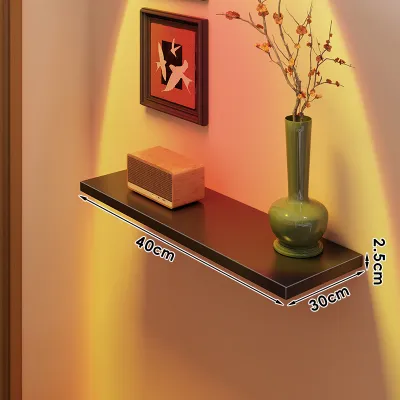
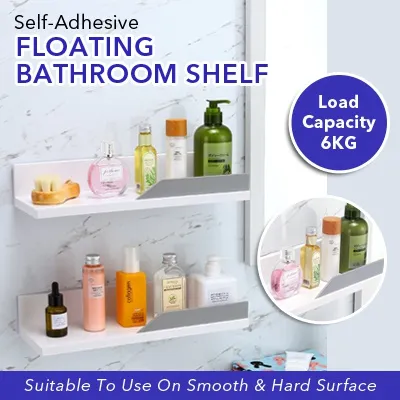
Prices are valid at publication and may change. Please refer to the product page for the latest price.
To physically verify the wall type, perform a simple knock test. A dull, solid thud indicates concrete, whereas a hollow, echoing sound points to a drywall partition. If you are testing a tiled area, tapping gently with the plastic handle of a screwdriver will help you identify if there are hollow pockets behind the tiles, which require extra care during installation.
Once you know the wall material, consult the floating shelf manufacturer’s specifications to verify its maximum weight capacity and bracket dimensions. Keep in mind that the rated load capacity only applies when the shelf is mounted using the correct anchors and installed according to the instructions. If you plan to store heavy books or kitchenware, a solid concrete wall is the safest choice, whereas lightweight decorative items are better suited for drywall partitions.
Before marking your drill points, you must perform a mandatory safety scan. Use a high-quality digital stud finder or multi-detector to scan the area for hidden electrical wiring and plumbing pipes. In HDB flats, electrical conduits often run vertically or horizontally from light switches and power sockets, while water pipes run behind bathroom and kitchen walls. If the detector indicates any hidden utility lines, or if you are unsure of the internal layout, stop immediately and consult a professional contractor to avoid costly and dangerous utility punctures.
Essential Tools and Wall Anchors for Secure Mounting
Having the right tools on hand prevents damage to your walls and ensures a smooth installation process. Prepare a standard toolkit containing a power drill, a spirit level, a measuring tape, a pencil, safety glasses, and a vacuum cleaner to catch dust. The specific drill bits and wall anchors you require will depend entirely on the wall material you are working on.

Concrete Walls
- Drill setting: Hammer drill function is essential to break through dense concrete.
- Drill bits: Carbide-tipped masonry drill bits matched to the diameter of your wall plugs.
- Anchors: Standard plastic expansion plugs (often called rawlplugs) or heavy-duty metal expansion anchors for high-load shelves.
Drywall Partitions
- Drill setting: Standard rotary drill function (do not use hammer mode, which will shatter the gypsum core).
- Drill bits: Standard wood or metal twist drill bits.
- Anchors: Heavy-duty toggle bolts, spring toggles, or self-drilling threaded drywall anchors. Standard plastic wall plugs will not hold in drywall.
Tiled Walls
- Drill setting: Variable speed rotary drill (no hammer mode for the tile layer).
- Drill bits: Diamond-tipped or spear-point tile drill bits to pierce the glaze, followed by a masonry bit for the concrete backing.
- Anchors: High-quality plastic expansion plugs that are long enough to pass completely through the tile and grout layer to grip the solid wall behind.
Step-by-Step Installation on Concrete Walls
Solid concrete walls provide the most secure foundation for floating shelves, but they require a high-torque hammer drill to penetrate. Start by positioning the shelf’s metal mounting bracket against the wall at your desired height. Place a spirit level on top of the bracket to ensure it is perfectly horizontal, then use a sharp pencil to mark the exact center of each screw hole onto the concrete.
Select a carbide-tipped masonry drill bit that matches the exact diameter of your plastic wall plugs (commonly 6mm or 8mm). Fit the bit into your hammer drill and set the tool to hammer mode. Hold the drill perfectly perpendicular to the wall, align the tip with your pencil mark, and apply steady, firm forward pressure. Drill to a depth that is roughly 5mm deeper than the length of the wall plug, using the drill’s depth gauge or a piece of colored tape wrapped around the bit as a guide.
After drilling, clear all concrete dust from the holes using a vacuum cleaner nozzle or a small hand pump. If dust remains in the hole, the wall plug may not sit flush or grip the concrete properly. Insert the plastic wall plugs into the holes, tapping them gently with a hammer until they are completely flush with the plaster surface.
Align the mounting bracket over the inserted plugs. Insert the mounting screws and tighten them securely using a screwdriver or a power driver set to a low torque limit to avoid stripping the plastic threads. Once the bracket is immovably fixed to the wall, slide the hollow floating shelf body over the bracket’s protruding rods. Locate the small pre-drilled holes on the underside of the shelf and tighten the hidden grub screws to lock the shelf body securely to the bracket.
Step-by-Step Installation on Drywall Partitions
Drywall partitions require specialized hardware because the gypsum board lacks the structural density to hold screws under shear force. Standard plastic wall plugs rely on friction against a solid hole, meaning they will easily pull out of drywall under the weight of a shelf, leading to wall damage and falling items.
To mount a shelf securely on drywall, first use a stud finder to locate the vertical metal or wooden studs behind the plasterboard. In HDB flats, drywall partitions are typically built around lightweight steel studs spaced at regular intervals. If you can align your shelf bracket with these studs, drive your mounting screws directly into the metal studs using self-tapping drywall screws for maximum structural support.
If your desired shelf placement does not align with the studs, you must use heavy-duty toggle bolts or hollow-wall anchors. Mark your mounting holes using a spirit level, then drill holes through the drywall using a standard rotary drill bit. The hole must be large enough to accommodate the folded wings of the toggle bolt. Squeeze the metal wings of the toggle bolt flat, push them through the bracket hole, and insert them into the drilled wall hole. Once inside the hollow cavity, the spring-loaded wings will snap open.
Pull back slightly on the screw to create tension against the inside of the drywall, then tighten the bolt until the bracket is clamped firmly against the wall surface. Because drywall is susceptible to cracking under localized stress, you must limit the load on drywall-mounted shelves to lightweight decorative items, regardless of the anchor’s rated capacity.
Step-by-Step Installation on Tiled Walls
Tiled walls in HDB kitchens and bathrooms require a delicate touch. Standard masonry bits and hammer action will instantly crack or shatter ceramic and porcelain tiles, ruining your wall finish.
Begin by marking your drill points on the tile surface. To prevent the drill bit from slipping or wandering across the slick glaze, apply a strip of masking tape or painter’s tape directly over the marked area, then draw your drill target on top of the tape. This simple step provides the necessary traction for the drill tip to bite into the surface.
Insert a diamond-tipped or spear-point tile drill bit into your drill. Ensure the drill is set to standard rotary mode and that the hammer function is completely turned off. Place the bit on your mark and begin drilling at a low speed with gentle, consistent pressure. To prevent the bit from overheating and burning out, dip it in water periodically or have a helper spray a small amount of water onto the drilling point.
Once the bit has successfully pierced the tile and reached the concrete backing wall, stop drilling. Swap the tile bit for a carbide-tipped masonry bit and switch your drill to hammer mode. Carefully insert the masonry bit into the existing hole and drill into the concrete backing to the required depth.
Push the plastic wall plug through the tile so that it sits entirely within the concrete backing wall, rather than resting inside the brittle tile layer. Align your mounting bracket, insert the screws, and tighten them carefully. Stop tightening as soon as the bracket is snug against the tile; overtightening can exert excessive pressure on the tile surface and cause it to crack over time.
Final Stability Checks and Maintenance
With the floating shelf fully mounted, you must perform a series of checks to ensure the installation is safe for daily use. Begin by inspecting the interface between the mounting bracket and the wall surface. There should be no visible gaps, tilting, or flexing when you apply gentle, gradual downward pressure with your hands. Do not test the shelf by dropping heavy items onto it suddenly, as sudden impact forces can compromise the anchors.
Once you are satisfied with the initial stability, distribute your items evenly across the shelf surface rather than concentrating all the weight in one spot or at the outer edge. Placing heavier items closer to the wall minimizes the leverage force exerted on the mounting bracket.
Over time, daily vibrations from doors closing or nearby appliances can cause screws to loosen slightly. Make it a habit to inspect your floating shelves every few months. Check that the shelf remains level and tighten any visible screws or underside grub screws if you notice any slight wobbling. Always respect the manufacturer’s rated weight limit and reduce the load immediately if you notice any signs of sagging or wall plaster cracking.
Frequently Asked Questions (FAQ)
Do I need HDB approval to drill into walls for floating shelves?
You do not need formal HDB permit approval to drill minor holes for mounting floating shelves, picture frames, or wall cabinets. However, you must avoid drilling into structural concrete columns, beams, or pre-cast structural walls where reinforcement steel bars (rebars) are located. If you plan on extensive drilling or are unsure if a wall is structural, consult your building’s floor plan or speak with an HDB-registered renovation contractor before proceeding.
Can I install floating shelves without a drill?
While high-strength adhesive tapes and glue-on brackets exist, they are not recommended for standard floating shelves. Adhesives only bond to the outermost layer of paint or plaster, which can easily peel off under tension, causing the shelf and its contents to fall. For a safe and reliable installation that can support real weight, mechanical fasteners like screws and wall anchors are highly recommended. If you cannot drill due to tenancy agreements, consider freestanding modular shelving units instead.
Community discussion
Share your experience or ask a question. Comments are reviewed before publication.