
Installing a floating corner shelf is an excellent way to maximize vertical space in compact urban layouts. However, achieving a secure, level mount depends entirely on matching your installation technique to the specific wall material. Singapore homes feature a unique mix of wall types, ranging from structural reinforced concrete in HDB flats to lightweight drywall partitions in newer condominiums and tiled surfaces in humid bathrooms or kitchens. Attempting a one-size-fits-all approach often leads to sagging shelves, damaged walls, or structural failure. By understanding the physical properties of your walls and selecting the appropriate anchoring systems, you can ensure your shelving remains stable and safe for long-term use.
Pre-Installation Space Checks and Tool Preparation
Before drilling, measure the corner walls to confirm that the shelf dimensions fit without blocking pathways, doors, or windows. Since many residential corners are not square, dry-fit the shelf beforehand to identify any gaps. Next, use a multi-scanner to check for hidden electrical wiring or water pipes behind the mounting area. In local apartments, utility lines often run vertically or horizontally from switches and fixtures; marking these zones with a pencil prevents accidental damage. Finally, gather essential tools: a power drill (with hammer mode for concrete), a spirit level, measuring tape, a pencil, and safety goggles.
Identifying Wall Types and Selecting Compatible Hardware
Accurately identifying your wall material is crucial because using the wrong anchor can cause the shelf to pull out. In local residential properties, structural walls are made of solid reinforced concrete, which offers high load-bearing capacity but requires high-impact drilling. Internal partition walls, particularly those dividing bedrooms, are often constructed of hollow drywall or plasterboard mounted on metal or timber studs. Tiled walls, typically found in wet areas like kitchens and bathrooms, feature a ceramic or porcelain veneer over a concrete or brick substrate.
Products mentioned in this guide
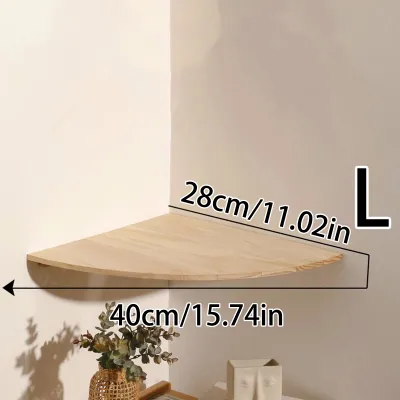
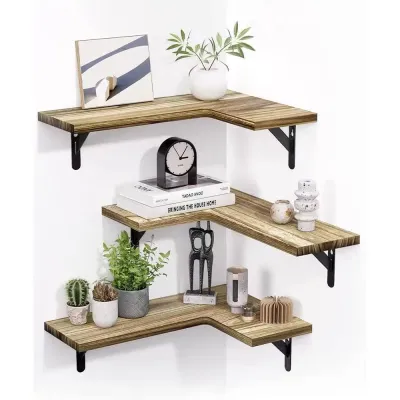
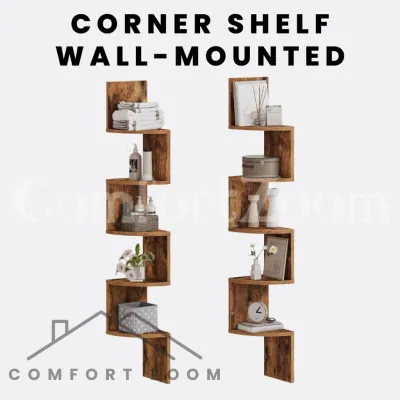
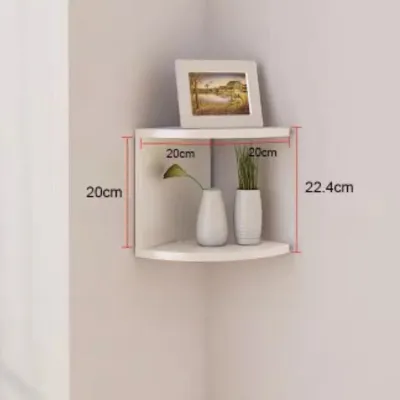
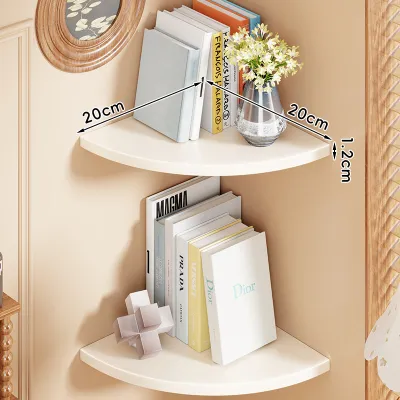
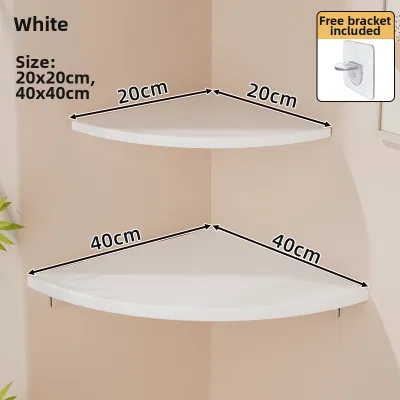
Prices are valid at publication and may change. Please refer to the product page for the latest price.

You can determine the wall type by performing a simple tap test. Knock gently on the wall surface: a dull, solid thud indicates concrete, while a hollow, echoing sound points to drywall. For drywall, sliding a stud finder across the surface will help locate the vertical framing studs behind the plasterboard. If you are dealing with tiled walls, the underlying structure is usually solid masonry, but the delicate tile layer requires specialized handling to prevent cracking.
Once the wall type is identified, match it with the correct anchoring hardware. Solid concrete walls require plastic expansion plugs or masonry anchors that expand tightly against the drilled hole. Drywall installations demand hollow-wall anchors, such as toggle bolts or self-drilling threaded anchors, which spread the load across a wider area behind the plasterboard. Never rely on generic plastic plugs unless they are explicitly rated for your specific wall type. Always verify the manufacturer’s maximum load rating for both the shelf and the brackets, keeping in mind that the actual weight capacity is ultimately limited by the strength of the wall and the anchors used.
Installation Steps for Solid Concrete Walls
Mounting a floating corner shelf on a solid concrete wall provides a stable foundation, but it demands patience and the right drilling technique. Start by holding the mounting bracket or the shelf template against the corner at your desired height. Place a spirit level on top of the bracket to ensure it is level, then use a sharp pencil to mark the exact center of each screw hole onto the concrete. Double-check your marks against the bracket one more time to ensure nothing shifted.
Concrete requires a hammer drill or a rotary hammer paired with a high-quality masonry drill bit. Set your drill to the hammer mode, which combines rotation with rapid impact to pulverize the hard concrete. Hold the drill completely perpendicular to the wall to prevent the hole from becoming enlarged or slanted. Apply steady, firm pressure, letting the drill do the work rather than forcing it. To ensure you drill to the correct depth, wrap a piece of masking tape around the drill bit at a distance equal to the length of your wall plug.
Once the holes are drilled, clear out the concrete dust using a vacuum nozzle; residual dust can prevent the wall plug from seating properly. Insert the plastic expansion anchors into the holes, tapping them gently with a hammer until they sit flush with the concrete surface. Align the bracket over the anchors and drive the screws in using a manual screwdriver or a drill on a low torque setting. Avoid over-tightening, as this can strip the plastic anchor or distort the metal bracket, compromising the overall stability.
Installation Steps for Drywall and Plasterboard
Drywall installations require a cautious approach because plasterboard lacks the inherent structural strength of concrete. The most secure method is to anchor the shelf bracket directly into the wooden or metal studs behind the drywall. Use your stud finder to locate the edges of the studs and mark their positions. If the bracket holes align with these studs, you can screw directly into them using standard wood screws, bypassing the need for hollow-wall anchors entirely.
However, corner configurations often mean the bracket holes do not align with the studs. In these scenarios, you must use heavy-duty toggle bolts or spring toggles. These anchors feature metal wings that fold flat to pass through a pre-drilled hole in the drywall, then spring open on the inside of the wall to distribute the weight across a broad surface area. Drill the hole to the exact diameter specified by the toggle bolt manufacturer, insert the bolt through the bracket first, fold the wings, and push the assembly through the wall until you hear the wings snap open.
Pull back slightly on the bracket to create tension on the wings inside the wall, then tighten the bolt until the bracket is snug against the drywall. It is vital to recognize stop conditions during this process. If you notice the drywall crumbling, cracking, or bowing inward as you tighten the hardware, stop immediately. These signs indicate that the plasterboard is compromised or cannot support the localized stress, and continuing the installation could result in a sudden structural failure.
Installation Steps for Tiled Surfaces
Drilling into tiled walls in kitchens or bathrooms requires precision to avoid cracking the brittle glaze of ceramic or porcelain tiles. Begin by marking your drilling points on the tile surface. Because tile glazes are slick, a drill bit can easily wander and scratch the surrounding area. To prevent this, apply a thick piece of masking tape over the marked spot; this provides traction and keeps the drill bit centered.
Use a specialized diamond-tipped or carbide-tipped tile and glass drill bit for the initial phase. Set your drill to standard rotary mode—never use the hammer function on a tile, as the high-frequency impacts can shatter it. Drill at a slow, consistent speed with light pressure. You can periodically cool the drill bit with a damp sponge to prevent overheating, which extends the life of the bit and reduces the risk of thermal cracking in the tile.
Once the drill bit has successfully penetrated the tile layer and reached the underlying concrete, stop and switch to a standard masonry drill bit. You can now safely turn on the hammer function to drill into the masonry substrate to the required depth. After cleaning the dust from the hole, insert your wall plug. Before mounting the bracket, apply a small bead of silicone sealant into the hole and around the anchor. This step is critical in humid environments to prevent water from seeping behind the tiles, which can lead to mold growth or weaken the adhesive backing over time.
Post-Installation Verification and Safe Load Testing
Once the floating corner shelf is mounted, a systematic verification process ensures it is safe for daily use. Begin with a physical inspection by gently grasping the shelf near the wall connection and checking for any movement, wobble, or play. The shelf should feel rigid, and there should be no visible gaps between the shelf edges and the wall surfaces. If you detect any flexing, check if the mounting screws require minor tightening or if the wall anchors have begun to pull loose.
Next, conduct a gradual load test rather than placing heavy items on the shelf immediately. Start by placing lightweight decorative objects on the shelf, distributing the weight evenly across the surface. Over the course of a few hours, gradually add heavier items up to, but never exceeding, the manufacturer’s specified weight limit. Keep in mind that corner shelves are designed for distributed loads; placing a single heavy object at the outermost tip of the shelf exerts significant leverage on the wall anchors.
Monitor the installation closely over the first few days of use. Inspect the surrounding wall area for any hairline stress cracks, paint flaking, or signs of the bracket pulling away from the wall. If you observe any deformation in the bracket or slipping of the anchors, remove all items immediately and re-evaluate the installation.
Frequently Asked Questions (FAQ)
Can I install a floating corner shelf without drilling?
While non-drilling alternatives like heavy-duty adhesive strips or mounting tapes are popular for rental properties, they are not suitable for standard floating corner shelves intended to hold functional weight. Adhesives rely entirely on the bond strength of your wall’s paint or tile glaze, which can easily peel or shear under constant downward tension. If you choose to use adhesive-based shelves, restrict their use to extremely lightweight items, ensure the surface is thoroughly cleaned with isopropyl alcohol beforehand, and accept the risk that removing the adhesive may damage the underlying paint or plaster.
How do I fix a stripped hole in a wall anchor?
If a wall anchor spins freely or strips the hole during installation, the structural integrity of that mounting point is compromised. For concrete walls, you can resolve this by removing the damaged plug, cleaning the hole, and inserting a slightly larger anchor paired with a matching screw. For drywall, you may need to patch the damaged area with a high-strength wall repair compound, allow it to cure fully, and drill a new hole a few centimeters away. If the wall material continues to crumble or fails to hold the new hardware securely, stop the installation and consult a qualified professional handyman to assess the wall’s structural condition.
Community discussion
Share your experience or ask a question. Comments are reviewed before publication.