
Creating a functional workspace in a compact HDB bedroom requires smart, vertical design. Combining a SKADIS pegboard with a folding shelf allows you to build a highly efficient, retractable workstation that disappears when not in use. This setup maximizes limited floor space, keeping your room open and clutter-free while providing a dedicated area for study, remote work, or creative projects. By mounting the pegboard for vertical storage and attaching a folding shelf directly below or integrated with it, you can easily transition from a clean bedroom environment to a fully equipped home office. Success relies on selecting the right hardware, verifying your wall type, and executing a secure installation.
Plan Your Space and Gather Materials
Before purchasing any hardware, you must carefully assess your bedroom wall to ensure the setup fits comfortably and functions without obstruction. Begin by measuring the available wall area with a measuring tape, noting the height and width of the space. Look out for potential obstacles such as electrical outlets, light switches, skirting boards, or nearby built-in wardrobe doors that require clearance to open. You want to position the workspace where you can easily plug in your laptop and charger without stretching cables across high-traffic areas of the room.
Next, verify the dimensions and weight capacity limits of both the pegboard and the folding shelf. Consult the manufacturer’s manuals to understand the maximum load these products can support. Keep in mind that a desk surface must support not only the weight of the shelf board itself, but also your laptop, books, desk lamp, and the physical pressure of your arms as you type. Choosing a shelf board that is too deep or too heavy can put excessive leverage on the wall anchors, risking structural failure.
Products mentioned in this guide
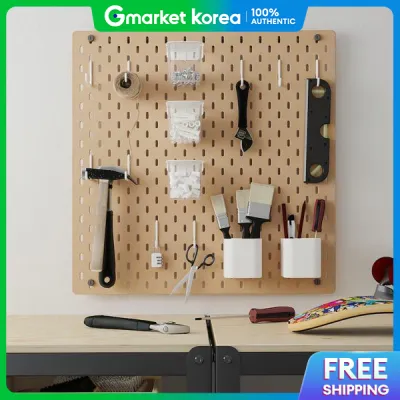
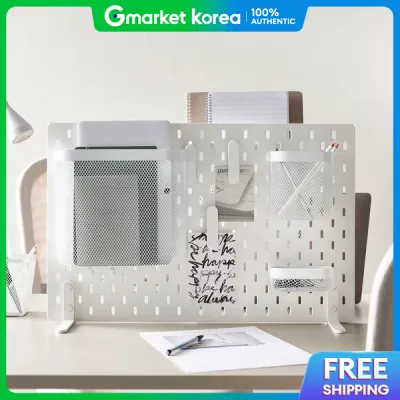
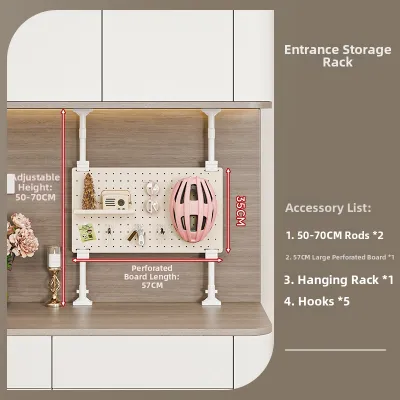
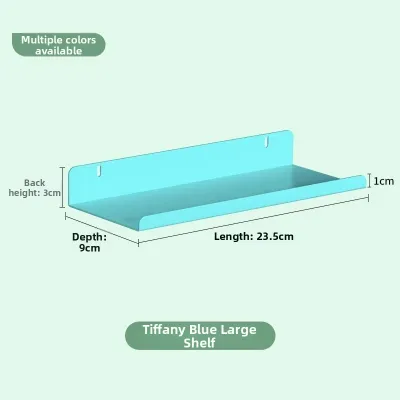
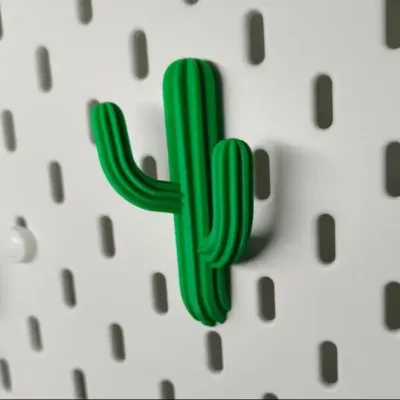
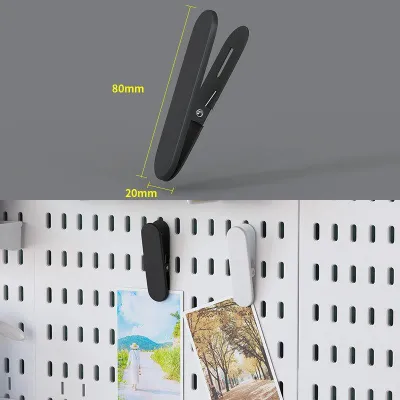
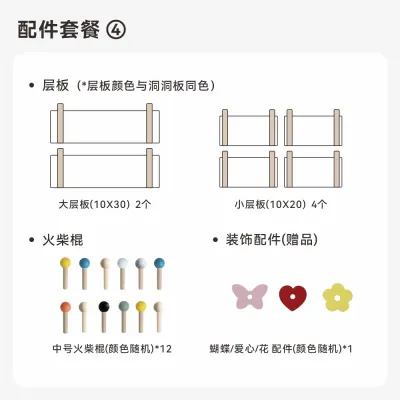
Prices are valid at publication and may change. Please refer to the product page for the latest price.
Identifying your wall type is the most critical step in planning. In Singapore, HDB bedroom walls are typically made of solid concrete, precast concrete panels, or, in some modern layouts and partitions, drywall. Solid concrete walls require heavy-duty wall plugs and a hammer drill, while drywall requires specialized toggle bolts or anchoring directly into the internal timber or metal studs. Using the wrong anchors for your wall type will result in a weak mount that cannot support a dynamic load like a folding desk.
Finally, gather all the essential tools before you begin the installation process. You will need a power drill with hammer mode for concrete walls, masonry or drywall drill bits matching your wall plugs, a spirit level, a measuring tape, a pencil, and a screwdriver. Having these tools ready ensures a smooth installation process and prevents mid-project delays.
Mount the SKADIS Pegboard Securely
To begin the installation, you must mount the pegboard bracket so that it is perfectly level and secure. Hold the metal mounting bracket against the wall at your desired height. Place a spirit level on top of the bracket to ensure it is perfectly horizontal. Once level, use a pencil to mark the exact drilling points through the bracket’s mounting holes onto the wall.

Select the correct drill bit size that matches the manufacturer’s recommended wall plugs. If you are drilling into a solid HDB concrete wall, equip your power drill with a masonry bit and set the tool to hammer mode. Drill straight into the marked points, ensuring the depth of the hole is slightly longer than the length of the wall plug. Vacuum or blow out the concrete dust from the holes to ensure a tight fit for the anchors.
Insert the wall plugs into the drilled holes, tapping them gently with a hammer until they sit flush with the wall surface. Align the pegboard bracket over the plugs and drive the screws in tightly using a manual screwdriver or a power drill on a low torque setting. Once the bracket is firmly attached, hang the pegboard onto the bracket hooks and secure the bottom spacers against the wall to prevent the board from swinging or vibrating.
Always prioritize safety during the drilling process. If the wall material crumbles excessively, feels unexpectedly hollow, or if you suspect hidden electrical conduits or water pipes are nearby, stop drilling immediately. Consult a qualified professional contractor to inspect the wall structure before proceeding with the installation.
Attach the Folding Shelf Brackets
Determining the correct height for your folding desk surface is essential for comfortable, ergonomic seating. Standard desk heights typically range from 70cm to 75cm from the floor, but you should adjust this based on your height and the chair you plan to use. Ensure that the lower edge of the mounted pegboard sits just above the folded-up position of the shelf, allowing you to access pegboard accessories even when the desk is closed.
When mounting the folding brackets, you must decide whether to attach them directly to the wall or to the pegboard itself. Refer strictly to the manufacturer’s instructions to verify if the pegboard is rated to support dynamic folding mechanisms and the weight of a desk. If the pegboard manual does not explicitly approve direct mounting for heavy loads, you must mount the folding brackets directly to the wall, flanking or sitting just below the pegboard frame.
Use your spirit level to align the two folding brackets. They must be perfectly parallel and level with each other across the span of the desk. Any slight misalignment will cause the folding mechanism to bind, stiffen, or wobble, which can damage the brackets or pull the wall anchors loose over time. Mark the mounting holes, drill, insert the appropriate wall plugs, and secure the brackets firmly to the wall.
Assemble and Test the Retractable Desk
With the brackets securely mounted to the wall, you can now attach the desktop surface. Place your shelf board flat on top of the extended brackets, centering it horizontally. Ensure the back edge of the board sits flush against the wall or pegboard when the brackets are fully extended. Secure the board to the brackets from underneath using the screws provided in your bracket kit, making sure the screws are short enough not to pierce through the top of your desktop.
Once secured, test the folding and unfolding action multiple times to ensure smooth operation. The brackets should glide easily into place and lock securely when the desk is fully extended. When releasing the lock to fold the desk down, the mechanism should operate without binding or scraping against the wall. If you feel resistance, double-check the alignment of the brackets with your spirit level.
Finally, check the clearance between the folded-down shelf and the pegboard. Ensure that any hooks, bins, or shelves mounted on the lower section of the pegboard do not block the desk from folding completely flat against the wall. You may need to rearrange your pegboard accessories to keep the folding path completely clear.
Organize and Maintain Your Hidden Workspace
An organized pegboard keeps your workspace functional and ensures the folding desk operates safely. Arrange your hooks, containers, and elastic bands to keep the desk surface clear of permanent clutter. Place heavier items, like tablet stands or heavy stationery holders, near the top or center of the pegboard to distribute weight evenly. Use cable management sleeves or clips to route power cords neatly to nearby outlets, preventing them from getting pinched in the folding brackets.
Because a folding desk experiences constant movement and dynamic pressure, the mounting hardware can loosen over time. Establish a routine to check the tightness of all screws and wall brackets every few months. If you notice any wobbling or play in the brackets, tighten the screws immediately to maintain structural integrity and prevent damage to your wall.
Always respect the maximum weight limits specified by the manufacturers of both the pegboard and the folding brackets. Avoid leaning heavily on the extended desk surface or using it to support heavy desktop computers. When you finish working, fold the desk down to reduce the constant leverage force on the wall anchors, keeping your HDB bedroom spacious and safe.
Frequently Asked Questions (FAQ)
Can I mount the folding shelf brackets directly onto the SKADIS pegboard?
Mounting folding shelf brackets directly onto a SKADIS pegboard depends entirely on the manufacturer’s specifications and the material thickness of the board. Because folding desks experience dynamic downward pressure when in use, mounting them directly to the pegboard is generally not recommended unless the manufacturer provides a specific, approved adapter kit. For safety and long-term stability, it is best to mount the folding brackets directly to the solid wall structure, positioning them just below or alongside the pegboard.
What should I do if my wall cannot support the required weight?
If your bedroom wall is made of lightweight partition material or cannot support the weight of a folding desk, do not attempt to mount the setup using temporary fixes like adhesive strips. Instead, consider using a freestanding pegboard frame that rests on the floor, or consult a qualified contractor to reinforce the wall structure internally. Alternatively, you can mount the pegboard for light storage on the wall and use a separate, lightweight folding table that does not rely on wall anchors for support.

Community discussion
Share your experience or ask a question. Comments are reviewed before publication.