
Installing a rotating shelf in an existing kitchen corner cabinet is one of the most effective ways to reclaim deep, inaccessible corner space. In many modern homes, particularly space-conscious apartments and condominiums in Singapore, kitchen corner cabinets often become underutilized zones where cookware and pantry items are easily forgotten. By retrofitting these cabinets with a modular rotating shelf system, you can bring every item directly into view with a simple spin. The installation process requires careful planning, precise measurements, and a systematic approach to mounting the hardware.
To achieve a successful installation, you must first assess your cabinet’s physical dimensions and door configuration to select the correct shelf shape. From there, the process involves clearing the space, establishing a vertical center axis, securing the mounting brackets, and adjusting the shelf heights for optimal clearance. Whether you are dealing with a blind corner or a diagonal cabinet, taking the time to align the components correctly ensures smooth, long-term operation without damaging your existing cabinetry.
Assess Your Corner Cabinet and Shelf Compatibility
Before purchasing a rotating shelf kit, you must thoroughly evaluate your existing cabinet to ensure compatibility. Start by measuring the finished internal dimensions of the cabinet. Use a reliable measuring tape to record the exact internal width, depth, and height. When measuring, do not just measure the open space; you must account for any internal obstructions such as door hinges, protruding plumbing pipes, electrical conduits, or cabinet face frames. These elements can significantly reduce the actual clearance available for the shelf to rotate freely.
Products mentioned in this guide
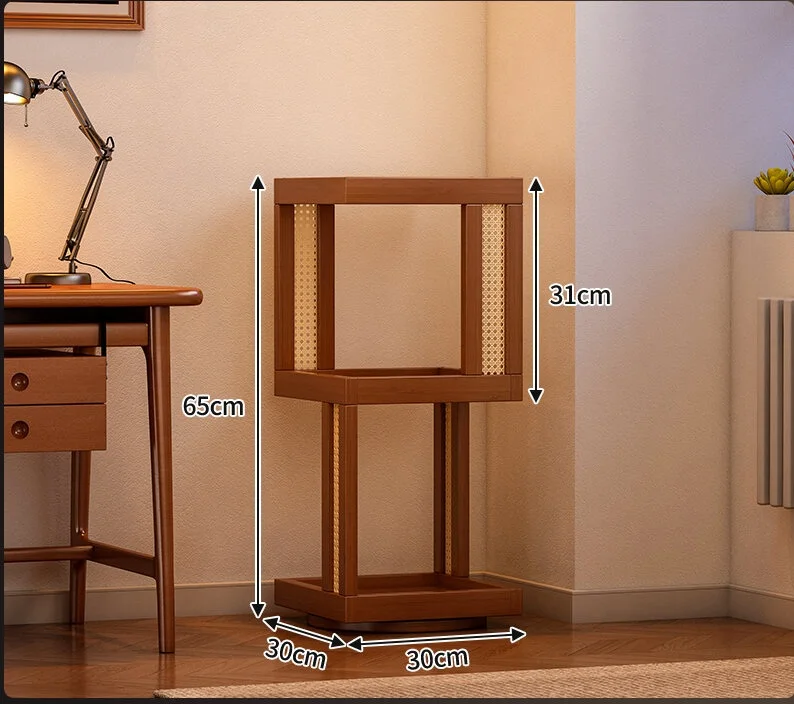
Prices are valid at publication and may change. Please refer to the product page for the latest price.
Next, identify your cabinet door type, as this dictates the shape of the rotating shelf you need. A blind corner cabinet, where one door opens to reveal a deep space extending to one side, typically requires a half-circle or kidney-shaped shelf that can pivot and slide out. A diagonal corner cabinet, which has a single door set at an angle, is best suited for a full-circle rotating shelf. If you have a standard L-shaped corner cabinet with a bi-fold door, a pie-cut or kidney-shaped shelf is usually the most appropriate choice. Choosing the wrong shape will result in the shelf hitting the cabinet walls or preventing the doors from closing fully.
Finally, inspect the structural integrity of the cabinet floor and ceiling. Kitchen cabinets in humid environments can be susceptible to moisture damage over time, especially if constructed from engineered wood like medium-density fibreboard (MDF) or particle board. Ensure that the cabinet floor is sturdy, dry, and free from sagging. The ceiling of the cabinet must also be solid enough to hold the top pivot bracket securely. If the wood feels soft or compromised, you may need to reinforce the mounting areas with a piece of plywood before proceeding with the installation.
Gather the Necessary Tools and Hardware
Having the right tools on hand before you begin will make the installation process much smoother and prevent unnecessary delays. You will need a power drill with a selection of drill bits suitable for your cabinet material, a manual screwdriver for fine-tuning, a measuring tape, a spirit level, and a pencil for marking drill points. A plumb bob or a small laser level is also highly recommended to ensure that the top and bottom mounting brackets are aligned vertically.

When you unpack your rotating shelf kit, verify that all hardware components are present. A standard kit should include the rotating shelf trays, a central metal pole (often telescopic), top and bottom mounting brackets, locking collars, and a set of screws. Check the screws provided in the kit against your cabinet’s wall and floor thickness. If your cabinet panels are thin, standard screws might pierce through the exterior; in such cases, you may need to purchase shorter, heavy-duty wood screws separately.
Working inside a deep, dark corner cabinet can be physically awkward. To make the job easier, use a magnetic bit holder on your drill to keep screws from falling into hard-to-reach crevices. Keeping a small magnetic tray or screw organizer nearby is also an excellent way to keep track of small washers, pins, and set screws while you work in the confined space.
Step-by-Step Installation Process
Installing a rotating shelf requires a methodical approach. It is essential to follow a logical sequence, starting with preparation and base mounting, followed by assembling the rotating mechanism, and finishing with precise adjustments. Patience is key here; taking extra time to measure twice before drilling will save you from ruining your cabinet interiors.
Prepare the Cabinet and Mount the Base
Begin by completely clearing out the corner cabinet. Remove all stored items, pots, pans, and any existing loose shelving. Once the cabinet is empty, thoroughly clean the interior surfaces. Wipe down the floor and walls to remove any grease, dust, or food residue. A clean surface ensures that your pencil marks are clearly visible and that the mounting brackets sit flat against the wood.
The most critical step in the entire installation is aligning the top and bottom pivot points. If these two points are not aligned vertically, the center pole will tilt, causing the shelves to rotate unevenly or bind against the cabinet walls. To find the center, measure the width and depth of the cabinet floor and mark the midpoint. Use a plumb bob suspended from the cabinet ceiling, or a vertical laser level, to project this exact point onto the ceiling. Mark both the floor and ceiling points clearly with a pencil.
Position the bottom pivot plate or base bracket over your pencil mark on the cabinet floor. Before drilling pilot holes, use a small spirit level to verify that the cabinet floor itself is level. If the floor slopes slightly, you may need to place thin plastic shims under the bracket to level it. Once leveled, drill shallow pilot holes to prevent the wood from splitting, then secure the base bracket firmly using the provided screws. Do not over-tighten the screws initially; leave a small amount of play for final adjustments.
Attach the Rotating Mechanism and Shelves
With the base bracket secured, you can now assemble the central support structure. Insert the center pole into the bottom pivot plate. If your kit features a telescopic pole, extend it upward until it reaches the cabinet ceiling. Position the top pivot bracket over the pole’s upper end and align it with the pencil mark you made on the ceiling. Secure the top bracket to the ceiling with screws, ensuring the pole remains completely vertical.
Once the pole is temporarily in place, you will need to slide the shelf trays onto it. Depending on your kit’s design, you may need to remove the pole briefly to slide the shelves on, or the shelves may feature a split-collar design that clips directly onto the pole. Slide the lower shelf tray onto the pole first, followed by its locking collar, and then repeat the process for the upper shelf tray. Ensure that the flat or cut-out portions of the shelves are oriented correctly to face the cabinet opening when closed.
Position the shelves at your desired heights. Typically, you will want the lower shelf to sit a few inches above the cabinet floor to allow clearance for the rotating mechanism, and the upper shelf positioned to divide the remaining vertical space evenly. Once the heights are set, tighten the set screws on the locking collars securely using an Allen key or screwdriver. These collars support the weight of the shelves and their contents, so they must be tightened firmly to prevent the shelves from slipping down the pole under load.
Adjust the Height and Test the Rotation
After securing the shelves, it is time to fine-tune the assembly. If your kit has a telescopic center pole, adjust its height so that it fits snugly between the floor and ceiling brackets without putting excessive upward pressure on the cabinet top. Check the vertical spacing between the shelf trays. Ensure there is enough clearance above each shelf to easily place and retrieve your tallest kitchen items, such as stockpots or blender jars.
Slowly spin the shelves a full 360 degrees to test the movement. Watch closely for any areas where the shelves might scrape against the cabinet walls, back corners, or the front face frame. Pay close attention to how the shelves interact with the cabinet doors and hinges. If the shelf rubs against any surface, you will need to adjust the position of the center pole.
If the rotation feels stiff, wobbly, or uneven, the top and bottom pivots are likely out of alignment. Loosen the mounting screws on the top bracket slightly, shift the bracket slightly to bring the pole into a plumb position, and retighten the screws. Repeat this testing process until the shelves spin smoothly and quietly with minimal effort.
Troubleshooting Common Installation Issues
Even with careful measurement, you may encounter a few issues during or after the installation. If the rotating shelves scrape against the cabinet walls, the center pole is likely not plumb. Use a spirit level to check the pole from both the front-to-back and side-to-side angles. If it tilts in any direction, loosen the top or bottom bracket screws slightly, adjust the pole until it is completely vertical, and secure the brackets again.
Stiff or noisy rotation is another common issue. This is often caused by over-tightening the top pivot bracket, which puts too much downward pressure on the rotating bearings. Loosen the top bracket slightly to relieve the tension. Additionally, check if any debris or wood shavings from drilling have fallen into the bottom bearing assembly. Vacuum out the base bracket and apply a small drop of silicone-based lubricant to the bearings to restore smooth operation.
If the shelves begin to sag or slip down the pole after you start loading them with kitchen items, the locking collars are not tight enough. Unload the shelves completely, raise them back to the desired height, and tighten the set screws on the locking collars firmly. If your cabinet walls are made of soft particle board and the mounting screws are pulling loose, you may need to replace the standard screws with wider thread screws or use hollow-wall anchors if mounting into a thin panel.
Maintenance and Loading Best Practices
To ensure your newly installed rotating shelf operates smoothly for years to come, proper loading and maintenance are essential. When loading the shelves, always distribute the weight evenly across the surface. Avoid placing all heavy items, such as cast-iron pans or heavy canned goods, on one side of the shelf, as this can cause the shelf to tilt and put uneven stress on the central pole and bearings. Keep heavier items closer to the center pole and lighter items near the outer edges.
Periodically inspect the hardware to prevent long-term wear. Over months of use, the vibrations from spinning the shelves can cause the set screws on the locking collars and mounting brackets to loosen slightly. Every six months, take a few minutes to check these screws and tighten them if necessary. This simple check prevents sudden shelf slippage and keeps the system stable.
Keep the rotating mechanism clean and free of debris. Kitchen cabinets can accumulate dust, spilled ingredients, and airborne grease over time. Wipe down the shelves regularly with a damp cloth and mild detergent. Pay special attention to the bottom pivot point and any tracks; vacuum away any crumbs or dust that could clog the bearings. Avoid using harsh abrasive cleaners or heavy oils on the plastic bearings, as these can attract more dust and cause the mechanism to stick.
Frequently Asked Questions (FAQ)
Can I install a rotating shelf in a cabinet with a fixed shelf?
Yes, you can install a rotating shelf in a cabinet with a fixed shelf, but you will need to remove the fixed shelf first to clear the vertical space for the center pole. To do this safely, check how the fixed shelf is attached. If it is supported by removable shelf pins, simply lift the shelf out. If it is nailed or screwed into the cabinet sides, use a screwdriver or a small pry bar to carefully detach it without damaging the cabinet walls. Once the shelf is removed, fill any remaining mounting holes with wood putty or plastic plugs to ensure a clean, smooth interior surface before installing your new rotating hardware.
Do I need to remove the cabinet doors to install the shelf?
While it is not always strictly necessary, removing the cabinet doors can make the installation process significantly easier. For diagonal or bi-fold corner cabinets, temporarily unscrewing the hinges from the cabinet frame provides much better physical and visual access to the deep corner space, making it easier to measure, drill, and align the hardware. For blind corner cabinets, you may be able to leave the door attached if the opening is wide enough. If you choose to leave the doors on, cover the hinges and door edges with painter’s tape to protect them from accidental scratches or dents from your drill and tools during the installation.
Community discussion
Share your experience or ask a question. Comments are reviewed before publication.