
Installing a modular wall-mounted shelf system yourself is a highly achievable weekend project that instantly maximizes your home’s storage capacity. Unlike fixed shelving, a modular system utilizes vertical tracks and adjustable brackets, allowing you to reconfigure your layout as your storage needs evolve over time. Succeeding with this DIY project requires a methodical approach: you must accurately identify your wall material, select the correct anchoring hardware, and ensure the structural tracks are perfectly plumb and level. By taking the time to plan and execute each step carefully, you can create a safe, stable, and highly functional storage solution without the expense of professional installation.
Assess Your Wall and Plan the Layout
Before drilling any holes, you must determine the composition of the wall where you plan to mount your shelves. In Singapore, residential wall construction varies significantly between building types and locations within the home. Most internal walls in Housing & Development Board (HDB) flats and structural walls in private condominiums are made of solid concrete or precast concrete panels. However, non-structural partition walls, newer condo room dividers, and false walls are often constructed from hollow drywall mounted on metal or timber studs.
To identify your wall type, perform a simple knock test: tap your knuckles against the surface in several places. A solid, dense thud indicates a concrete or brick wall, while a hollow, echoing sound points to a drywall partition. If you are dealing with drywall, you must use an electronic stud finder to locate the vertical timber or metal studs behind the plaster, as these studs provide the necessary structural support for mounting heavy items.
Products mentioned in this guide
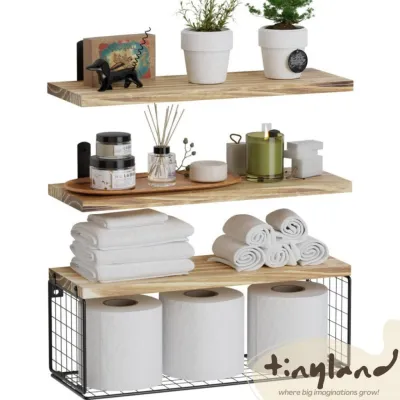
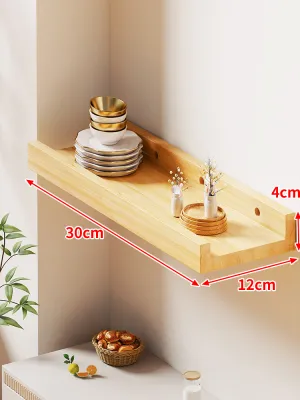
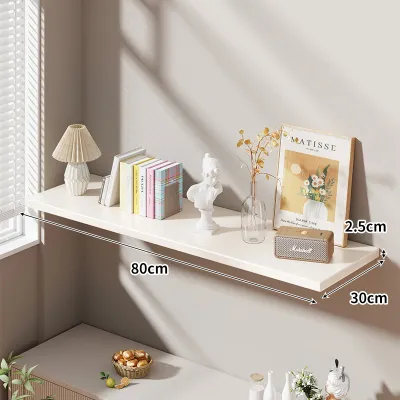
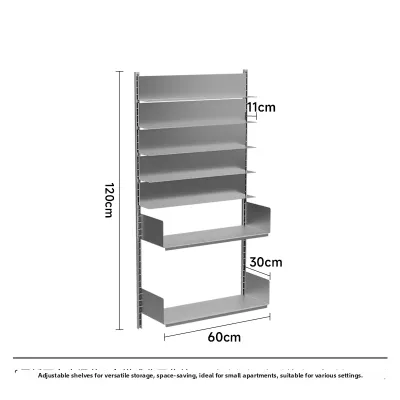
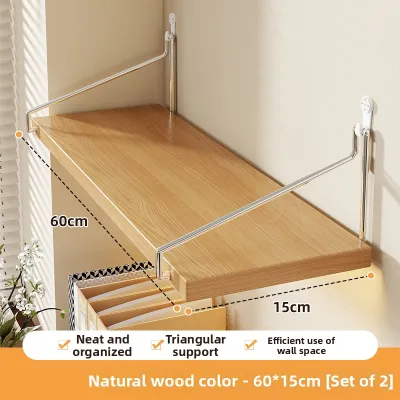
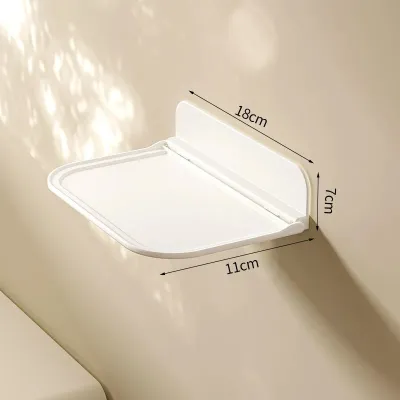
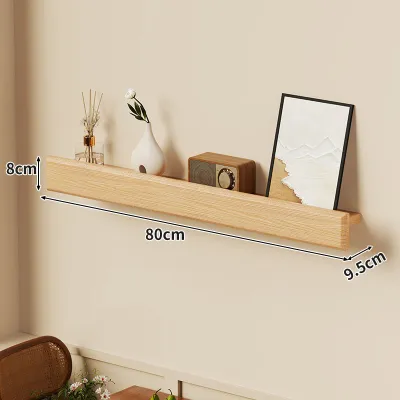
Prices are valid at publication and may change. Please refer to the product page for the latest price.
Once you have identified the wall material, use a high-quality multi-scanner or utility detector to scan the area for hidden hazards. In many Singaporean homes, electrical conduits and water pipes are embedded directly within or behind the wall surface. Scanning the wall prevents you from accidentally drilling into a live electrical line or a water pipe, both of which can cause catastrophic damage and expensive repairs.
With the safety checks complete, you can plan your modular shelf layout. Begin by measuring your available wall space and determining the length and depth of the shelf boards you intend to use. The spacing between your vertical uprights (the metal tracks) must correspond directly to the length of your shelves and the manufacturer’s recommendations.
For standard residential storage, vertical tracks are typically spaced between 60cm and 90cm apart. Spacing the tracks too far apart will cause the shelf boards to sag in the middle under the weight of your items. Always check the manufacturer’s specifications for the maximum allowable span between uprights, especially if you plan to store heavy books, kitchen appliances, or pantry goods.
Gather the Right Tools and Hardware
Executing a clean, secure installation depends heavily on using the correct tools and matching your mounting hardware to your specific wall type. Standard screws and generic plastic plugs included in imported shelf kits are often inadequate for Singapore’s dense concrete walls or fragile drywall partitions. Investing in high-quality, specialized hardware from a local hardware store is essential to prevent the system from pulling away from the wall.

For a successful installation, gather the following essential tools:
- Power Drill: A drill with a hammer function (rotary hammer or impact drill) is mandatory for solid concrete walls; a standard rotary drill is sufficient for drywall or timber studs.
- Drill Bits: Use carbide-tipped masonry drill bits for concrete walls, and high-speed steel (HSS) or wood drill bits for drywall and studs.
- Spirit Level: A level of at least 60cm in length is crucial for ensuring your vertical uprights are perfectly plumb and your shelves are completely horizontal.
- Measuring Tape and Pencil: For precise layout marking and distance verification.
- Rubber Mallet: Useful for tapping wall anchors flush without damaging the plaster or the anchor itself.
- Safety Equipment: Dust mask and safety goggles to protect against concrete dust and flying debris during drilling.
Choosing the correct wall anchors is the single most critical factor in determining the load capacity of your shelves. For solid concrete walls, use heavy-duty nylon expansion anchors (commonly referred to as “rawlplugs”) or specialized concrete screws. These anchors expand forcefully inside the concrete hole, creating a high-friction grip that resists pull-out forces.
For hollow drywall partitions, standard expansion plugs will fail because there is no solid material to compress against. Instead, you must use toggle bolts, butterfly anchors, or heavy-duty hollow-wall anchors. These fasteners pass through the drywall and expand or unfold on the back side of the sheet rock, distributing the weight across a much larger surface area. If possible, always aim to align at least one vertical track directly over an internal wall stud and secure it using heavy-duty wood screws.
Step-by-Step Installation Process
Before beginning the physical installation, check your modular shelf system’s product label and the manufacturer’s mounting instructions. If the instructions conflict with your specific wall type, or if your wall material is unidentified, stop and consult the manufacturer or a qualified professional contractor. Taking your time during these steps ensures minor errors do not compound into misaligned shelves and unstable brackets.
Mark and Drill the Pilot Holes
Begin by positioning the first vertical upright (track) against the wall at your desired height. Hold your spirit level flat against the side of the track and adjust it until the bubble is perfectly centered between the lines, indicating that the track is vertically plumb. Once aligned, use a sharp pencil to mark the exact center of the top mounting hole onto the wall.
To make the process easier, drill and secure this top hole first. This allows you to hang the track from a single screw, making it much simpler to verify the vertical alignment before marking and drilling the remaining holes. Before pulling the trigger on your drill, verify the manufacturer’s instructions for the required drill bit size; the diameter of the masonry or wood bit must match the outer diameter of your wall anchor precisely.
When drilling into concrete, set your power drill to the hammer function and hold the tool perfectly perpendicular to the wall. Apply steady, firm forward pressure, letting the drill’s hammering action do the work rather than forcing it. Drill approximately 5mm to 10mm deeper than the length of the wall anchor to ensure the screw can fully penetrate without bottoming out.
If you encounter sudden, unyielding resistance while drilling into a concrete wall, or if the drill bit begins to squeal and vibrate excessively, you may have hit a steel reinforcing bar (rebar). If this occurs, or if you suspect you have hit a utility pipe, stop drilling immediately. Do not attempt to force the drill through. Remove the bit, patch the hole, and shift your entire shelf layout slightly up, down, or to the side to clear the obstruction.
Once the hole is drilled, clear out the residual concrete dust. You can use a vacuum cleaner nozzle, a hand pump, or a small brush to clean the hole. Leaving dust inside the hole reduces the friction grip of the nylon anchor, significantly lowering its overall load capacity.
Mount the Vertical Uprights
Insert your chosen wall anchor into the clean pilot hole. The anchor should fit snugly; if it slides in too easily or feels loose, your drill bit may have been too large or wobbled during drilling. Use a rubber mallet to gently tap the anchor until its collar sits perfectly flush with the wall surface. If the anchor protrudes even slightly, the vertical track will not sit flat against the wall, which can cause the shelf to wobble.
Align the top hole of your vertical track over the inserted anchor, insert the mounting screw, and drive it in partially using a manual screwdriver or a drill set to a low torque. Do not tighten it completely yet. Let the track hang naturally, place your spirit level against its side once more, and confirm it is perfectly plumb. Mark and drill the remaining holes for this first track, insert the anchors, and secure all screws. Tighten them firmly, but avoid over-tightening, which can strip the plastic threads inside the anchor or crack drywall.
To position the second vertical track, use your measuring tape to measure the exact horizontal distance from the first track at both the top and bottom. This distance must match your shelf length or the manufacturer’s specified bracket-to-bracket span. Mark the general position of the second track on the wall.
To ensure the second track is perfectly aligned horizontally with the first, insert a shelf bracket into both tracks at the same vertical level. Place a shelf board across the brackets and rest your spirit level on top of the shelf. Adjust the height of the second track until the shelf board is perfectly horizontal. Once level, mark the drilling holes for the second track and repeat the drilling and mounting process.
Attach Brackets and Shelves
Once all vertical tracks are securely mounted to the wall, you can assemble the modular components. Slot the shelf brackets into the vertical tracks at your desired heights. Most modular systems use a double-slot design where the bracket hooks into the track and slides downward to lock into place. Ensure that each bracket is fully seated and locked; a gentle tap with a rubber mallet can help ensure they are securely engaged.
Carefully place your shelf boards onto the brackets. Check that the shelves are centered horizontally across the brackets, leaving an equal amount of overhang on both ends. This balanced distribution of weight prevents the shelf from tipping or sliding off the brackets when loaded.
The final step is to secure the shelf boards to the brackets to prevent accidental sliding, tipping, or dislodging. Depending on your specific modular shelf design, this may involve driving short wood screws through pre-drilled holes on the underside of the brackets into the bottom of the wooden shelves. For glass or metal shelves, you may need to install rubber suction pads, tighten small set screws, or snap the shelves into built-in tension clips. Never skip this securing step, as unsecured shelves present a significant safety hazard if bumped from below.
Test for Stability and Load Capacity
Before placing any valuable items, books, or decorations on your new shelf system, you must conduct a thorough safety and stability check. Gently grasp the vertical tracks and the shelf boards and apply moderate pressure, pushing and pulling in different directions. There should be absolutely no wobble, play, or shifting between the tracks and the wall, nor should there be any movement between the brackets and the tracks.
If you observe any flexing in the vertical tracks or notice a gap opening between the track and the wall, stop immediately. This is a clear indicator that the wall anchors are pulling out or are not suited for the load. You must remove the shelves and brackets, inspect the anchors, and replace them with a more robust anchoring system or consult a professional.
To test the load capacity safely, add weight to the shelves gradually over a few days. Start by placing lightweight items on the lower shelves, and monitor the system for any signs of sagging or wall separation. When loading your shelves, always distribute the weight evenly across the entire surface rather than concentrating heavy items in the middle of a shelf span. Placing heavier items closer to the vertical uprights minimizes bending stress on the shelf boards and transfers the load directly to the wall anchors.
Remember that the actual load capacity of your shelving system is determined by its weakest link. This is typically the interface between the wall anchor and the wall material, rather than the shelf boards or brackets themselves. For example, a solid oak shelf board may be rated to hold 80kg, but if it is mounted on a hollow drywall partition using standard plastic plugs, the wall interface will fail at a fraction of that weight. Always follow the manufacturer’s labeled weight limits and reduce those limits conservatively if you are mounting onto hollow partition walls.
Adjusting and Expanding Your Modular System
One of the greatest benefits of a modular wall-mounted shelf system is its long-term adaptability. As your storage needs change, you can easily reconfigure the layout without making new holes in your walls. To adjust the height of a shelf, first remove all items from it. Carefully lift the shelf board off its brackets, unsecure any retaining screws or clips, and lift the brackets upward to disengage them from the vertical tracks. Move the brackets to their new positions, ensure they are fully locked into the slots, and re-secure the shelf board.
If you find that you need more storage space in the future, you can easily expand your modular system horizontally. Simply purchase additional vertical tracks, brackets, and shelf boards. When mounting new tracks adjacent to your existing system, use your spirit level and a shelf board to align the new tracks perfectly with the old ones, ensuring a seamless and continuous shelving run.
Because daily household activities, door slams, and natural building settling can cause minor vibrations, it is good practice to perform periodic maintenance on your wall-mounted shelves. Once or twice a year, inspect the mounting screws on your vertical tracks and gently tighten any that have loosened. Check that all brackets remain fully seated in their slots and that the shelf boards remain securely fastened to prevent any long-term safety risks.
Frequently Asked Questions (FAQ)
Can I install a wall-mounted shelf on a hollow drywall partition?
Yes, you can install modular shelves on drywall, but you must use specialized hollow-wall fasteners such as metal toggle bolts or heavy-duty hollow-wall anchors. Standard plastic expansion plugs will not hold and will pull out under load. For maximum stability and weight capacity, locate the internal wooden or metal studs behind the drywall using a stud finder and screw the vertical tracks directly into these studs. Keep in mind that drywall partitions have significantly lower load-bearing capacities than solid concrete walls, so you should limit these shelves to lightweight items and avoid heavy book collections or heavy kitchen appliances.
How do I avoid hitting pipes or wires when drilling in an HDB or condo?
To avoid hitting hidden utility lines, always use a high-quality electronic multi-scanner with dedicated wire and metal detection modes before drilling. In Singapore residential units, electrical conduits and water pipes typically run in straight vertical or horizontal lines from light switches, power outlets, and water fixtures. Avoid drilling directly inline with these features. If you are uncertain about the location of concealed utilities, check your home’s original floor plans or contact your building’s management office or town council for guidance before proceeding.
Community discussion
Share your experience or ask a question. Comments are reviewed before publication.