
Installing a corner shelf without drilling is a highly effective way to maximize storage in tight spaces while preserving your walls. Whether you live in a rented apartment, want to avoid drilling into tough concrete walls, or simply prefer a flexible layout, drill-free modular systems offer a reliable solution. By utilizing vertical tension or balanced freestanding designs, you can create stable, functional storage in any corner of your home.
Assess Your Space and Choose the Right Drill-Free System
Before purchasing a drill-free corner shelf, precise measurements are essential. Start by measuring the height of your ceiling from the exact corner where the unit will stand. If you are opting for a tension-mounted system, even a few centimeters of variance can prevent the pole from securing properly. Measure the width and depth of the floor space to ensure the unit will not block doorways, window frames, or built-in cabinets.
It is also important to check the angle of your walls. While most corners are designed to be a perfect 90 degrees, minor structural settling or uneven plastering can create slight deviations. A modular system with adjustable shelves or flexible brackets can help accommodate these minor wall imperfections.
Products mentioned in this guide
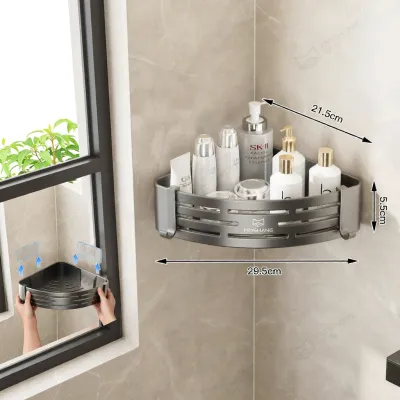
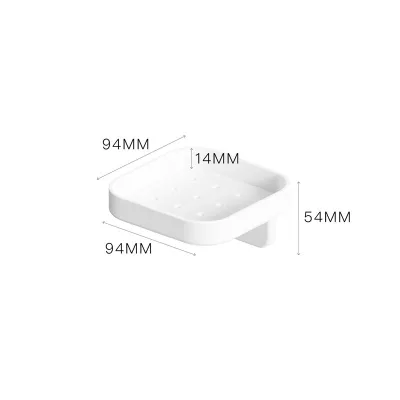
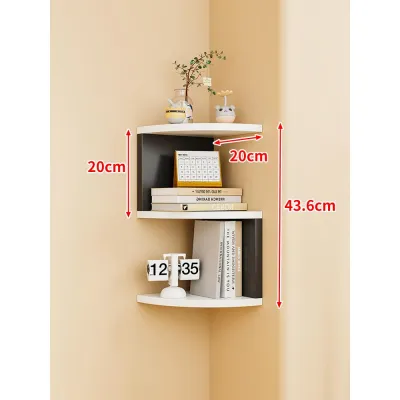
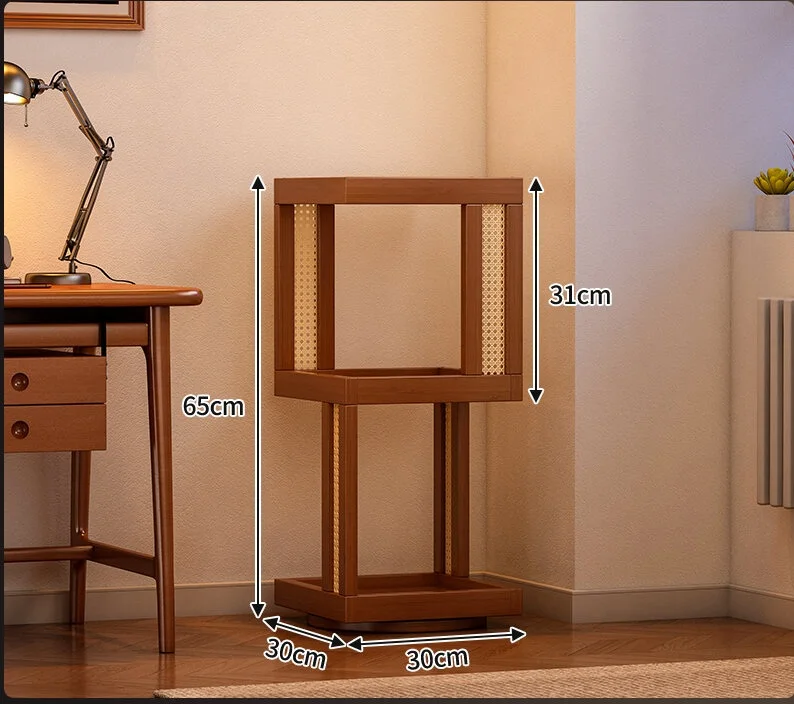
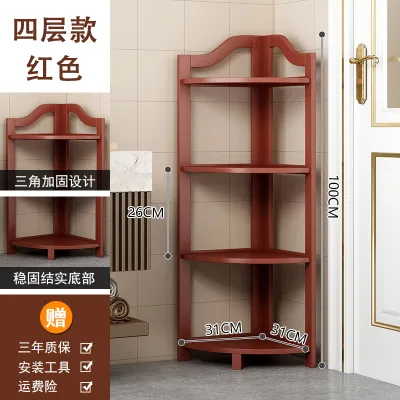
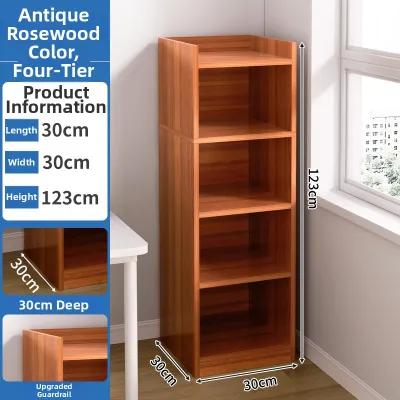
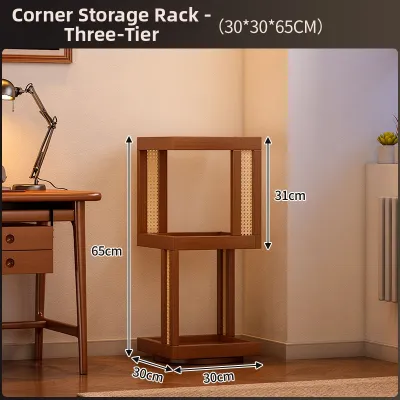
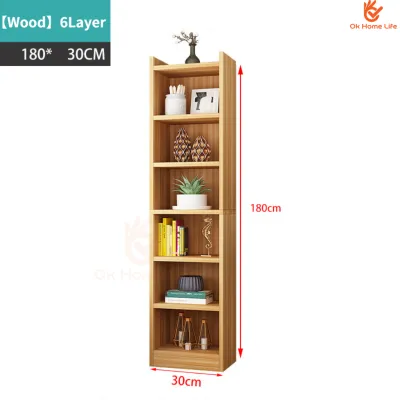
Prices are valid at publication and may change. Please refer to the product page for the latest price.
Understanding the difference between the two primary drill-free systems is key to making the right choice. Tension-mounted systems use a spring-loaded or screw-extendable vertical pole that presses firmly against the floor and the ceiling. These systems have a very small footprint, making them ideal for tight shower corners, narrow entryways, or compact study nooks. Freestanding systems, on the other hand, rely on a wider, weighted base and gravity to remain upright. They are highly versatile and can be moved easily, but they require more floor space to ensure stability.
Structural checks are critical before installing a tension-mounted system. In many modern apartments, false ceilings (also known as drop ceilings or plasterboard ceilings) are installed to conceal electrical wiring, air conditioning ducts, or plumbing. These ceilings are not structurally load-bearing and will crack or collapse under the upward pressure of a tension pole. Always tap the ceiling in your chosen corner; a hollow sound indicates a false ceiling, whereas a solid, dull thud indicates concrete. If you have a false ceiling, you must use a freestanding unit instead.
Finally, evaluate the load-bearing capacity of your floor. Heavy modular units filled with books or kitchenware exert concentrated point loads through their feet. Ensure your flooring material—whether it is delicate parquet wood, vinyl, or ceramic tiles—is stable and level. If the floor slopes slightly, look for a system that includes adjustable leveling feet to prevent the unit from leaning.
Tools and Materials for a Drill-Free Setup
While drill-free systems do not require power tools, having the right manual tools on hand ensures a safer and more precise assembly.

- Spirit Level: This is the most critical tool for any drill-free installation. It ensures your vertical poles are perfectly plumb and your shelves are completely horizontal, preventing items from sliding off.
- Rubber Mallet: Useful for tapping modular joints, collars, and shelf panels into place without scratching the metal or wood finish.
- Measuring Tape: Essential for verifying clearances, shelf heights, and ceiling dimensions.
- Microfiber Cloth: Used to clean the floor, ceiling, and wall contact points to ensure maximum grip for rubber pads and adhesives.
- Non-Slip Rubber Pads: Placed under the feet of the unit to prevent sliding on smooth surfaces like tiles or polished wood.
- Adjustable Leveling Feet: Often included with freestanding units to compensate for uneven floors.
- Heavy-Duty Adhesive Anti-Tip Straps: These provide a secondary layer of safety by anchoring the top of a freestanding unit to the wall using damage-free adhesive strips.
Step-by-Step Installation Guide
Setting up a drill-free corner shelf requires a methodical approach. Rushing the assembly can lead to an unstable structure or uneven weight distribution. Follow these steps to ensure a secure, balanced installation.
Step 1: Assemble the Modular Frame and Shelves
Begin by clearing a spacious work area on the floor. Lay down a soft blanket, rug, or the cardboard packaging from the shelf to protect both the product components and your flooring from scratches.
Sort all parts, including poles, shelves, brackets, and connectors, to ensure you have everything listed in the manufacturer’s manual.
Always assemble the unit from the bottom up. Start by constructing the base frame or attaching the lowest shelf tier to the bottom section of the vertical poles. This establishes a stable foundation for the rest of the assembly.
Slide the modular shelf brackets or locking collars onto the poles. If your system uses plastic slip sleeves, ensure they click firmly into the grooves on the poles at identical heights.
Lower the shelf panel onto the brackets or sleeves. Use a rubber mallet to tap the corners of the shelf gently, ensuring it is fully seated and locked into place. Never force a component; if it does not slide in smoothly, double-check that the brackets are aligned at the exact same height.
Keep the connections slightly loose during this initial phase. Do not tighten any locking screws or collars completely until the entire frame is assembled and placed in its final corner position. This allows for minor adjustments and prevents the frame from warping.
Step 2: Position and Secure Tension Poles (For Tension-Mounted Systems)
For tension-mounted systems, place the assembled base of the pole firmly in the corner of the room. Ensure the bottom rubber pad is sitting completely flush against the floor surface.
Slowly extend the upper section of the tension pole toward the ceiling. If your system uses a spring-loaded mechanism, compress the spring slightly as you position the top plate against the ceiling.
Before securing the pole, hold a spirit level against the side of the vertical shaft. Check the alignment from both the front-to-back and side-to-side angles. The bubble in the level must sit precisely between the two center lines.
Once the pole is perfectly vertical, engage the tension locking mechanism. For threaded systems, rotate the adjustment collar clockwise to expand the pole and increase the pressure. For lever-based systems, engage the locking lever to secure the tension.
Tighten the mechanism gradually. If your corner system uses multiple vertical poles, apply tension evenly across all poles to prevent the structure from twisting.
Strict Safety Stop Condition: Monitor the ceiling closely as you apply tension. If you notice any bowing of the ceiling panel, cracking sounds, or paint flaking, stop tightening immediately. Release the tension and remove the unit. This is a clear sign that the ceiling is a non-structural false ceiling and cannot support the pressure.
Step 3: Stabilize a Freestanding Unit (For Base-Reliant Systems)
If you are installing a freestanding corner shelf, stability relies on a solid connection with the floor and a low center of gravity.
Attach high-friction, non-slip rubber pads to the bottom of each foot. This prevents the unit from sliding or shifting on smooth surfaces like polished marble, homogeneous tiles, or glossy vinyl flooring.
Place the assembled unit into the corner. Use your spirit level to check the horizontal alignment of the shelves. If the unit wobbles or leans, adjust the leveling feet by screwing them in or out until the bubble on the spirit level is centered.
To prevent the unit from tipping forward, install heavy-duty adhesive anti-tip straps. Clean the wall surface and the back of the shelf with isopropyl alcohol to remove any dust, grease, or moisture.
Peel the backing from the adhesive strip and press the wall bracket firmly against the wall for at least 30 seconds. Attach the corresponding strap to the top back frame of the shelf.
Adhesive Curing Time: Do not load the shelves immediately. Most heavy-duty damage-free adhesives require a full 24 hours to cure and reach their maximum holding capacity. Loading the shelves too early can cause the adhesive to fail, leading to instability.
Safety Checks and Weight Distribution Rules
A drill-free corner shelf relies on proper weight distribution to remain stable. Following strict loading rules is essential to prevent tipping or structural failure.
The Heavy-to-Light Rule: Always place your heaviest items on the lowest shelves. This includes heavy books, storage bins, kitchen appliances, or large ceramic pots. The middle shelves should hold medium-weight items, while the top shelves should be reserved exclusively for lightweight decorative items, plants, or small accessories. This distribution keeps the center of gravity low, making the entire system highly resistant to accidental bumps.
Balanced Lateral Loading: Distribute weight evenly across the surface of each individual shelf. Avoid placing all heavy items on one side of a shelf, as this can create lateral torque, twisting the modular frame and potentially loosening tension poles or causing freestanding units to tilt.
Routine Maintenance Inspections: Because temperature fluctuations and humidity can cause materials to expand and contract, perform a quick safety check every three to six months.
- For tension systems, gently grasp the vertical pole and check for any play or movement. If the pole feels slightly loose, re-verify its vertical alignment with a spirit level and gently tighten the tension collar.
- For freestanding units, inspect the adhesive anti-tip straps to ensure they are not peeling away from the wall. Check that the leveling feet remain firmly in contact with the floor.
- Examine the shelf panels for any signs of bowing or sagging, which indicates that the weight limit has been exceeded.
Immediate Stop-Use Conditions: Unload the shelves immediately if you observe a visible lean, a slipping base, persistent wobbling, or if the adhesive straps begin to peel. Do not attempt to adjust a loaded shelf; always clear the items first before troubleshooting.
Maintenance and Safe Repositioning Tips
Safe Cleaning Practices: When cleaning your corner shelf, avoid applying heavy lateral pressure. Use a soft, damp microfiber cloth to wipe down surfaces. Avoid using abrasive cleaners or harsh chemicals that can degrade the protective finish or damage the rubber pads. Never lean your body weight against the shelf or use the vertical poles for support when reaching for other items.
Dismantling Tension Poles: If you need to move or reposition your tension-mounted shelf, always unload all items first. Gradually release the tension mechanism to avoid a sudden drop, which can damage your flooring or scrape the ceiling paint. Once the tension is fully released, carefully slide the poles down and tilt them away from the corner.
Removing Adhesive Straps Safely: To remove adhesive anti-tip straps without damaging the wall paint or drywall, use a hairdryer to apply gentle heat to the adhesive pad for 20 to 30 seconds. This softens the adhesive bond. Take a piece of dental floss or thin fishing line, slide it behind the pad, and use a gentle sawing motion to slice through the foam core. Any remaining adhesive residue can be rolled off with your thumb or cleaned with a mild adhesive remover.
Frequently Asked Questions (FAQ)
Can I use a tension-mounted corner shelf on a drop ceiling?
No, tension-mounted corner shelves should never be installed against a drop or false ceiling. These ceilings are made of lightweight materials like plasterboard or gypsum suspended by a metal grid, and they cannot withstand the upward pressure required to secure a tension pole. Attempting to do so can crack the ceiling panels or cause the entire ceiling structure to sag or collapse. For spaces with false ceilings, a freestanding corner shelf stabilized with adhesive anti-tip straps is the only safe, drill-free alternative.
How do I prevent the shelves from slipping on smooth tiles?
To prevent slipping on smooth tiles, ensure the floor is completely clean, dry, and free of dust, grease, or moisture before setting up the shelf. Use high-friction silicone or rubber grip pads under the feet of the unit. These pads increase surface grip and absorb micro-vibrations, keeping the shelf firmly in place. For added stability in humid environments like bathrooms or kitchens, ensure the leveling feet are adjusted perfectly to eliminate any wobbling.
Community discussion
Share your experience or ask a question. Comments are reviewed before publication.