
Installing a hanging shelf is one of the most effective ways to maximize storage, organize clutter, and display personal decor. However, a shelf is only as secure as the wall holding it. Achieving a safe, wobble-free installation requires matching your tools, drilling techniques, and hardware to the specific wall substrate in your home.
In Singapore, residential properties feature a diverse mix of wall materials. High-rise Housing & Development Board (HDB) flats and private condominiums predominantly utilize solid, reinforced concrete or precast concrete walls. In contrast, newer developments, partition walls, and renovated bedrooms frequently use gypsum drywall. Bathrooms and kitchens present yet another challenge with ceramic or porcelain tiled surfaces. Understanding how to identify these materials and apply the correct mounting method is essential to prevent structural damage, costly wall repairs, or sudden shelf collapses.
Essential Tools and Hardware for the Job
Before starting your installation, gathering the correct tools and wall-specific hardware prevents mid-project delays and ensures the structural integrity of your shelf. Using the wrong tool or an incorrect drill bit can damage your walls or burn out your power tools.
Products mentioned in this guide
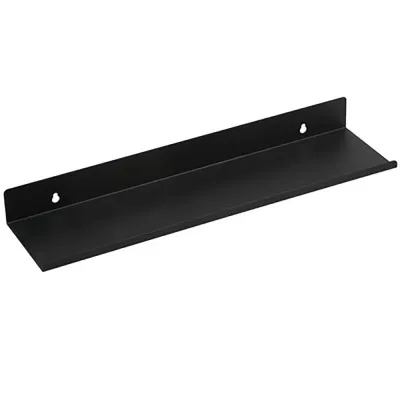
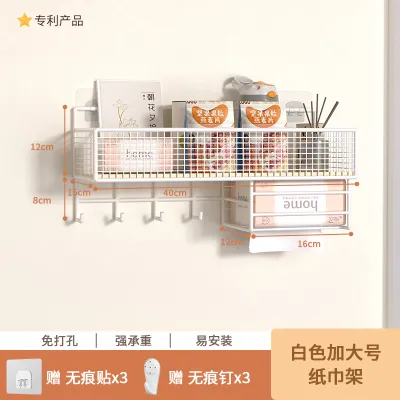
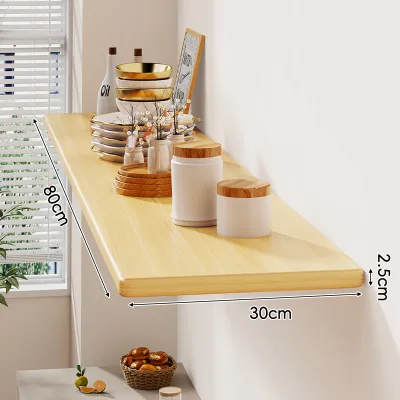
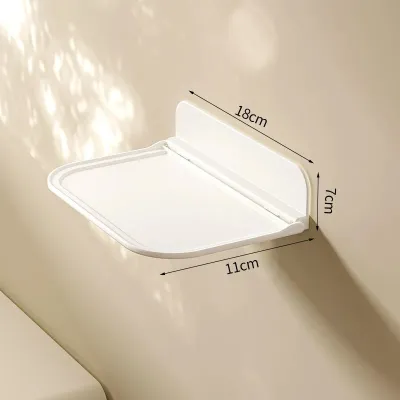

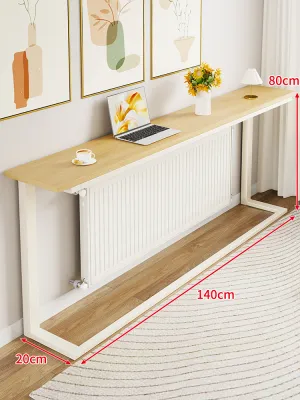
Prices are valid at publication and may change. Please refer to the product page for the latest price.
Every successful installation requires a core set of reliable tools:
- Measuring tape and pencil: Essential for precise positioning and marking.
- Spirit level: A bubble or digital level ensures your hanging shelf is perfectly horizontal, preventing items from sliding off.
- Power drill: A standard rotary drill works for drywall, but a drill with a hammer or impact function is highly recommended for concrete.
- Safety gear: Always wear safety glasses to protect your eyes from flying debris and a dust mask to avoid inhaling fine concrete or drywall dust.
Choosing the correct drill bit is critical for a clean hole. Standard twist drill bits are designed for wood or metal studs behind drywall. Masonry drill bits, which feature a carbide-tipped head, are required to pulverize dense concrete or brick. Tiled surfaces demand specialized diamond-tipped or glass-and-tile drill bits that can slice through tough glazes without cracking the tile.
While flat-pack shelves often package generic plastic wall plugs and screws in the box, these are rarely one-size-fits-all. You must match your wall anchors to the specific wall type. For instance, hollow drywall requires toggle bolts or snap-toggles that expand behind the board, whereas concrete demands heavy-duty nylon expansion plugs or masonry anchors. Always check the shelf manufacturer’s installation manual for proprietary mounting brackets, specific screw lengths, and weight ratings. If the manual’s instructions conflict with your wall type, or if you are unsure of the material, stop and consult a professional installer.
Installing on Drywall: Finding Studs and Using Anchors
Drywall, also known as gypsum board, is lightweight and easy to drill, but it lacks the dense structural strength of concrete. To mount a hanging shelf securely on drywall, you must understand the critical difference between securing hardware directly into structural studs and anchoring into the hollow spaces between them.

Locating Studs for Maximum Strength
Whenever possible, mount your shelf brackets directly into the wooden or metal studs that form the wall’s internal frame. Screwing directly into a stud provides the highest possible weight capacity and eliminates the need for hollow-wall anchors.
To locate these hidden supports, slide an electronic or magnetic stud finder horizontally along the wall, marking the edges and center of each stud with a pencil. Standard studs are typically spaced 40 to 60 centimeters apart. Once located, verify the positions with your spirit level to ensure your bracket alignment remains perfectly straight.
Utilizing Heavy-Duty Hollow-Wall Anchors
If your desired shelf placement does not align with the wall studs, you must rely on heavy-duty hollow-wall anchors. Standard plastic expansion plugs should never be used in hollow drywall; they rely entirely on friction and will easily pull out under the downward leverage of a loaded shelf. Instead, use high-quality toggle bolts, snap-toggles, or self-drilling threaded drywall anchors. Toggle bolts feature metal wings that fold flat to pass through the drilled hole, then spring open on the backside of the drywall, distributing the weight across a much wider surface area.
Execution Steps for Drywall
- Mark the bracket holes: Hold the shelf bracket against the wall at your desired height, verify it is level using your spirit level, and mark the screw holes with a pencil.
- Drill the pilot holes: Select a drill bit that matches the exact diameter specified by your anchor manufacturer. Drill straight into the marked points.
- Insert the anchors: For self-drilling threaded anchors, screw them directly into the drywall until they sit flush with the surface. For toggle bolts, thread the bolt through the shelf bracket first, fold the metal wings, push them completely through the drilled hole until you hear them spring open, and pull back slightly to create tension.
- Secure the bracket: Tighten the screws securely, ensuring the bracket is firmly clamped against the drywall without over-tightening, which can strip the gypsum core.
Drywall Risk Boundary
Because drywall has low inherent shear strength, the maximum load of your hanging shelf is strictly limited by the anchor’s rated capacity and the physical condition of the gypsum board. Never attempt to store heavy books or dense cookware on a drywall-mounted shelf unless the brackets are anchored securely into structural studs.
Installing on Concrete Walls: Drilling and Anchoring
Solid concrete and masonry walls are standard in Singapore HDB flats and condominiums. While these walls offer outstanding load-bearing capacity, drilling into them requires specialized equipment and a methodical approach to manage dust and ensure a clean, deep anchor fit.
Tool Setup and Depth Control
Drilling into dense concrete with a standard rotary drill is inefficient and can overheat the motor. Instead, use a hammer drill or an impact drill set to its hammer function. This action combines rapid rotational cutting with a forward pounding motion to break up the aggregate. Pair the tool with a high-quality, carbide-tipped masonry drill bit.
To prevent drilling too deep or too shallow, measure the length of your plastic wall plug. Wrap a piece of bright masking tape or painter’s tape around the drill bit at this exact length. This serves as a highly visible depth gauge during operation.
Execution Steps for Concrete
- Mark and verify: Mark your drill points with a pencil, using a spirit level to ensure absolute alignment.
- Drill perpendicular to the wall: Hold the hammer drill firmly with both hands, positioning the bit at a perfect 90-degree angle to the wall. Apply steady, firm forward pressure. Let the tool do the work; forcing it can damage the bit.
- Clear concrete dust: Once you reach the tape mark, pull the bit out while it is still spinning to clear loose debris. Use a vacuum cleaner nozzle or a specialized blow pump to clear all remaining dust from inside the hole. Leftover concrete dust acts as a lubricant, which significantly reduces the friction grip of your wall plug.
- Insert the wall plug: Push a high-quality nylon expansion plug into the hole. It should fit snugly. If it sticks out slightly, tap it gently with a mallet until it sits perfectly flush with the concrete surface.
- Mount the bracket: Position your shelf bracket over the plug and drive the screw in tightly using a manual screwdriver or a drill on a low-torque setting.
Safety and Stop Conditions
Always wear safety glasses and a protective mask, as concrete drilling generates fine silica dust that can irritate your eyes and respiratory system. If your drill suddenly stops advancing or vibrates violently, you may have struck structural steel rebar. Do not attempt to force the drill through. Stop immediately, pull the bit out, and shift your mounting location slightly to avoid damaging your tools or compromising the building’s structural reinforcement.
Installing on Tiled Surfaces: Preventing Cracks and Slips
Mounting a hanging shelf on a tiled wall—common in Singapore kitchens and bathrooms—demands patience and precision. Tiles are incredibly hard yet brittle; applying the wrong technique can easily shatter the ceramic or porcelain glaze.
Surface Preparation and Slip Prevention
Because glazed tiles are extremely slick, a drill bit will naturally want to wander or “skate” across the surface when you start drilling, which can leave permanent scratches. To prevent this, apply a thick piece of masking tape or painter’s tape directly over your marked drill spot. The textured paper surface provides the necessary traction to keep the drill bit centered.
Specialized Drilling Technique
Start the process using a specialized tile or glass drill bit, such as a carbide spade-tip bit or a diamond-grit hole saw. Crucially, turn off the hammer function on your drill. Using the hammer action on a tile will instantly crack or shatter it. Set your drill to a low speed and apply light, steady pressure. If you are drilling into hard porcelain tiles, keep a small cup of water nearby and periodically dip the bit into it to cool it down, preventing thermal cracking.
Substrate Drilling and Anchoring
Once the specialized bit has fully penetrated the tile layer and reached the underlying concrete or brick substrate, stop. Switch your drill bit to a standard carbide masonry bit of the same diameter, re-engage the hammer function on your drill, and continue drilling into the substrate to the required depth. This two-step process protects the tile while ensuring a deep, secure anchor hole.
Anchoring and Risk Boundary
Carefully insert your nylon wall plug through the tile and push it deep into the underlying concrete substrate. The anchor must expand behind or deep within the tile, not directly inside the tile layer itself, as lateral expansion pressure can crack the ceramic. Never hammer an anchor forcefully into a tight hole. Additionally, avoid drilling too close to the edges of a tile or directly into wide grout lines, as the grout can crumble under load, causing the anchor to fail.
Final Stability Checks and Weight Limits
Once your brackets are mounted and the hanging shelf is assembled, you must perform a series of safety and stability checks before placing any valuable or fragile items on it.
Verification and Testing
Place a spirit level on top of the shelf to verify that it remains perfectly horizontal from left to right and front to back. Next, perform a physical stability test. Gently tug on the brackets and the shelf itself to ensure there is absolutely no wobble, play, or movement against the wall.
When loading the shelf for the first time, introduce weight gradually. Place a few items on it and observe the brackets for any signs of sagging, pulling away, or wall deflection. Avoid loading the shelf to its maximum capacity immediately.
The Weakest Link Principle
Always remember that the safe weight limit of your hanging shelf is determined by the lowest rating among three critical factors:
- The shelf material's structural limit: Thin particleboard or glass shelves will sag or break under loads that solid wood or metal can easily support.
- The hardware and anchor rating: Your screws and wall anchors have specific weight capacities that must not be exceeded.
- The wall's holding capacity: Solid concrete holds significantly more weight than hollow drywall partition walls.
For example, even if you purchase heavy-duty brackets rated for 50 kilograms, if they are mounted on drywall using anchors rated for only 10 kilograms, the safe load limit of your entire system is strictly limited to 10 kilograms.
Long-Term Maintenance
Periodically inspect your hanging shelf, especially if it is installed in a high-humidity environment like a Singapore kitchen or bathroom. High humidity and temperature fluctuations can cause wood shelves to expand and contract, which may gradually loosen the mounting screws. Every six to twelve months, check the tightness of the hardware and gently tighten any loose screws to ensure your shelving system remains safe and secure for years to come.
Frequently Asked Questions (FAQ)
Can I install a hanging shelf without drilling?
Yes, but only under highly restricted conditions. Renter-friendly, no-drill options include heavy-duty double-sided adhesive strips, mounting tapes, or tension rods. However, these methods have severe limitations. They are only suitable for exceptionally lightweight, decorative items (typically under 1 to 2 kilograms) and are highly dependent on the wall’s surface finish. For instance, strong adhesives can easily peel the paint or paper backing off drywall. Furthermore, adhesive backings tend to degrade rapidly in humid environments like bathrooms, leading to sudden, unexpected failures that can damage both the shelf and your belongings.
How do I manage cables for modular shelves with built-in lighting?
For modern modular shelves with integrated LED lighting, managing power cables is essential for a clean look. The safest and most practical DIY approach is surface-level cable management. You can use adhesive cable clips, paintable plastic cord covers (raceways) that match your wall color, or route the wires neatly along the backside of the shelf brackets. If you want to hide the wires completely inside the wall, note that cutting into drywall or drilling channels into concrete walls to route electrical cables requires professional electrical work and must comply with local building codes. Do not attempt in-wall cable routing as a standard DIY step.
Community discussion
Share your experience or ask a question. Comments are reviewed before publication.