
To find the correct cabinet shelf support for your existing furniture, you must identify the pin’s shape, measure its exact diameter and insertion length using a precise tool like a digital caliper, and match the support style to your shelf material. Even a fraction of a millimeter difference can cause a shelf to collapse or prevent the pin from fitting into the pre-drilled cabinet holes.
In Singapore’s humid climate, older built-in kitchen cabinets or wardrobe units often experience wood swelling or structural wear around these mounting holes. Taking the time to inspect the physical condition of the cabinet walls alongside the pins ensures your replacement hardware remains stable and secure over time.
Replacing these small components is a straightforward DIY task, but success depends entirely on precision. Choosing the wrong size or material can lead to sagging shelves, damaged cabinet interiors, or unexpected collapses that ruin your stored items. By following a systematic process to inspect, measure, and test your hardware, you can restore the structural integrity of your cabinetry with minimal effort.
Products mentioned in this guide
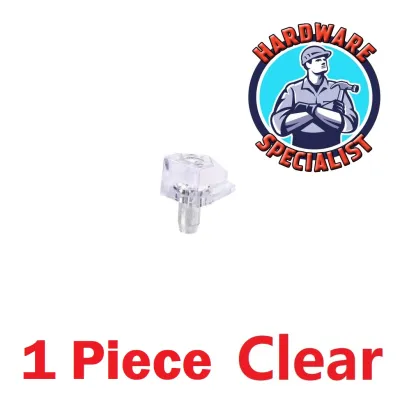
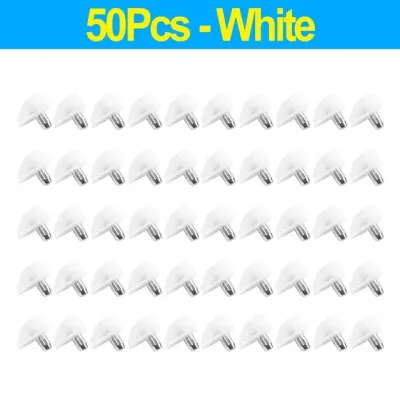
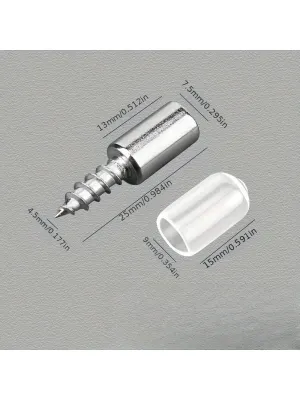
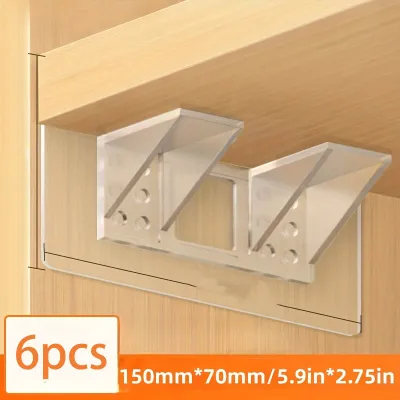
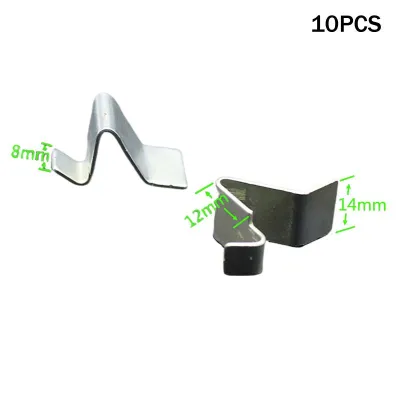

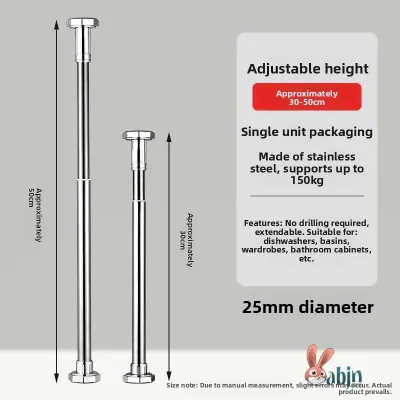
Prices are valid at publication and may change. Please refer to the product page for the latest price.
Inspect Your Current Shelf Supports and Mounting Holes
Determining the physical shape, style, and mounting mechanism of your current shelf supports is the first step to narrowing down the replacement category. Cabinet hardware varies widely across different furniture brands and manufacturing eras, meaning a visual inspection is essential before making any purchases. Start by removing one of the intact supports from your cabinet and examining its overall profile.
Cylindrical pins are the most common variety, featuring a simple straight shaft that slides directly into the cabinet wall. Spoon-shaped or paddle-style pins offer a flat, wider surface for the shelf to rest on, which helps distribute downward weight more evenly across the support.
If your cabinet features heavy glass shelving, you might find specialized supports equipped with rubber pads, vinyl sleeves, or integrated suction cups designed to cushion the glass and prevent it from sliding or scratching.
Next, examine the mounting holes inside the cabinet itself. Most standard cabinets use round pre-drilled holes along the interior side panels, but some European-style modular systems or custom built-ins feature square slots or specialized metal tracks. Note whether the holes are clean and round, or if they show signs of wear, such as chipping or widening. This initial inspection helps you determine if you need a standard peg, a locking clip support, or a specialized system pin that matches the existing cabinet architecture.
Measure the Pin Dimensions for an Exact Match
Obtaining precise measurements of your existing shelf supports is critical because even minor variations can render a replacement part useless. Standard cabinet pins typically come in metric sizes like 5mm or 6mm, or imperial sizes like 1/4 inch and 3/16 inch. Because a 5mm pin will slide right out of a 1/4-inch hole, relying on a standard plastic ruler or tape measure can easily lead to ordering errors.

To achieve the necessary precision, use a digital caliper to measure the pin’s diameter. Place the flat jaws of the caliper against the smooth cylindrical shaft of the pin—not the flared collar or the resting platform—to get an accurate reading.
If you do not own a caliper, you can test the hole size by inserting drill bits of known sizes (such as a 5mm or 6mm bit) shank-first into the cabinet hole to see which one fits snugly without forcing.
In addition to the diameter, measure the insertion length, which is the portion of the pin that actually sits inside the cabinet wall. If the replacement pin’s shaft is too long, it will bottom out before the collar sits flush against the cabinet wall, leaving the shelf unstable and prone to tipping.
Finally, record the width and thickness of the resting lip or platform. If your shelves have pre-routed grooves on the underside designed to conceal the support hardware, the replacement platform must match these dimensions perfectly to sit flush.
Assess Material and Load-Bearing Requirements
Selecting the right replacement material and design ensures your shelves can safely support their intended load over years of daily use. Molded plastic supports are common in lightweight utility cabinets, but they can degrade, become brittle, or shear under heavy kitchenware or book loads.
For long-term durability, solid steel, brass, or zinc alloy supports offer significantly higher shear strength and resistance to bending. When selecting metal supports, check the finish to ensure it resists corrosion, particularly in high-humidity areas like Singapore kitchens or bathrooms where moisture can accelerate rust on untreated metals.
If you are replacing supports in a pantry or heavy wardrobe, opting for solid metal pins with a wide resting lip or a wrap-around bracket design provides the best structural support.
Match the support style to the shelf material to prevent damage. Solid wood or heavy particleboard shelves perform best with flat-lipped or spoon-shaped metal pins that distribute downward force. Glass shelves must never rest directly on bare metal; always use supports with soft vinyl sleeves, rubber bumpers, or integrated suction cups to cushion the glass and prevent localized stress fractures.
Additionally, inspect the structural integrity of the cabinet holes before choosing your replacement material. If the wood around the hole has crumbled, stripped, or enlarged due to moisture or past overloading, a standard metal pin may wobble or fall out, requiring structural remediation before installation.
Verify Compatibility Before Buying in Bulk
Before ordering dozens of replacements for an entire kitchen or wardrobe system, cross-reference your physical measurements with the detailed technical drawings or specification sheets provided by the hardware supplier. Online listings often show schematics detailing the exact tolerances of the pin diameter and length. Comparing your caliper measurements to these diagrams prevents the hassle of returning incompatible parts.
Consider purchasing a small sample pack containing a few different sizes, such as 5mm and 6mm variants, to test the physical fit. Insert the sample pin into an inconspicuous hole near the bottom or back of the cabinet to verify that it slides in smoothly with minimal resistance but remains snug without rocking. This hands-on test is the most reliable way to confirm compatibility before committing to a larger purchase.
If you plan to reconfigure your cabinet layout or add new shelves, verify the hole spacing system. Many modern cabinets follow the standard 32mm system, where holes are spaced exactly 32mm apart from center to center. Confirming this spacing allows you to purchase matching multi-pin shelf strips or peg-style supports that align perfectly with the existing hole pattern, giving you the flexibility to adjust your storage layout as needed.
Remove Old Supports and Install the Replacements
Removing damaged or stubborn shelf supports requires care to avoid gouging the cabinet’s interior laminate or veneer. For intact metal or plastic pins that are stuck, use a pair of pliers wrapped in a thin cloth to grip the pin firmly and pull it straight out with a gentle twisting motion. Avoid prying against the cabinet wall with metal tools, as this can easily crush the soft particleboard or MDF core beneath the surface laminate.
Once the old supports are removed, clean the mounting holes thoroughly. Use a small brush, a vacuum attachment, or a cotton swab to clear out accumulated wood dust, loose particleboard fibers, or old adhesive residue that could prevent the new pin from seating fully flush against the cabinet wall. A clean hole ensures the replacement support inserts to its maximum depth, providing optimal stability.
Insert the new cabinet shelf supports into the designated holes, ensuring they are pushed in completely until the collar or shoulder rests flat against the cabinet side panel. If a pin is tight, tap it gently with a rubber mallet or the wooden handle of a screwdriver rather than forcing it with a heavy metal hammer, which can bend the pin or crack the surrounding wood.
Place the shelf back onto the newly installed supports and check for stability. Press down on each of the four corners of the shelf to verify there is no rocking or wobbling, and use a spirit level to confirm the shelf sits perfectly horizontal before reloading it with your belongings.
Frequently Asked Questions (FAQ)
How do I remove a broken shelf pin stuck inside the cabinet hole?
When a plastic or metal pin shears off flush with the cabinet wall, removing the remaining fragment requires a delicate touch. If a small portion of the pin is still visible, try gripping it with needle-nose pliers to wiggle it free. For plastic pins sheared completely flat, you can carefully drive a small, sharp wood screw a few millimeters into the center of the broken plastic shaft, then use the screw head as a handle to pull the entire piece out with pliers.
If the stuck pin is metal and cannot be gripped, drilling it out requires extreme caution. Use a drill bit slightly smaller than the pin diameter, centering it carefully to avoid boring into the cabinet wood. If the cabinet material is fragile, swollen, or prone to chipping, stop the DIY extraction and consult a professional cabinet maker or handyman to avoid ruining the structural side panel of your built-in furniture.
What should I do if the exact replacement size is unavailable?
If you discover your cabinet holes are an uncommon or obsolete size and matching pins are unavailable, you can use plastic or metal sleeve adapters. These small inserts fit into a larger, slightly worn hole to reduce its inner diameter, allowing a standard smaller pin to sit snugly inside without wobbling.
Alternatively, if the existing holes are too small for standard modern pins, you can carefully enlarge them using a drill bit equipped with a depth stop to prevent boring completely through the cabinet wall. If the cabinet panels are too thin or fragile for drilling, switching to surface-mounted shelf support brackets or adhesive-backed support pegs can provide a secure alternative without relying on the integrity of the original pre-drilled holes.
Community discussion
Share your experience or ask a question. Comments are reviewed before publication.