
A door that scrapes against the floor, squeaks with every movement, or refuses to latch properly is a common household frustration. Over time, the constant physical stress of opening and closing, combined with environmental factors like humidity, can cause door hinges to wear down, loosen, or fall out of alignment. Fortunately, most door hinge issues do not require a professional carpenter or expensive replacements. By understanding the mechanics of your door hardware, you can easily diagnose the root cause of the problem and apply a targeted, long-lasting fix. Whether your door is suffering from a high-pitched squeak, a noticeable sag, or screws that refuse to stay tight, this guide provides the practical steps needed to restore smooth, quiet operation to your home’s doors.
Diagnosing the Root Cause of Your Door Hinge Issue
Before reaching for your toolbox, take a few moments to observe how the door behaves when you open and close it. Misalignment, friction, and loose hardware each produce distinct physical symptoms. Identifying these signs early prevents unnecessary repairs and ensures you address the actual source of the malfunction.
Begin with a thorough visual inspection of the door while it is closed. Examine the gap between the door edge and the wooden frame on all four sides. In a properly aligned system, this gap should be uniform. If the gap is wide at the top on the latch side but narrow or rubbing at the bottom, the door is sagging. Look closely at the hinge leaves—the flat metal plates screwed into the door and frame. They should sit completely flush with the wood. If any edge of a hinge leaf is protruding or tilted, the screws are likely loose or the mortise cut-out is uneven.
Products mentioned in this guide
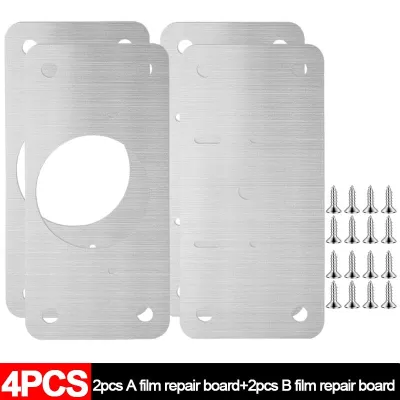
![[SG Local Seller] 6Pcs/10Pcs Stainless Steel Hinge Fixing Plate Cabinet Door Hinge Repair Installation Repair Plate 不锈钢柜门铰链修复板合页固定板橱柜门](https://img.lazcdn.com/g/p/639dab4d204848291a069ef650a11dff.jpg_400x400q80.jpg_.webp)
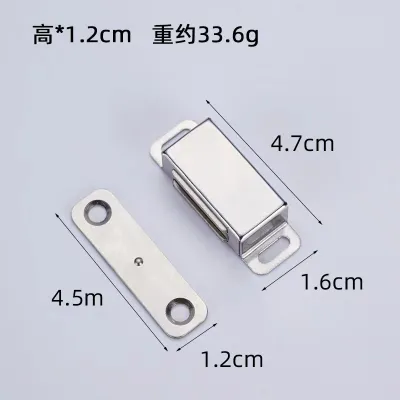
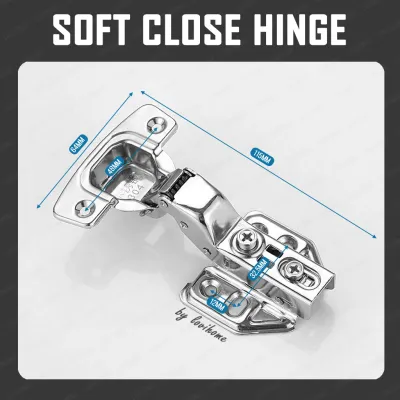
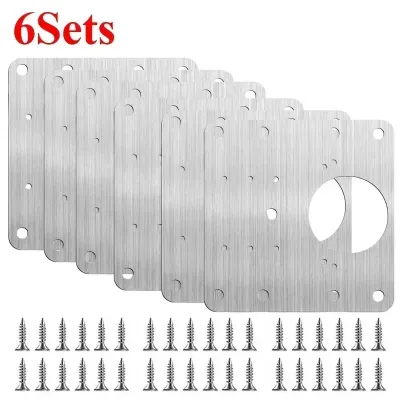
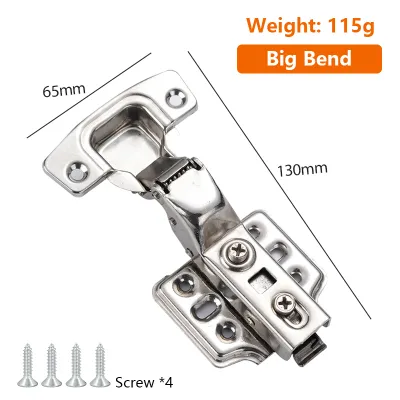
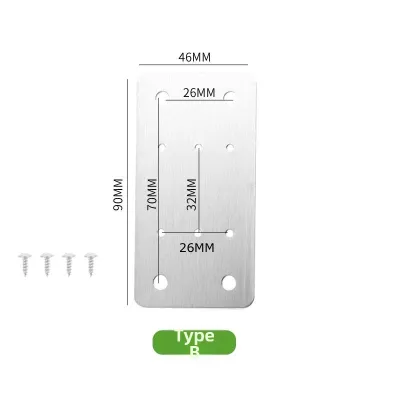
Prices are valid at publication and may change. Please refer to the product page for the latest price.
Next, listen to the door as you operate it. A high-pitched, sharp squeak indicates dry metal-on-metal friction inside the hinge knuckles, often caused by a lack of lubrication or a buildup of household dust. A heavier grinding or scraping sound, however, suggests that the door leaf is physically rubbing against the frame or the floor. Look for physical evidence of this contact, such as worn paint, dark scuff marks, or fine wood shavings on the floor beneath the door.
Finally, test the physical stability of the door and its hardware. Open the door halfway, grasp the outer handle or edge, and gently lift it upward. Watch the hinges closely during this movement. If you see the hinge leaves shift or pull away from the wood frame, the screws have lost their grip. If the hinges remain firmly anchored but the door still wiggles, the hinge pins may be bent, or the knuckles themselves may have worn down from years of use.
How to Fix a Squeaking Door Hinge
Eliminating a persistent squeak requires more than a quick spray of oil on the outside of the hinge. To achieve a quiet, long-lasting result, you must address the friction occurring inside the hinge knuckles where the pin rests.

Start by removing the hinge pin to clean the internal components. Keep the door closed and latched to hold it stable. Place a nail punch or a sturdy flat-head screwdriver against the bottom of the hinge pin. Gently tap the end of the tool upward with a hammer until the pin pops loose from the knuckles. Carefully slide the pin out. If you are working on a door with multiple squeaking hinges, remove and service only one pin at a time to prevent the door from falling out of the frame.
Once the pin is removed, inspect it for old, hardened grease, rust, or accumulated grime. Wipe the pin thoroughly with a clean rag. If there is stubborn rust or dried residue, scrub the pin gently with fine steel wool or a stiff utility brush. Do not forget to clean the inside of the hinge knuckles. Roll up a small piece of a clean rag, insert it into the knuckle opening, and twist it to clear out any trapped dust and debris.
Selecting the right lubricant is crucial for preventing future squeaks. Avoid standard penetrating oils for long-term lubrication; while they loosen stuck parts quickly, they evaporate rapidly and attract dust, which eventually creates a gritty, squeak-inducing paste. Instead, opt for dedicated lubricants. Silicone spray offers a clean, moisture-resistant barrier that is ideal for indoor doors. Dry graphite lubricant is highly effective because it does not attract dust, though it must be applied carefully to avoid staining nearby paint or wood. White lithium grease provides a heavier, highly durable film that is excellent for heavy-duty or high-traffic doors.
Apply a thin, even coat of your chosen lubricant to the hinge pin and a small amount inside the knuckles. Reinsert the pin into the hinge barrel, tapping it down gently with a hammer until it is fully seated. Open and close the door several times to distribute the lubricant across all moving surfaces. Wipe away any excess lubricant that squeezes out of the joints to protect your door’s finish.
How to Repair Loose Door Hinges
Loose hinges occur when the screws holding the hinge leaves to the door or frame lose their grip. This is incredibly common in wooden frames, where the constant leverage exerted by a heavy door gradually strips the wood fibers inside the screw holes.
First, test the existing screws by turning them with a manual screwdriver. If a screw spins continuously without tightening, the wood fibers inside the hole have stripped. Remove the loose screws entirely and inspect the holes. If the wood is dry, cracked, or hollowed out, you must restore the structural integrity of the hole before reinserting any fasteners.
An effective, time-tested method for repairing stripped screw holes involves using wooden dowels or toothpicks combined with wood glue. Dip several wooden toothpicks or a small wooden dowel into high-quality PVA wood glue. Pack the glue-coated wood tightly into the stripped screw hole until it is completely filled. Use a hammer to tap the wood pieces deep into the hole. Allow the glue to dry completely according to the manufacturer’s instructions, then use a sharp utility knife to cut any protruding wood flush with the surface of the hinge mortise.
Once the glue is dry, you have a solid block of wood ready to accept a fastener. Do not attempt to drive the screw directly into the repaired hole, as this can split the wood. Instead, use a small drill bit to create a pilot hole directly down the center of the repair. This guide hole ensures the screw drives in straight and seats flush against the hinge leaf. Realign the hinge leaf and secure it by driving the screw firmly into place.
Alternatively, you can replace the short factory screws with longer wood screws. Standard hinge screws are often only 15mm to 25mm long, which only grips the thin door jamb. Replacing them with 60mm to 75mm wood screws allows the threads to pass entirely through the jamb and anchor deep into the structural wall studs behind the frame. When using longer screws, ensure they match the gauge and head shape of the original screws so they sit flush in the hinge leaf. Drive them slowly and stop as soon as they are snug; over-tightening can pull the door frame out of plumb and cause the door to bind.
How to Correct a Sagging Door
A sagging door drags along the floor, scrapes against the threshold, or fails to align with the strike plate on the latch side. This issue is typically caused by bent hinge pins, minor structural settling of the door frame, or physical wear on the hinge knuckles.
Begin by checking for a bent hinge pin, which is a common culprit behind a sagging door. Remove the pin from the top hinge and roll it across a completely flat surface, such as a countertop or glass table. If the pin wobbles or shows a visible curve, place it on a scrap piece of wood or a hard, flat surface. Gently tap the curved section with a hammer until the pin is straight. Reinsert the pin and check if the door’s alignment improves.
If the pins are straight but the door still sags, you can adjust the door’s angle by adding thin shims behind the hinge leaves. This technique compensates for minor frame shifts without requiring you to re-hang the entire door. Cut a small shim from a thin, non-compressible material such as heavy cardboard, a plastic blister pack, or a thin sheet of brass. The shim should match the shape of the hinge leaf but remain slightly smaller so it is hidden once installed.
To install the shim, loosen the screws on the hinge leaf attached to the door frame. Slide the shim behind the leaf, then retighten the screws securely. To correct a door that sags toward the latch side, place a shim behind the bottom hinge leaf. This pushes the bottom of the door slightly outward, tilting the top of the door back into proper alignment. If the entire door is sitting too close to the hinge jamb, you can place shims behind both the top and bottom hinges to shift the door laterally.
Inspect the physical condition of the hinge knuckles while adjusting the door. Over decades of use, the metal knuckles can grind against each other, wearing away material and causing the door to drop. If you observe deep grooves, metal shavings, or significant vertical play between the interlocking knuckles, shimming will only provide a temporary fix. When the metal itself has worn away, the hinges have reached the end of their service life and must be replaced.
When to Replace Door Hinges Instead of Repairing
While many hinge problems can be resolved with basic adjustments, there comes a point when hardware must be replaced to ensure safety, security, and smooth operation.
Inspect your hinges for signs of irreversible physical damage. Severe rust that has pitted the metal, deep cracks along the hinge leaves, or heavily warped plates cannot be safely repaired. Metal fatigue from supporting heavy doors over many years can also cause the hinge leaves to bend permanently. If you observe any of these structural failures, plan to replace the hardware immediately.
When purchasing replacement hinges, matching the exact dimensions of your existing hardware is essential for a clean installation. Measure the height and width of the hinge leaf when it is fully open. Pay close attention to the corner style; hinges are manufactured with either sharp square corners or rounded corners. Rounded corners come in specific radii, typically 1/4 inch or 5/8 inch. Using a hinge with the wrong corner radius or leaf thickness will prevent it from sitting flush in the existing mortise, requiring tedious wood chiseling to correct.
Additionally, check the screw hole pattern on the replacement hinges. While many modern hinges follow standard industry templates, older or custom hardware may feature unique hole configurations. Matching the hole pattern saves time and preserves the strength of the wood, as you will not have to fill and redrill multiple holes in the door and frame.
Know your limits when it comes to DIY repairs. Standard hollow-core interior doors are lightweight and easy to handle alone. However, heavy solid-core timber doors, external security doors, and fire-rated doors present significant safety risks. These doors are exceptionally heavy and require precise alignment to maintain their security and fire-containment ratings. If you are dealing with a fire-rated door or a door that is too heavy to lift safely, stop and consult a professional carpenter to ensure the replacement is completed safely and complies with local building codes.
Routine Maintenance to Prevent Future Hinge Problems
Implementing a simple preventative maintenance routine can dramatically extend the lifespan of your door hardware and prevent common issues from returning.
Establish a schedule to clean and lubricate your door hinges at least once a year. For high-traffic doors, such as main entryways or kitchen doors, increase this interval to twice a year. A quick wipe-down to remove dust followed by a light application of silicone spray or dry graphite keeps the internal mechanisms moving smoothly and prevents the metal-on-metal wear that leads to sagging.
Environmental factors play a major role in how door hardware behaves. In tropical climates with high humidity, wood doors and frames naturally absorb moisture, causing them to swell and contract throughout the year. This constant movement exerts physical pressure on the hinge screws, gradually backing them out of the wood.
Make it a habit to check the tightness of your hinge screws during seasonal transitions or periods of high humidity. Gently tighten any loose screws with a manual screwdriver before they have a chance to strip the wood fibers. Taking five minutes to inspect your hardware twice a year will keep your doors swinging smoothly and prevent costly repairs down the road.
Frequently Asked Questions (FAQ)
Can I use standard penetrating oil to stop a door hinge from squeaking?
Standard penetrating oil is not recommended for long-term door hinge lubrication. These products are formulated to break down rust, displace water, and free stuck parts, but they evaporate quickly and leave behind a very thin film. This residue easily attracts household dust, pet hair, and lint. Over time, the accumulated debris mixes with the remaining oil to create a gritty paste inside the hinge knuckles, which actually increases friction and accelerates wear. For lasting results, use dedicated lubricants such as silicone spray, dry graphite, or white lithium grease.
How do I measure my existing hinges to buy the correct replacements?
To measure your hinges accurately, open the door fully to expose the entire hinge leaf. Use a tape measure to record the overall height of the hinge from the top of the leaf to the bottom. Next, measure the total width of the hinge when fully open, measuring from the outer edge of one leaf to the outer edge of the opposite leaf. Finally, identify the corner radius. You can check this by placing a coin against the curved corner of the hinge leaf; a standard coin can help you visually determine if you have square corners, a tight 1/4-inch radius, or a wider 5/8-inch rounded corner.
Community discussion
Share your experience or ask a question. Comments are reviewed before publication.