
A stripped screw hole in a cabinet door is a common frustration when upgrading hardware, but it rarely requires replacing the entire door. The core strategy for securely mounting a new cabinet knob involves assessing the extent of the wood damage, selecting a repair method matched to your door’s specific material, and ensuring the new fastener is installed without over-torquing. By taking a systematic approach, you can restore the structural integrity of the mounting point so your new hardware remains firmly in place for years to come.
To achieve a lasting repair, you must first understand why the screw lost its grip. Wood fibers or composite binders inside the hole tear away when a screw is over-tightened, or when the knob is subjected to constant pulling force. Simply inserting a larger screw is rarely a permanent solution, as it often splits the door or strips the remaining material. Instead, the goal is to rebuild the lost material inside the hole so the screw threads have solid, stable wood to bite into.
Assess the Stripped Hole and Door Material
Before reaching for any tools or adhesives, you must diagnose the severity of the damage and identify what your cabinet door is made of. Start by performing a quick physical check. Insert a toothpick or the new cabinet knob screw into the hole and gently probe the interior. If the screw slips in and out without any resistance, or if you can feel soft, powdery residue inside, a significant amount of the internal material has been lost.
Products mentioned in this guide
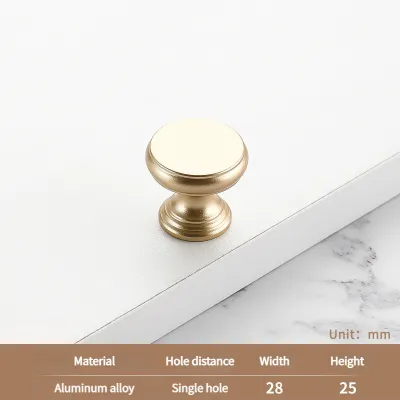
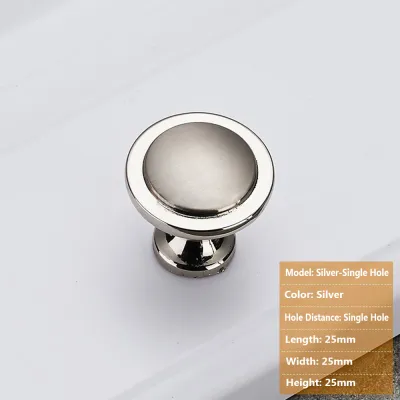
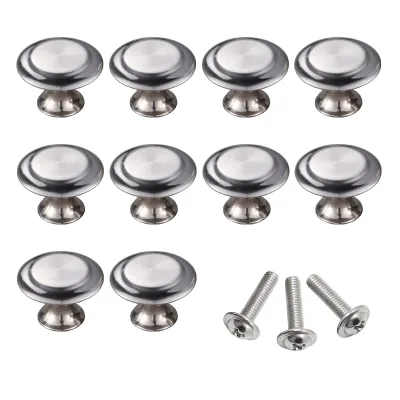
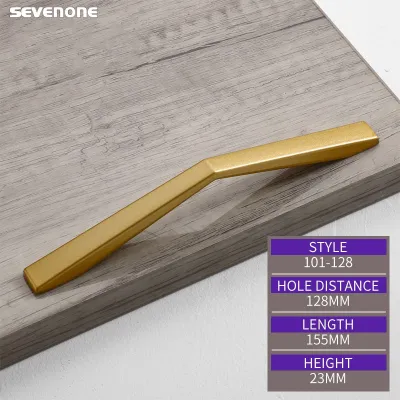
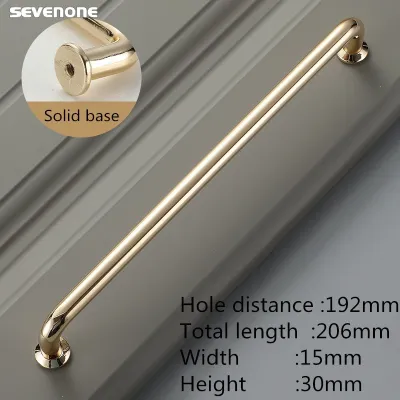
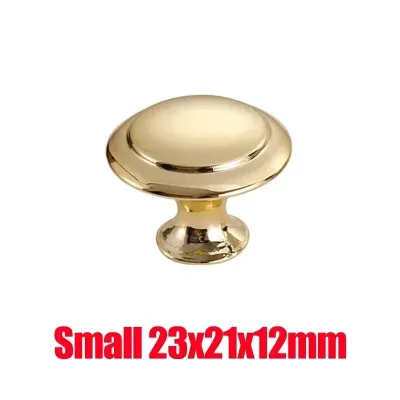
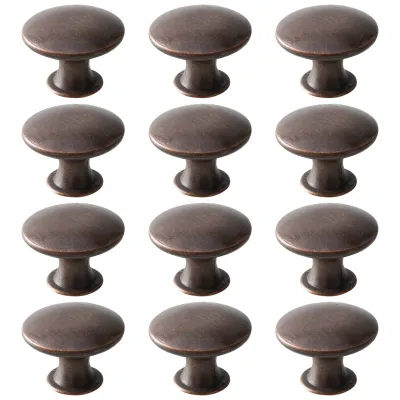
Prices are valid at publication and may change. Please refer to the product page for the latest price.
Next, examine the edge of the door or the inside of the hinge bore to identify the core material. Solid wood doors feature natural grain patterns and fibers that hold together well under mechanical pressure. Medium-density fibreboard (MDF) is highly uniform but turns to a fine, powdery dust when stripped. Particleboard consists of larger, visible wood chips bonded with resin; it is highly prone to crumbling once the initial factory-drilled hole is compromised.
Finally, inspect the surrounding area for environmental damage. In high-humidity environments, such as kitchens or bathrooms, moisture can seep into unprotected screw holes. This moisture causes MDF and particleboard to swell, soften, and lose structural integrity. If you notice swelling, discoloration, or rot around the hole, a localized repair will not hold. You must first address the moisture source and ensure the wood is completely dry before attempting any fix.
Quick Fixes for Slightly Enlarged Holes
For minor stripping where the hole is only slightly larger than the screw, you can restore thread grip using accessible wooden splints and adhesive. The classic toothpick or matchstick method is highly effective for solid wood and high-quality plywood doors. This technique works by packing the enlarged void with fresh wood fibers and glue, creating a dense plug for the new screw.

To execute this repair, clean out any loose debris from the hole using a small brush or a dry cotton swab. Dip several wooden toothpicks or wooden matchsticks (with the strike heads completely removed) into high-quality PVA wood glue. Insert them into the stripped hole, packing them as tightly as possible until the hole is completely filled. Let the glue cure completely, which typically takes several hours or overnight depending on the ambient humidity.
Once the glue has fully cured, use a sharp utility knife or a flush-cut chisel to trim the protruding wood flush with the door surface. To protect the surrounding finish from scratches, place a layer of painter’s tape around the hole before trimming. After the surface is smooth, use a small drill bit to drill a centered pilot hole. This pilot hole guides the new screw and prevents the newly packed wood from splitting when you install the knob.
While highly convenient, this method has clear limitations. It is not suitable for heavily blown-out holes where the surrounding wood has cracked. Additionally, standard wood glue does not bond well to the non-porous resins found in some composite materials, meaning this quick fix may fail over time on cheap particleboard doors.
Heavy-Duty Repairs for Severely Damaged Holes
When dealing with large, crumbling, or completely blown-out holes, you must rebuild the structural integrity of the door using more robust materials. For solid wood doors, the most reliable solution is to install a wooden dowel. This process replaces the damaged area with a solid piece of new timber that can support the weight and pulling force of a heavy cabinet knob.
Begin by selecting a hardwood dowel, typically 6mm or 8mm in diameter. Drill out the damaged screw hole using a drill bit that matches the exact diameter of your dowel. Drill only as deep as the screw needs to go, taking care not to pierce through the front face of the cabinet door. Apply wood glue to both the dowel and the inside of the newly drilled hole, tap the dowel in gently with a mallet, and allow it to dry. Cut the dowel flush, sand the area lightly, and drill a fresh pilot hole directly into the center of the dowel.
For MDF or particleboard doors, traditional wood glue and dowels may not hold because the surrounding composite material can crumble under the pressure of drilling. Instead, use a two-part epoxy wood filler. Epoxy bonds exceptionally well to the resins in composite doors and cures into a dense, drillable solid. Mix the two parts of the epoxy according to the manufacturer’s instructions, then pack the mixture firmly into the stripped hole using a putty knife, ensuring there are no air pockets.
Slightly overfill the hole, as some fillers can shrink slightly as they dry. Once the epoxy has cured completely, sand it flush with the door surface. Because cured epoxy is incredibly hard, you must drill a precise pilot hole before attempting to insert the screw. Ensure the pilot hole is perfectly aligned with the base of your new cabinet knob to prevent any gaps or crooked mounting.
Fallback Options When the Wood Cannot Be Rebuilt
In some cases, the cabinet door material may be too degraded, thin, or structurally compromised to hold any filler or dowel securely. If the wood keeps crumbling or splitting during repair, you must pivot to alternative mechanical fastening methods that do not rely on the damaged hole for grip.
One practical solution is to install a decorative backplate, rosette, or escutcheon plate. These metal plates sit between the cabinet door and the knob, covering the damaged area completely. Because the backplate has a wider footprint, it distributes the pulling force across a larger surface area. Some backplates secure to the door using small wood screws in fresh, undamaged wood adjacent to the original hole, allowing you to mount the main knob screw through the center without issue.
Another reliable fallback is to use a longer machine screw that passes entirely through the cabinet door, secured with a flat washer and a nut on the inside. This bypasses the stripped wood entirely by clamping the door between the knob base and the washer. When using this method, verify that there is sufficient internal clearance inside the cabinet. The screw head, washer, and nut must not strike the cabinet frame, shelving, or adjacent drawers when the door is closed.
If the door is severely cracked, warped, or structurally unstable across a large section, DIY repairs may no longer be safe or effective. At this point, you should consult a professional carpenter to assess if the door can be salvaged, or consider purchasing a replacement cabinet door to ensure the safety and aesthetics of your cabinetry.
Prevent Future Stripping When Installing the New Knob
Once you have successfully repaired the hole, establishing good installation habits will protect the new mounting point and extend the lifespan of your hardware. The most common cause of stripped holes is improper installation technique, which can easily be avoided with a few simple adjustments.
First, ensure you are using the correct screw length and thickness for your specific door. The screw must be long enough to engage at least 6mm to 8mm of the threads inside the cabinet knob, but not so long that it bottoms out before pulling the knob tight against the door face. If the screw is too short, it will only grip a few threads of the wood, leading to rapid stripping under normal use.
Second, always hand-tighten the final turns of the screw using a manual screwdriver. Power drills and impact drivers deliver high torque that can instantly strip out newly repaired wood or composite fibers before you realize the screw is tight. Hand-tightening allows you to feel the resistance and stop turning the moment the knob is snug against the door.
Finally, check the overall alignment and operation of the cabinet door. If the hinges are sagging or misaligned, the door may stick or require extra force to pull open. This additional resistance puts constant, unnecessary stress on the cabinet knob and its mounting screw. Adjusting the hinges to ensure a smooth, effortless swing will dramatically reduce the load on your repaired screw hole.
Frequently Asked Questions (FAQ)
Can I Use Drywall Anchors in a Cabinet Door? (FAQ)
No, you should not use drywall anchors in a cabinet door. Drywall anchors, such as plastic expansion plugs or toggle bolts, are designed specifically for hollow walls and rely on the cavity behind the drywall to expand and grip. Cabinet doors are much thinner than standard drywall and are typically solid, meaning the anchor cannot expand properly. Attempting to force a drywall anchor into a cabinet door will split the wood, ruin the finish, and leave a massive hole that is much harder to repair than a standard stripped screw hole.
What If the New Knob Has a Different Screw Spacing? (FAQ)
If you are replacing a handle pull that has two screws with a single-point cabinet knob, or if the new hardware has a different hole spacing, you must fill the old, unused holes completely. Use the dowel or epoxy filler methods described above to plug the old holes, sand them flush, and touch up the paint or wood stain to match the door. To drill the new holes, measure the center-to-center distance of the new hardware carefully. Use a plastic cabinet hardware template to mark and drill fresh pilot holes, ensuring they are perfectly level and aligned before mounting the new hardware.
Community discussion
Share your experience or ask a question. Comments are reviewed before publication.