
A sagging or misaligned door is a common household frustration that can cause scraping along your floors, unsightly gaps, and difficulty latching. Over time, the constant weight of the door pulls on the hinges, leading to loose screws, stripped wood, or slightly bent metal leaves. Fortunately, resolving this issue does not usually require hiring an expensive contractor or replacing the entire door frame.
By systematically diagnosing the root cause of the misalignment, gathering a few basic hand tools, and following a structured repair process, you can restore your door to its original, smooth-swinging condition. Whether you are dealing with a heavy solid wood entrance door or a lightweight hollow-core bedroom door, the fundamental principles of hinge repair remain the same. Taking the time to address these issues early prevents long-term structural damage to both the door leaf and the surrounding timber frame.
Diagnose Why Your Door is Sagging or Misaligned
Before picking up any tools, you must determine exactly why the door is out of alignment. Close the door slowly and observe the margins—the gaps between the door edge and the wooden frame. A properly aligned door should have a uniform gap of about two to three millimetres along the top and both sides. If the door is sagging, you will typically notice a wide gap at the top on the hinge side, a very tight gap or rubbing at the top on the latch side, and scraping near the bottom outer corner.
Products mentioned in this guide
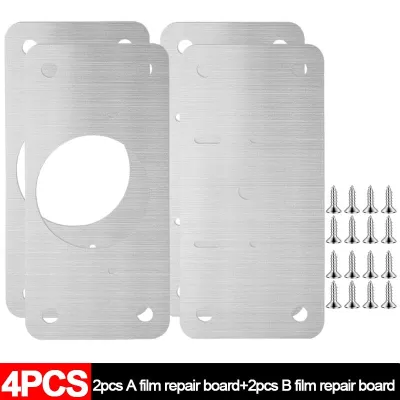
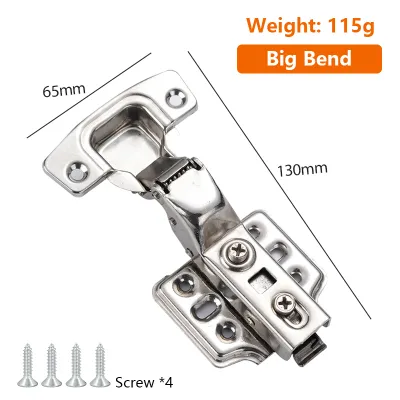
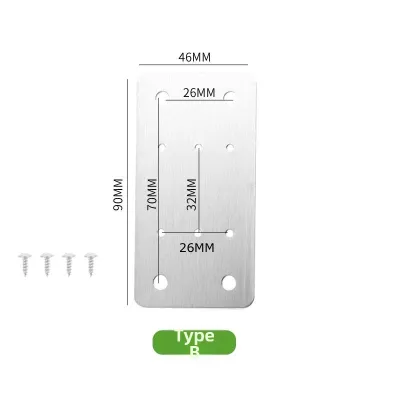
![[SG Local Seller] 6Pcs/10Pcs Stainless Steel Hinge Fixing Plate Cabinet Door Hinge Repair Installation Repair Plate 不锈钢柜门铰链修复板合页固定板橱柜门](https://img.lazcdn.com/g/p/639dab4d204848291a069ef650a11dff.jpg_400x400q80.jpg_.webp)
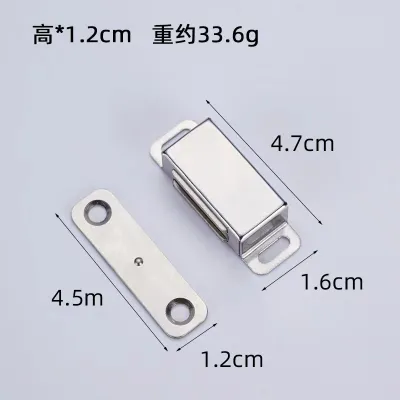
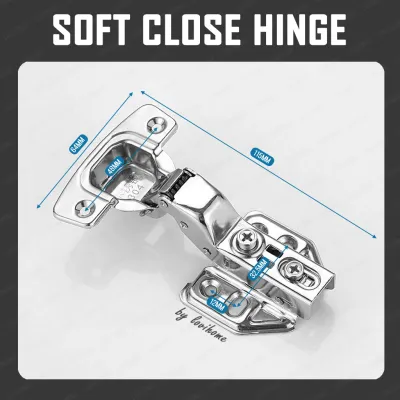
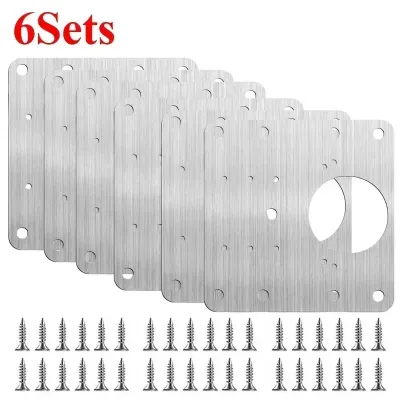
Prices are valid at publication and may change. Please refer to the product page for the latest price.
Next, open the door wide to inspect the hinge leaves themselves. Look closely for any visible bending, warping, or metal fatigue in the plates and the knuckles where the hinge pin sits. In older homes or high-traffic areas, the metal can gradually deform under constant stress, preventing the hinge from sitting flat within its mortise.
Finally, test the physical stability of the hinges by gently lifting the door by its handle or bottom edge while watching the hinge plates. If you see the hinge leaves pull away from the wood frame or the door itself, the screws have lost their grip. Examine the timber surrounding the screw heads for signs of cracking, splitting, or stripping. Wood fibers inside the screw holes can disintegrate over years of use, especially in humid environments where moisture causes the wood to swell and shrink repeatedly.
Gather the Right Tools and Materials for the Repair
Having the correct tools and materials on hand before you begin ensures the repair is completed efficiently without unnecessary trips to the local hardware store. For basic adjustments, you will need a set of manual screwdrivers. A standard Phillips head and a flathead screwdriver are essential, as manual tools allow you to feel the resistance of the wood and avoid over-tightening. You will also need a hammer, a sharp utility knife, and a block of wood or sturdy plastic wedges to support the door’s weight.

For the actual repair materials, prepare a pack of longer wood screws. Standard hinge screws are often quite short, only penetrating the thin door jamb; replacing them with longer screws allows you to anchor the hinge directly into the structural wall studs behind the frame. You will also need wooden dowels, bamboo skewers, or heavy-duty toothpicks, along with high-quality wood glue to rebuild stripped screw holes. Keep some thin cardboard, such as an old cereal box or packaging card, on hand to use as custom shims.
Before starting, prepare your workspace to protect your home’s finishes. Lay down a drop cloth, old towel, or cardboard sheet beneath the door to catch any stray wood glue and protect your flooring from accidental scratches. If you need to tap the door or hinges with a hammer, always place a scrap block of wood between the hammer and the finished surface to prevent unsightly dents or paint chips.
Step-by-Step Process to Tighten and Realign the Hinges
Step 1: Support the Door Weight. Never attempt to work on door hinges while the door hangs unsupported. The sheer weight of the door can tear the remaining screws out of the wood, causing severe damage to the frame or injuring your hands. Slide sturdy wooden wedges or plastic shims under the bottom outer corner of the door until it is held firmly in its correct, level position. This relieves the downward pressure on the hinges, allowing you to work on the screws safely and accurately.
Step 2: Tighten and Replace Screws. Begin with the top hinge, as it bears the majority of the door’s pulling weight. Use your manual screwdriver to test each screw. If a screw spins continuously without tightening, it has stripped the wood fibers inside the jamb. For screws that still have some grip, tighten them firmly but avoid using excessive force that could strip the threads. If the existing screws are short factory-installed versions, remove the center screw from the hinge leaf on the frame side and replace it with a longer wood screw. Drive this longer screw slowly until it pulls the hinge leaf tight against the frame, drawing the door back into alignment.
Step 3: Fill Stripped Screw Holes. If the screws continue to spin and fail to tighten, you must rebuild the stripped wood inside the frame. Remove the loose screws and pull the hinge leaf slightly aside if possible. Dip wooden dowels, bamboo skewers, or toothpicks into wood glue and insert them firmly into the stripped screw hole. Tap them gently with a hammer until the hole is completely packed with wood. Use your utility knife to cut the protruding ends of the dowels flush with the back of the hinge mortise. Allow the wood glue to dry completely according to the manufacturer’s instructions. Once dry, use a small drill bit to drill a straight pilot hole directly into the center of the plugged area, then drive your hinge screws back in for a secure, tight grip.
Step 4: Adjust Hinge Alignment with Shims. If the door is still rubbing against the frame even after tightening all the screws, you may need to adjust the angle of the door using shims. Loosen the screws on the hinge leaf that needs adjustment—usually the bottom or middle hinge if the door is sagging. Cut a small piece of thin cardboard to match the shape of the hinge mortise. Slide this cardboard shim behind the hinge leaf, between the metal plate and the wood frame, then tighten the screws back down. This subtle adjustment pushes the hinge slightly outward, tilting the door leaf just enough to clear the frame and eliminate rubbing.
Know When to Replace the Hinge Instead of Repairing
While tightening screws and shimming can resolve most alignment issues, there are times when the hardware itself is beyond saving. Inspect the hinges for severe metal deformation, such as bent plates that no longer sit flat in their mortises, or cracked hinge knuckles that allow the pin to wobble. If you notice deep structural rust that has eaten away at the metal, or if the hinge pin is permanently seized due to corrosion, a complete replacement is the safest and most reliable option. This is particularly common in high-humidity areas like bathrooms or coastal properties in Singapore, where moisture accelerates metal degradation.
When purchasing replacement hinges, accuracy is critical to ensure a seamless installation. Measure the height, width, and thickness of your existing hinge leaves. Pay close attention to the corner shape; hinges come with either sharp square corners or rounded corners with specific radii. Take note of the screw hole pattern as well, as matching the existing pattern will save you from having to plug and re-drill every single screw hole in your door and frame.
To replace the old hinge, keep the door supported securely with wedges. Remove the screws from one hinge at a time, starting from the bottom to maintain stability. Clean out any debris or old paint buildup from the mortise using a utility knife or chisel. Fit the new hinge into the mortise, ensuring it sits completely flush with the wood surface. If the new screw holes do not align perfectly with the old ones, plug the old holes with glued dowels first, let them dry, and drill fresh pilot holes to prevent the screws from driving in crookedly.
Maintain Your Hinges to Prevent Future Sagging
Preventative maintenance is the key to ensuring your doors remain perfectly aligned and operate quietly for years to come. Make it a habit to inspect your doors twice a year as part of your regular home maintenance routine. Gently wiggle the door handle to check for any play or movement at the hinges. If you notice even a slight looseness, use a manual screwdriver to snug the screws before they have a chance to strip the wood fibers under active use.
Proper lubrication is also essential to reduce friction and wear on the hinge knuckles. Avoid using heavy greases or standard household oils that can attract dust, pet hair, and grime, which eventually creates an abrasive paste that wears down the metal. Instead, apply a few drops of light machine oil or a dedicated silicone spray lubricant directly to the hinge pin and knuckles. Wipe away any excess lubricant immediately with a clean cloth to prevent staining the door’s paint or wood finish.
Finally, be mindful of how the doors in your home are used. Avoid hanging heavy items, such as over-the-door shoe organizers, heavy wet towels, or winter coats, on the top edge of the door leaf. This extra weight puts immense leverage on the top hinge, rapidly accelerating the sagging process and stripping the screws out of the frame. Educate household members, especially children, about the importance of not swinging or hanging on door handles, as this sudden downward force can instantly bend hinges and damage the timber frame.
Frequently Asked Questions (FAQ)
Is it safe to use a power drill to tighten hinge screws?
Using a power drill to tighten hinge screws carries a high risk of damaging both the hardware and the door frame. The high torque of a power drill can easily strip the wood fibers inside the screw hole, turn a minor loose screw into a major repair job, or snap the head off the screw entirely. Additionally, a slipping drill bit can easily scratch the finished metal of the hinge or gouge the surrounding wood. It is always best to use a manual screwdriver for the final tightening, as this gives you precise control over the torque and allows you to feel when the screw is securely seated.
What if the door frame wood is too damaged for wooden dowels?
If the wood around the hinge mortise is severely split, rotted, or structurally compromised, simple wooden dowels and glue may not provide enough support. In these cases, the structural integrity of the door frame is lost, and attempting to screw into it could cause the door to fall. You should assess whether a larger section of the timber needs to be cut out and replaced with a Dutch patch (a new block of wood glued and screwed into the frame), or if the entire door jamb needs replacement. If you are uncomfortable performing structural timber repairs, it is highly recommended to consult a professional carpenter to reinforce or replace the frame safely.
Why does the door still drag on the floor after tightening the hinges?
If your door continues to drag on the floor even after you have tightened all the screws and verified the hinges are flush, the issue may lie elsewhere. The door frame itself may have settled or shifted over time, causing the entire opening to become out of square. Alternatively, high humidity can cause solid wood doors to swell significantly along the bottom edge. To resolve this, first check if adding an extra shim behind the bottom hinge helps tilt the bottom of the door upward. If the frame is permanently out of square, you may need to remove the door and use a hand plane or circular saw to trim a few millimetres off the bottom edge to restore proper clearance.
Community discussion
Share your experience or ask a question. Comments are reviewed before publication.