
Displaying a digital clock in a rental property does not require drilling holes or risking your security deposit. You can easily keep track of time by using freestanding furniture placement, damage-free adhesive mounting strips, or leaning ledge shelves. The key to a successful, damage-free installation lies in matching the weight of your digital clock to the correct support method and evaluating your wall’s surface. By choosing these non-invasive display strategies, you comply with standard tenancy agreements while keeping your living space functional and stylish.
Assessing Your Digital Clock and Wall Surface
Before choosing a mounting method, you must thoroughly evaluate both your digital clock and the rental property’s walls. Start by checking the clock’s physical specifications, including its weight, depth, and center of gravity. A heavy, deep clock with an uneven weight distribution requires a much more robust support system than a slim, lightweight, battery-operated model. Additionally, consider the power source; corded digital clocks have dangling cables that add downward pull and require careful routing to prevent accidental tugs.
Next, inspect the wall surfaces in your rental home. In many modern apartments, especially concrete-walled units in humid climates like Singapore, walls are finished with plaster and paint, while bathrooms and kitchens feature ceramic tiles or glass. Adhesives bond exceptionally well to smooth, non-porous surfaces like glass and tile, but they struggle on textured plaster, matte paint, or wallpaper.
Products mentioned in this guide
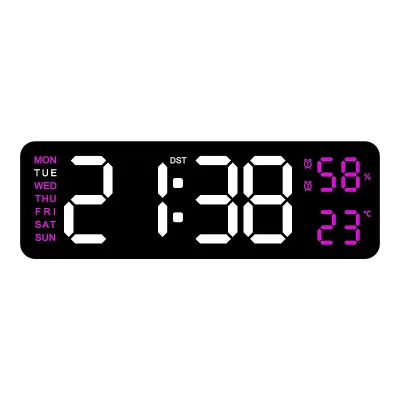
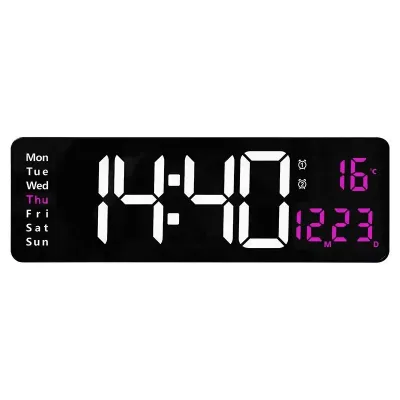
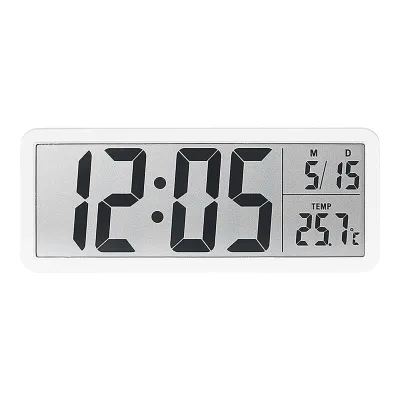
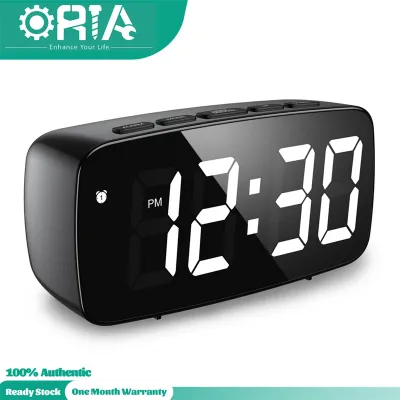
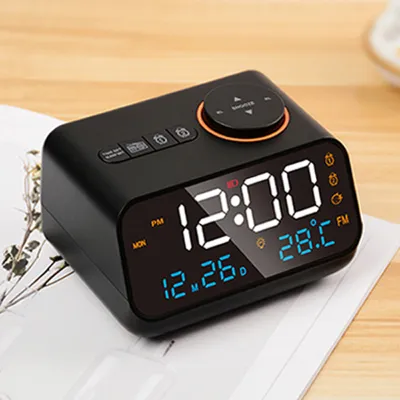
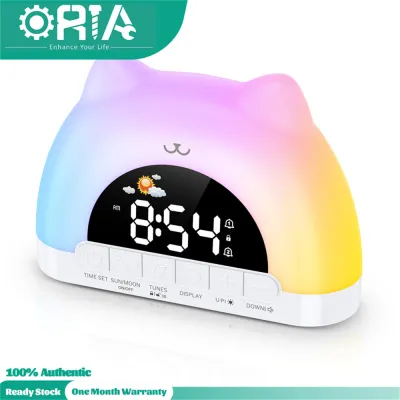
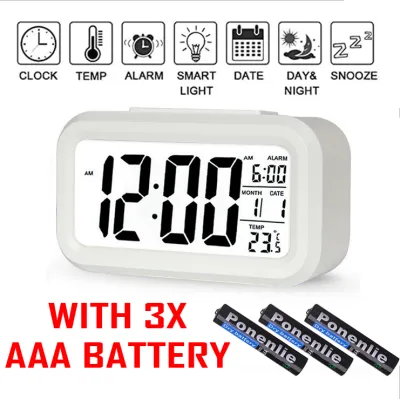
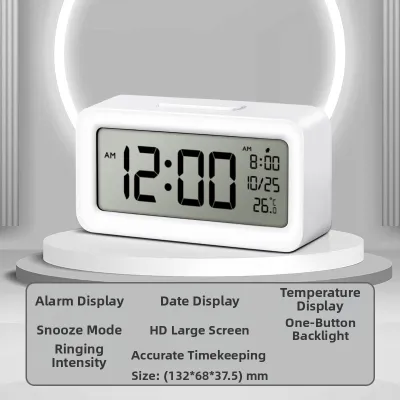
Prices are valid at publication and may change. Please refer to the product page for the latest price.
Finally, review your tenancy agreement to understand the exact boundaries of wall modifications. Many landlords strictly prohibit nails, screws, and even certain types of heavy-duty mounting tapes that can tear the drywall paper or peel the paint upon removal. Understanding these constraints beforehand helps you select a display method that keeps your digital clock secure without violating your lease.
Freestanding and Furniture Placement Strategies
The safest way to display a digital clock without touching the walls is to utilize existing furniture and architectural features. Placing your clock on a sturdy media console, bookshelf, mantel, or sideboard elevates the device to eye level while completely eliminating the risk of wall damage. For smaller digital clocks, a bedside nightstand, study desk, or entryway console table provides an ideal, easily accessible location.

If you prefer an elevated, wall-adjacent look without mounting, consider using a leaning ledge shelf or a tall picture ledge. These furniture pieces rest securely on the floor and lean against the wall at a slight angle, utilizing gravity and slip-resistant feet to remain stable. You can place your digital clock on the ledge alongside lightweight decorative items, creating a curated display without a single drill hole.
When placing a clock on furniture, always prioritize stability and load capacity. Ensure the surface is flat, dry, and free from vibrations that could cause the clock to slide off. If your digital clock is corded, route the power cable neatly behind the furniture piece, securing it with reusable cable ties or adhesive cord clips attached to the back of the furniture rather than the wall. This prevents pets, children, or passersby from catching the wire and pulling the clock down.
Damage-Free Wall Mounting Methods
When wall mounting is preferred, several renter-friendly alternatives to screws exist, each suited to different weights and wall types. Heavy-duty removable adhesive strips and hooks are the most common solutions for painted walls. These products use specialized stretch-release adhesives designed to hold significant weight when applied correctly and peel away cleanly without leaving residue or tearing paint.
For non-porous surfaces like glass, metal, or glazed ceramic tiles, suction cups or magnetic mounts offer excellent holding power. Suction mounts work exceptionally well in high-humidity areas like kitchens or bathrooms, where traditional adhesives might lose their grip due to moisture. If your digital clock has a metal backplate or frame, magnetic hooks or adhesive-backed magnets can provide a secure, easily adjustable mounting solution.
Another creative option is using tension rods or freestanding room dividers. A vertical tension rod wedged securely between the floor and ceiling can support lightweight hanging digital clocks or small shelves designed to hold them. Similarly, a freestanding wooden or metal screen can serve as a stylish backdrop, allowing you to hang your clock using standard hooks or ties without making contact with the rental’s permanent walls.
However, you must avoid using standard double-sided foam tape, mounting putty, or improvised wire nails. Standard double-sided tapes use permanent adhesives that cure over time, making clean removal virtually impossible without stripping paint or gouging drywall. Mounting putty is only suitable for extremely light, paper-thin items and will fail under the weight of a standard digital clock, leading to a costly drop.
Step-by-Step Guide to Mounting with Adhesive Strips
To ensure your digital clock remains securely on the wall when using removable adhesive strips, follow a precise application process.
First, prepare the surfaces thoroughly. Clean both the back of the digital clock and the target wall area using isopropyl rubbing alcohol. Avoid using household glass cleaners or surface sprays, as they often leave behind a thin, slippery residue that prevents the adhesive from bonding properly. Allow the cleaned areas to dry completely for at least ten minutes.
Next, apply the adhesive strips to the back of the clock according to the manufacturer’s instructions. Press the strips firmly onto the clock’s frame for at least thirty seconds to activate the pressure-sensitive adhesive. If your clock has a recessed back, ensure the strips are thick enough to make full contact with both the clock and the wall surface.
Once the strips are secured to the clock, remove the paper liners, position the clock carefully on the wall, and press it firmly against the wall surface. Apply even pressure across all adhesive points for a full thirty seconds.
After pressing, temporarily remove the clock from the wall if the strip design allows (such as hook-and-loop style strips) to press directly on the wall-mounted strips for another thirty seconds. Allow the adhesive to cure undisturbed for at least one hour—or up to twenty-four hours in humid environments—before hanging the clock’s full weight.
Do not attempt this method on freshly painted walls, as the paint requires several weeks to fully cure. Additionally, avoid applying adhesive strips to peeling paint, delicate wallpaper, or heavily textured plaster, as the bond will be weak and highly likely to fail.
Safe Removal and Wall Restoration
Removing adhesive-mounted digital clocks requires patience to prevent paint damage and preserve your rental’s walls.
To begin, carefully detach the digital clock from the wall-mounted portion of the strips if you used a hook-and-loop system. If the strips are directly bonded to both surfaces, hold the clock gently with one hand to support its weight while preparing to release the adhesive.
Locate the exposed pull tab at the bottom of the adhesive strip. Grasp the tab firmly and pull it straight down, keeping your hand parallel to the wall surface. Never pull the strip outward or at a ninety-degree angle, as this concentrated force will tear the paint and drywall paper. Continue stretching the strip slowly and steadily; it will stretch up to several times its original length before releasing cleanly from the wall.
If a strip snaps during the removal process or leaves behind stubborn adhesive residue, do not scrape it with sharp metal tools. Instead, use a hairdryer set to low heat to gently warm the adhesive for thirty seconds. The heat softens the polymer, allowing you to roll the remaining residue off the wall easily with your thumb.
For any minor sticky residue left behind, apply a small amount of a gentle, paint-safe solvent or citrus-based adhesive remover to a clean microfiber cloth. Test the solvent on an inconspicuous area of the wall first to ensure it does not discolor the paint, then gently wipe the residue away.
Establish a clear stop condition: if you notice the paint cracking, bubbling, or the drywall paper lifting during any part of the removal process, stop immediately. Do not force the strip off; instead, contact your landlord or a professional handyman to assist with safe removal and avoid costly wall repairs.
Frequently Asked Questions (FAQ)
Can I use adhesive hooks for a heavy digital clock?
Yes, but you must strictly adhere to the manufacturer’s specified weight limits and build in a generous safety margin. Always choose an adhesive hook rated for at least double the actual weight of your digital clock to account for environmental factors like humidity or accidental vibrations. Never attempt to distribute the weight of a single heavy clock across multiple small, low-capacity hooks, as it is nearly impossible to balance the load perfectly, leading to sequential failure and a broken clock.
Will adhesive strips ruin my rental wall paint?
Adhesive strips are designed to be damage-free, but they can still ruin paint under specific conditions. Flat or matte paint finishes, freshly painted walls that have not cured for at least a month, and old, peeling paint layers are highly susceptible to damage. To prevent peeling, always follow the manufacturer’s surface preparation steps and use the correct parallel-stretch removal technique rather than pulling the strip outward.
Community discussion
Share your experience or ask a question. Comments are reviewed before publication.