
Designing and assembling a custom DIY modular shelf storage system allows you to maximize every square centimeter of your living space, tailoring the storage to your exact belongings. By planning the layout, selecting compatible materials, and executing a precise installation, you can create a highly functional storage solution that adapts to your changing needs over time. Whether you are organizing a bomb shelter storeroom in an HDB flat, setting up a study nook, or optimizing a living room display, a systematic approach ensures your shelving remains stable, safe, and visually cohesive.
Assess Your Space and Storage Needs
Before purchasing any materials, you must accurately measure the physical boundaries of your intended installation area. Use a steel measuring tape to record the height, width, and depth of the wall or alcove, taking measurements at multiple points to account for uneven floors or walls. Be sure to note the locations of fixed obstacles such as baseboards, electrical outlets, light switches, air conditioning conduits, and window frames, as these will restrict where your vertical supports can sit.
Next, take a detailed inventory of the items you plan to store on the shelves. Measure the height, width, and depth of your largest items, such as storage boxes, luggage, or kitchen appliances, to determine the minimum clearance required between shelf levels. You should also estimate the weight of these items to calculate the load capacity your shelves must support, keeping in mind that heavier items should always be placed on lower shelves to maintain a low center of gravity.
Products mentioned in this guide
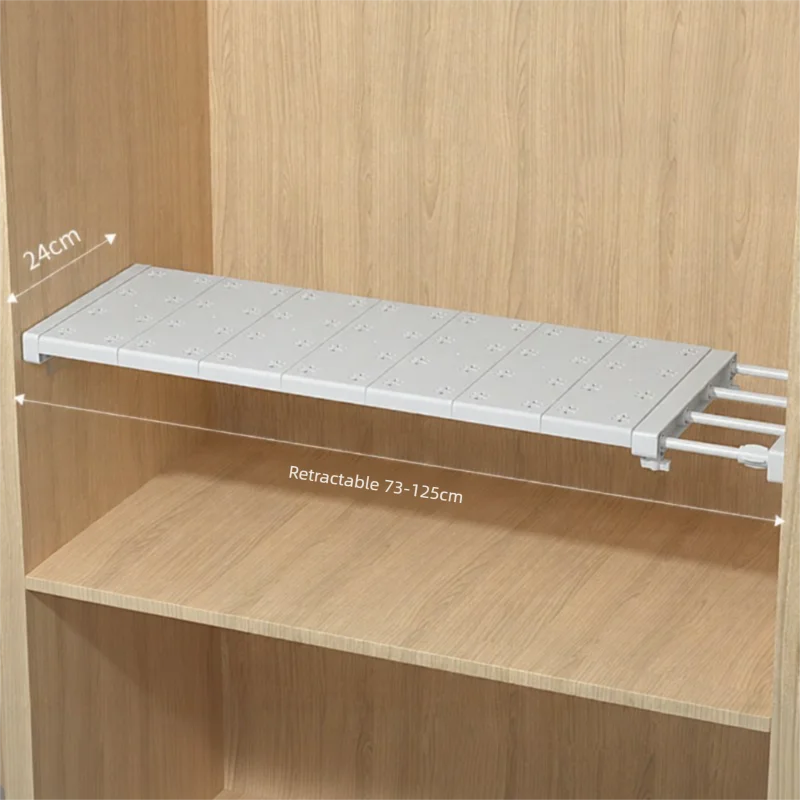
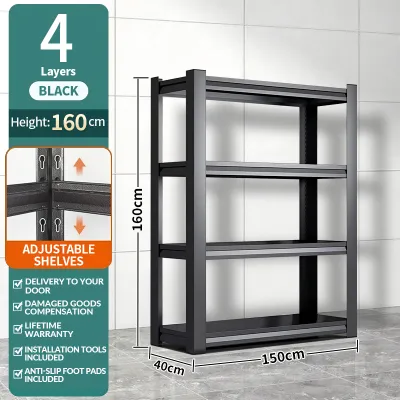
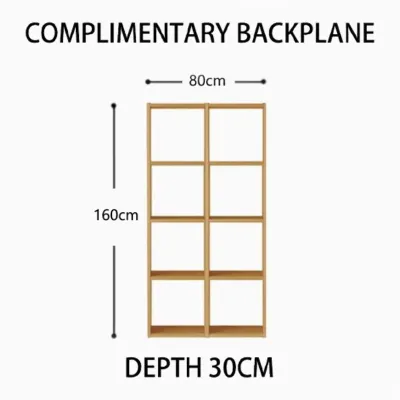
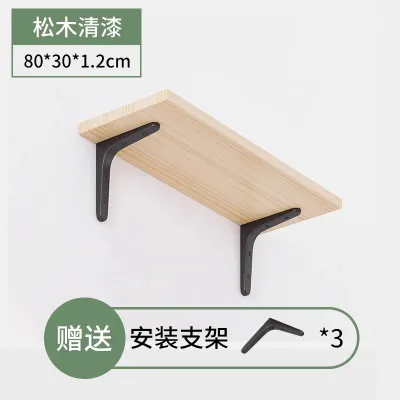
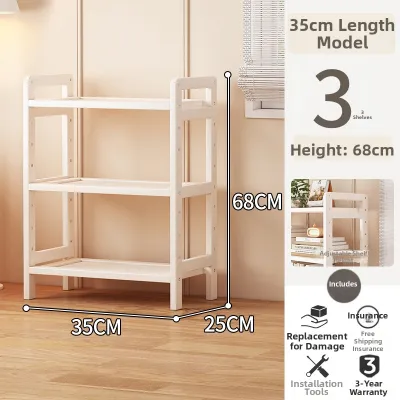
Prices are valid at publication and may change. Please refer to the product page for the latest price.
Finally, verify the access route from your delivery point or assembly area to the final room. Measure the clearance of doorways, narrow hallways, and lift cabins to ensure that long vertical supports or pre-assembled frame sections can be safely maneuvered into place without damaging your walls or the shelving components.
Choose Materials and Hardware for Modular Shelving
Selecting the right combination of shelf boards, vertical supports, and hardware is critical for both the durability and safety of your modular system. For the shelf boards, common options include solid wood, engineered wood (such as MDF or plywood), and metal. In humid environments like Singapore, untreated wood can warp or develop mold, so look for engineered wood with moisture-resistant laminates, sealed edge banding, or powder-coated metal shelves that resist rust.

The vertical support system forms the backbone of your modular shelving and must be compatible with your chosen layout. Slotted steel uprights and perforated metal tubes offer excellent adjustability and high structural ratings, making them ideal for heavy-duty storeroom setups. For living areas where aesthetics are a priority, custom wooden frames or wall-mounted track systems provide a cleaner look while still allowing you to adjust shelf heights as needed.
Your choice of connecting hardware must match the structural demands of your system and the specific wall type in your home. Ensure that all brackets, screws, and connectors are rated for the loads you intend to place on the shelves. When mounting systems to walls, check the manufacturer’s specifications for the correct anchor types, as concrete walls common in local apartments require different masonry plugs compared to lightweight drywall partitions.
Plan the Shelf Configuration and Layout
A well-thought-out layout prevents structural failure and ensures your modular shelf storage remains highly usable. Begin by planning the vertical spacing, allocating more height for bulky items at the bottom and tighter spacing for smaller items near the top. Always allow at least five to ten centimeters of extra clearance above your tallest items so you can easily lift and retrieve them without scraping your hands or the shelf above.
To prevent the shelf boards from bending or sagging over time, you must carefully plan the horizontal span between your vertical supports. The maximum recommended span depends heavily on the board material and thickness, with softer or thinner materials requiring closer support intervals. Spacing your vertical uprights too far apart compromises the structural integrity of the entire system, especially when holding heavy books or storage bins.
Identify the structural composition of your walls to plan your anchoring strategy. Solid concrete walls offer excellent holding power for heavy-duty wall-anchored systems, whereas drywall installations require you to locate and secure your brackets into the underlying timber or metal studs. Mark these anchoring points clearly on your initial sketch, ensuring they align with the structural supports of your home rather than just hollow wall cavities.
Step-by-Step Assembly and Installation Guide
Before starting the assembly, gather all necessary tools and safety gear to ensure a smooth and secure installation process. You will typically need a spirit level, a measuring tape, a pencil, a power drill with appropriate masonry or wood drill bits, a rubber mallet, and screwdrivers. Wear safety goggles to protect your eyes when drilling into concrete, and use work gloves to handle metal uprights or rough wooden edges safely.
Begin by assembling the base and the main vertical frames on a flat, clean surface to prevent scratching the components. If you are using a freestanding modular system, connect the bottom rails and vertical uprights loosely at first, then use a spirit level to check that the frame is perfectly plumb and square. Once you have verified the alignment, tighten all structural bolts and connections securely using the manufacturer’s recommended torque.
For wall-mounted systems, hold the first vertical track against the wall, use your spirit level to ensure it is perfectly vertical, and mark the drilling holes with a pencil. Drill the holes to the depth specified by your wall anchor manufacturer, insert the anchors, and secure the track to the wall. Use a horizontal spacer or measuring tape to position the subsequent tracks, ensuring they are perfectly parallel and level with the first track before drilling.
Once the vertical supports are securely in place, install the shelf brackets at your planned heights and lay the shelf boards across them. Double-check the levelness of each shelf board from front to back and side to side before loading any items. If the system is tall or top-heavy, install the anti-tip wall straps or brackets immediately, following the manufacturer’s instructions to secure the unit to the wall. If you encounter unexpected wall resistance, crumbling plaster, or suspect hidden utility pipes, stop drilling immediately and consult a professional contractor.
Inspect, Maintain, and Reconfigure Your Shelving
Regular inspections and proper maintenance will extend the lifespan of your DIY modular shelf storage system and prevent accidents. After the initial assembly and once a year thereafter, perform a stability check by gently shaking the unit to detect any wobble or loose joints. Tighten any screws or bolts that may have loosened over time due to temperature changes or daily use, and verify that the shelves remain perfectly level.
To maintain the finish of your shelving and prevent moisture-related damage, follow care instructions specific to your materials. Wipe laminated or metal surfaces with a damp microfiber cloth and dry them immediately to prevent rust or water spots. Avoid using harsh chemical cleaners or abrasive scrubbing pads, which can scratch protective coatings and expose the underlying material to humidity.
One of the greatest benefits of a modular system is its ability to adapt, but you must follow safe procedures when reconfiguring the layout. Always unload all items from the shelves completely before attempting to adjust bracket heights or move vertical supports. Detach the components carefully to avoid scratching the frames, and re-verify the levelness and stability of the entire system once you have locked the shelves into their new positions.
Frequently Asked Questions (FAQ)
Do I need to anchor a freestanding modular shelf to the wall?
Yes, anchoring is highly recommended for any freestanding shelf unit that is tall, narrow, or loaded with heavy items. As a general safety guideline, any shelving unit with a height-to-depth ratio greater than 3:1 should be secured to the wall to prevent accidental tipping. Anchoring is absolutely essential in households with young children or pets, as climbing or pulling on the shelves can easily cause a heavy unit to fall forward. Always select wall anchors that match your specific wall construction, such as expansion plugs for concrete or toggle bolts for drywall, to ensure a secure hold.
How can I prevent wooden shelf boards from sagging over time?
To prevent wooden shelf boards from sagging, you should design your system with appropriate span-to-thickness ratios and distribute weight evenly. For standard 18mm thick engineered wood shelves, try to keep the horizontal span between supports under 80 centimeters when holding moderate loads. If you need wider spans or plan to store heavy items, you can reinforce the boards by attaching solid wood cleats or metal stiffener strips to the underside of each shelf. Additionally, always place your heaviest items closest to the vertical supports rather than in the middle of the span, and distribute the overall weight evenly across the entire shelf surface.
Community discussion
Share your experience or ask a question. Comments are reviewed before publication.