
Replacing a worn, stained, or water-damaged furniture surface with a durable plastic sheet is a practical way to restore both the function and appearance of tables, desks, and shelves. This project allows you to bypass the high cost of buying new furniture by using accessible materials and basic tools to create a clean, modern finish. By understanding how to properly prepare the substrate, select the right material, and execute precise cuts, you can complete this repair successfully at home.
Assessing the Damage and Choosing the Right Plastic Sheet
Before purchasing materials, inspect the existing furniture surface to determine the extent of the damage. If the surface has only minor cosmetic issues like shallow scratches or stains, you can often install the new plastic sheet directly as an overlay. However, if the surface is warped, cracked, or sagging, the damage is structural. In these cases, you must repair or reinforce the underlying substrate before adding a new top layer to ensure the finished piece remains stable and safe.
When selecting a plastic sheet, consider the specific function of the furniture. Acrylic is a popular choice for its high clarity and stiffness, making it suitable for decorative tabletops, while polycarbonate offers superior impact resistance. For utility shelves or drawer liners, thinner materials like PVC or PETG may be more appropriate. Do not rely solely on generic material names; always check the manufacturer’s product labels and technical specifications to verify load capacity, scratch resistance, and temperature limits.
Products mentioned in this guide
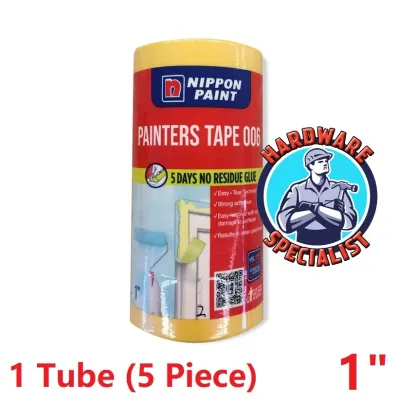
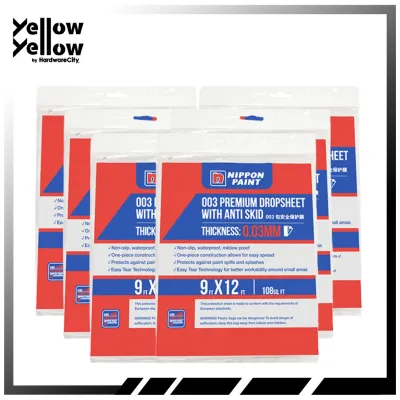
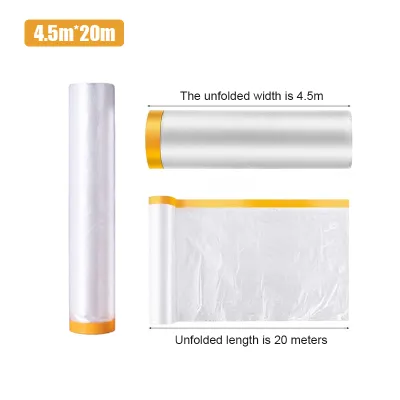
![[SG SELLER]Plastic Dust Cover Dust Prevention Renovation Drop Sheet Protective Plastic Film Furniture Dustproof Cover Paintproof Waterproof Cover Sheet Rolls](https://img.lazcdn.com/g/p/d2c82f6cde5eed649a28d487364fc7d2.png_400x400q80.png_.webp)
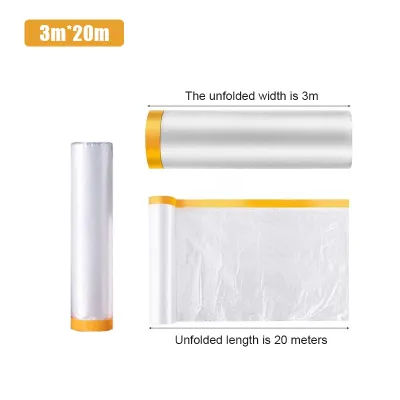
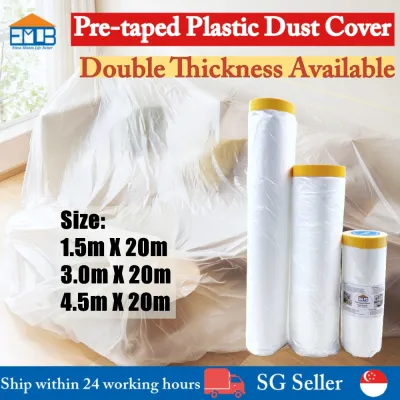
Prices are valid at publication and may change. Please refer to the product page for the latest price.
Environmental factors also play a critical role in material performance, especially in Singapore’s tropical climate. The high relative humidity can cause wooden substrates to expand and contract, which can stress adhesive bonds over time. If your furniture is located in a high-moisture area like a kitchen, bathroom, or semi-outdoor balcony, select a moisture-resistant plastic sheet. Additionally, verify that your chosen adhesive is explicitly rated for high-humidity environments to prevent premature peeling or warping.
Tools and Materials Needed for the Project
Having the correct tools on hand ensures a clean cut and a secure installation. Gather these items before beginning your project:

Measuring and Marking:
- A standard metal tape measure for precise dimensions.
- A heavy-duty metal straight edge or T-square to guide your lines.
- A non-permanent fine-tip marker or grease pencil.
- High-quality painter's tape to protect the sheet and hold markings.
Cutting Tools:
- A utility knife with fresh, sharp blades for sheets under 3mm thick.
- A specialized plastic scoring tool to create clean snap lines.
- A fine-toothed hand saw or a jigsaw with a plastic-cutting blade for thicker materials.
- Rubber-padded clamps to secure the sheet to your work surface.
Adhesives and Fasteners:
- Double-sided mounting tape designed for plastic polymers.
- Or a high-strength structural adhesive. Always check the product label to ensure compatibility with both the specific plastic sheet and your furniture's base material (such as plywood, MDF, or metal).
Safety and Finishing Gear:
- ANSI-approved safety goggles to protect your eyes from flying plastic shards.
- Cut-resistant work gloves to protect your hands from sharp edges.
- Medium-grit (120-grit) and fine-grit (240-grit) sandpaper or a filing block.
- A mild, plastic-safe cleaner and a soft microfiber cloth.
Step 1: Removing the Old Surface and Preparing the Base
To achieve a flat, professional-looking finish, you must prepare the underlying base thoroughly. If the furniture has a peeling laminate or damaged wood veneer, use a stiff putty knife or a flat scraper to gently pry up the loose pieces. Work slowly and keep the tool flat to avoid gouging the underlying wood or particleboard, which can create dips and bumps under your new surface.
If you encounter stubborn adhesive residue, apply a small amount of adhesive remover or solvent. Before applying any chemical, check both the applied product’s label and the treated furniture manufacturer’s instructions. If instructions conflict, or if the base material is unidentified, stop and consult a qualified professional to avoid damaging the substrate. Once the adhesive softens, scrape it away completely to expose the bare substrate.
Next, sand the base panel lightly with 120-grit sandpaper. This sanding step is not meant to remove material, but rather to scuff the surface and create a mechanical key, which helps the adhesive form a much stronger bond. After sanding, vacuum away all dust and wipe the surface down with a damp cloth, allowing it to dry completely before proceeding.
Stop Condition: If you discover that the underlying base is swollen, crumbling, or severely water-damaged, stop the project immediately. A plastic sheet overlay cannot fix or stabilize structural failure. You must repair or replace the damaged base panel before you can safely install the new plastic surface.
Step 2: Measuring and Marking the Plastic Sheet
Precise measurements are essential to avoid wasting material. Measure the length and width of your furniture surface at three different points: the front, the middle, and the back. Furniture frames are rarely perfectly square, and taking multiple measurements allows you to adjust your cut lines to match the actual shape of the piece.
Decide on your preferred edge profile before marking. You can plan for the plastic sheet to sit perfectly flush with the edges of the base, or you can cut it slightly oversized (by 1 to 2 millimeters) and sand it down to a seamless, flush finish after installation.
Always keep the protective plastic film on both sides of the sheet during the measuring and marking process. This film is designed to prevent accidental scratches from tools, metal rulers, and clamps while you work.
To mark your cut lines, apply a strip of painter’s tape directly onto the protective film along the intended path. Use your metal straight edge and a non-permanent marker to draw your line on the tape. The tape provides a highly visible guideline and helps prevent your cutting tools from slipping on the slick plastic surface.
Step 3: Cutting the Plastic Sheet Safely and Cleanly
Cutting plastic requires a controlled, patient approach to prevent cracking, chipping, or melting. Always secure the plastic sheet firmly to a stable workbench or table using your rubber-padded clamps. Place a piece of scrap cardboard or wood under the clamp pads to avoid denting the plastic. Position the cut line close to the edge of the workbench to minimize vibration, which is the primary cause of cracking during a cut.
Scoring and Snapping (For Thin Sheets)
This method is highly effective for sheets under 3mm in thickness. Align your metal straight edge with the marked cut line and clamp it down securely to prevent any shifting.
Using a specialized plastic scoring tool or the back of a utility knife blade, draw the tool along the straight edge with moderate, even pressure. Do not try to cut through the sheet in a single pass. Instead, make 5 to 10 light, controlled passes until you have scored a groove that is roughly one-third to one-half of the sheet’s total thickness.
Move the sheet so that the scored line aligns perfectly with the sharp edge of your workbench. While holding the clamped side down firmly, apply quick, even downward pressure on the overhanging section. The sheet should snap cleanly along the scored line.
Sawing (For Thicker Sheets)
For sheets thicker than 3mm, scoring is no longer practical, and you must use a saw. A hand hacksaw or a jigsaw equipped with a fine-toothed blade designed specifically for plastics (typically 10 to 14 teeth per inch) works best.
Guide the saw along your marked line at a slow, steady pace. Do not force or push the saw too quickly; excessive speed generates friction heat, which can melt the plastic, clog the saw teeth, and cause the blade to bind or wander. If using a power jigsaw, select a low-to-medium speed setting to keep heat generation minimal. If the plastic begins to melt and fuse back together behind the blade, stop, let the material cool, and reduce your speed.
Once the cut is complete, use a sanding block with 120-grit sandpaper, followed by 240-grit, to smooth the freshly cut edges. Run the sandpaper at a 45-degree angle along the corners to create a slight bevel, removing any sharp burrs or imperfections.
Step 4: Fitting and Securing the Plastic Sheet
Before applying any adhesive, perform a dry fit. Place the cut plastic sheet directly onto the prepared furniture base to verify that the dimensions are correct and that the edges align properly. This is your final opportunity to trim or sand down any tight spots before committing to the installation.
Once you confirm the fit, prepare your adhesive based on the manufacturer’s directions. Check the adhesive label and the furniture manufacturer’s guidelines to ensure complete compatibility. If instructions conflict, stop and consult a professional before proceeding. If you are using double-sided mounting tape, apply the tape in a dense grid pattern across the base, ensuring the perimeter is fully lined. Keep the top backing film on the tape until you are ready to position the sheet.
If you are using a liquid structural adhesive, apply it evenly across the substrate using a notched trowel or as directed by the product label. Pay close attention to the adhesive’s “open time”—the window of time you have to work with the wet adhesive before it begins to skin over and lose its bonding strength.
To install the sheet, align one edge or corner precisely with the furniture base. Slowly lower the rest of the sheet onto the adhesive, peeling away the tape backing as you go if using tape. This gradual lowering technique helps push air outward, preventing trapped air bubbles.
Immediately after placement, use a J-roller or a clean, soft cloth wrapped around a wooden block to apply firm, even pressure across the entire surface. Work from the center outward to the edges to ensure complete contact and to squeeze out any remaining air pockets.
Place flat boards over the new plastic surface and weigh them down evenly with heavy books or hand clamps. Leave the weights in place for the full curing duration specified on the adhesive manufacturer’s label. Do not disturb or use the furniture during this curing window.
Final Inspection and Edge Finishing
After the adhesive has cured completely, remove the weights or clamps. Inspect all edges carefully. Run your hand gently along the perimeter to check for any sharp corners or rough spots. If you find any unevenness, use a fine-grit sanding block to carefully sand the plastic flush with the underlying furniture frame.
Slowly peel away the protective film from the top surface of the plastic sheet. Peel it back at a sharp angle to minimize stress on the newly bonded edges.
Clean the surface using a soft, clean microfiber cloth and a mild, plastic-safe cleaner. Avoid using glass cleaners containing ammonia or alcohol, as these chemicals can degrade certain plastics over time, causing them to cloud or develop fine surface cracks.
Perform a final stability check by applying light downward pressure on the corners and the center of the sheet. Ensure there is no lifting, flexing, or bubbling. Once the bond is verified as secure, your newly restored furniture piece is ready for regular use.
Frequently Asked Questions (FAQ)
Can I install a plastic sheet directly over an existing damaged surface without removing it?
Installing a new plastic sheet directly over an old, damaged surface is only advisable if the existing layer is completely flat, structurally sound, and firmly adhered to the base. If the old surface has minor cosmetic blemishes but is otherwise perfectly level, you may proceed after a thorough cleaning and light sanding. However, if the old laminate is peeling, cracked, or uneven, those defects will prevent the new adhesive from bonding correctly and will eventually telegraph through the new plastic sheet, resulting in an uneven, unstable surface. For a durable and professional finish, always remove the damaged layer and prepare the bare base.
How do I prevent the new plastic surface from scratching during daily use?
While plastic sheets offer excellent moisture resistance and a clean look, they are generally more susceptible to scratching than glass or hardwood. To preserve the surface, always use coasters, placemats, or felt pads under cups, laptops, and decorative items. Avoid sliding rough or heavy objects directly across the surface. When cleaning, use only a soft microfiber cloth and mild soapy water or a designated plastic cleaner. Never use abrasive scrubbing sponges, steel wool, or harsh household chemical sprays, as these will quickly create micro-scratches that dull the material’s finish.
Community discussion
Share your experience or ask a question. Comments are reviewed before publication.