
Finding the perfect balance between floor space and storage capacity is a constant challenge in Singapore’s compact residential layouts. Whether you are moving into a newly completed Build-To-Order (BTO) flat or maximizing a cozy condominium, traditional bulky furniture can quickly overwhelm your living space. Selecting the right modular rack storage configuration requires a systematic approach that matches your physical room boundaries with your daily storage habits. By focusing on precise measurements, smart dimension planning, and structural stability, you can create a highly efficient vertical storage system tailored to your home.
This guide walks you through the essential steps to plan, configure, and safely install modular shelving that fits seamlessly into your apartment’s layout while keeping your belongings organized and accessible.
Measure Your Room and Define Rack Storage Requirements
Before browsing online catalogs or visiting showrooms, you must establish the exact physical boundaries of your target area. Start by measuring the floor footprint—the width and depth of the floor space where the rack will sit. Next, measure the vertical clearance from the floor to the ceiling, keeping in mind that actual heights can vary slightly across different sections of the same room.
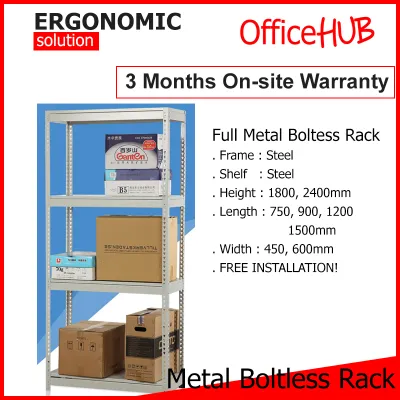
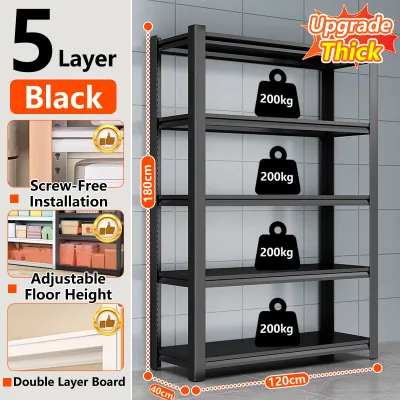
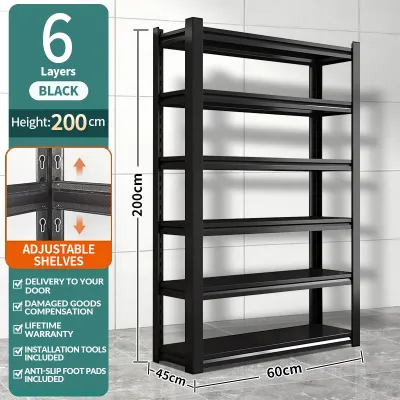
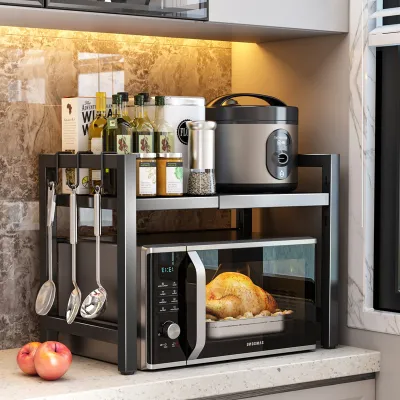
Products mentioned in this guide
![Easyhome.sg [Ready To Use] Multi-Purpose Foldable Trolley Rack for Kitchen /Living Room / Movable Organizer Rack](https://img.lazcdn.com/g/p/2e145915412be90d6a8cb9392b05d8d3.png_400x400q80.png_.webp)
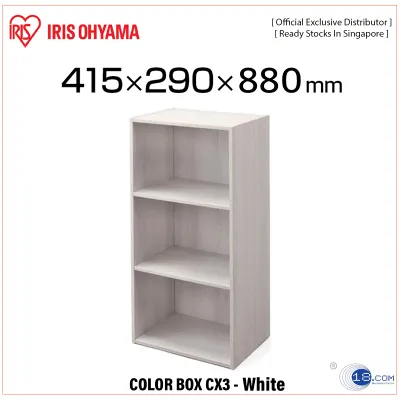

Prices are valid at publication and may change. Please refer to the product page for the latest price.
Compact apartments often feature architectural elements that can interfere with a flush furniture fit. Always account for the thickness of skirting boards, which can prevent a rack from sitting tight against the wall. Note the positions of wall-mounted power outlets, light switches, internet fiber termination points, and air conditioning trunking. Measuring the height of window sills is also crucial if you plan to place a low-profile rack beneath a window.
Do not overlook the logistical journey of your new shelving unit from the delivery truck to its final spot. Measure the clearance of your apartment’s main doorway, internal corridor widths, and the dimensions of your building’s elevator cabin. If you live in an older walk-up apartment, measuring the stairwell clearances is essential. Ensuring that the packaged components or pre-assembled frames can physically navigate these tight spaces prevents costly delivery failures.
Finally, take an inventory of the items you intend to store. Group your belongings into categories based on weight and size, such as heavy kitchen appliances, pantry supplies, books, or lightweight decorative storage boxes. This categorization helps you estimate both the number of shelves you will need and the overall weight capacity required from your rack storage system.
Configure Rack Dimensions for Compact Floor Plans
Optimizing a small floor plan requires choosing the correct depth, height, and width configurations for your modular shelving. Selecting the wrong dimensions can restrict movement within your home or leave valuable vertical space completely unused.

Depth Selection for Walkways and Living Areas
For narrow hallways, entryways, or the space directly behind a door, opt for shallow racks with a depth of 20 to 30 cm. These slim profiles keep walkways clear while providing ample space for shoes, books, or small storage bins. For main living areas, utility rooms, or bomb shelters (household shelters), a standard depth of 30 to 40 cm is ideal. This depth easily accommodates larger storage boxes, folded linens, and household appliances without protruding too far into your active living space.
Height Utilization and Overhead Clearance
Maximizing vertical space is the most effective way to expand your storage capacity without sacrificing precious floor area. When planning tall configurations, aim to utilize the space as close to the ceiling as possible. However, you must maintain a safe clearance of at least 30 to 50 cm below ceiling fans, lighting fixtures, and air conditioning units. This clearance ensures proper air circulation and prevents accidental damage during assembly or daily use.
Width and Modularity for Awkward Spaces
Modular racks excel at turning awkward corners, alcoves, and irregular recesses into functional storage zones. Instead of forcing a single wide unit into a space, consider combining narrow and wide bays side-by-side. For example, placing a 60 cm wide unit next to a 90 cm wide unit allows you to work around wall columns or structural beams. This staggered approach creates a custom, built-in look at a fraction of the cost of bespoke carpentry.
Layout Configurations for Open-Concept Homes
The way you arrange your modular units can redefine the flow of an open-concept apartment. A classic freestanding straight-line layout works best along long, empty walls to create a clean visual line. If you want to maximize corner efficiency, an L-shaped setup utilizes adjacent walls without leaving dead space in the corner. For studio apartments or open living-dining areas, a back-to-back configuration can serve as a functional room divider, separating your workspace from your resting area while providing double-sided storage access.
Evaluate Load Capacity and Structural Stability
A modular rack must not only fit your space but also safely support the weight of your belongings. Understanding how to evaluate manufacturer specifications prevents structural failure and ensures long-term durability.
Always check the manufacturer’s documentation for the specific load capacity of individual shelves and the overall unit. These ratings are typically calculated based on uniformly distributed loads, meaning the weight must be spread evenly across the shelf rather than concentrated in one spot. For heavy-duty storage in utility rooms, look for industrial-grade racks, while lighter decorative shelving is suitable for living areas.
Examine the frame materials and surface treatments specified by the manufacturer. High-quality carbon steel or powder-coated steel frames offer excellent resistance to rust and moisture, which is particularly important in Singapore’s humid climate. If the shelves are made of engineered wood or medium-density fibreboard (MDF), verify that they have a moisture-resistant laminate or sealant to prevent sagging or warping over time.
The method used to connect the shelves to the upright frames directly impacts the stability of the rack. Boltless clip systems and interlocking keyhole joints are highly popular because they allow for easy, tool-free height adjustments while maintaining a rigid structure under load. Bolted frames offer exceptional stability but require more effort to assemble and reconfigure.
Older apartments or utility rooms may have slightly uneven floors, which can cause a tall rack to wobble or lean. To maintain structural integrity, choose modular systems equipped with adjustable leveling feet. These feet allow you to compensate for minor floor slopes, ensuring the frame remains perfectly vertical and stable.
Avoid Common Sizing and Placement Mistakes
Even with accurate measurements, minor oversights during the planning phase can lead to frustrating usability issues. Being aware of common placement errors helps you design a highly functional setup.
One frequent mistake is failing to account for the clearance needed for moving parts. Ensure your rack does not block the swing paths of room doors, wardrobe doors, or kitchen cabinets. Similarly, check that the rack does not obstruct window handles or prevent sliding windows from opening fully. If your modular rack features pull-out drawers or wire baskets, verify that there is enough clearance in front of the unit to extend them completely.
Never block access to essential utility panels. In Singaporean apartments, this includes the electrical distribution board (DB box), water meters, gas valves, and air conditioning drainage access panels. Blocking these areas with heavy, fully loaded racks can create safety hazards and make routine maintenance or emergency shutoffs incredibly difficult.
Another common error is overestimating the actual capacity of your shelves by loading them unevenly. Placing all heavy items on a single upper shelf while leaving the lower shelves empty raises the center of gravity, making the entire unit unstable. Always plan to distribute the weight logically from the ground up.
When placing modular racks adjacent to built-in wardrobes, kitchen counters, or laundry appliances, always leave a small expansion gap of 2 to 3 cm. This gap prevents the metal frames from rubbing against and scratching your custom carpentry during use. It also provides the necessary clearance for routine cleaning and dust removal.
Assemble, Anchor, and Secure Your Storage
Safe assembly and secure installation are critical to preventing accidents, especially in compact homes where floor space is highly active.
Always follow the manufacturer’s step-by-step assembly instructions carefully. Avoid rushing the process, and ensure that every bolt is tightened or every interlocking joint is fully seated using a rubber mallet if recommended. Skipping a single stabilizing bracket or misaligning a support beam can severely compromise the load capacity of the entire system.
To maintain a low center of gravity, always place your heaviest items—such as boxes of books, heavy kitchen appliances, or storage tubs—on the lowest shelves. Reserve the middle and upper shelves for medium-weight items, and use the top shelves exclusively for lightweight decorative pieces or soft storage organizers. This simple habit significantly reduces the risk of the rack tipping forward.
For any modular rack that stands taller than 1.5 meters, anchoring the unit to the wall is highly recommended. This safety measure is essential in households with young children or active pets who might attempt to climb the shelves. When anchoring, ensure you use the appropriate wall plugs and screws for your specific wall type. For concrete or brick walls common in Singapore, heavy-duty masonry wall plugs are required, whereas drywall installations require specialized toggle bolts. If you are unsure of your wall material, consult a qualified professional before drilling.
Over time, daily use and shifting loads can cause hardware to loosen slightly. Make it a habit to perform a quick safety check every six months. Inspect the frame for any signs of leaning, test the tightness of the connection joints, and verify that the adjustable leveling feet are still sitting firmly on the floor.
Frequently Asked Questions (FAQ)
Can I install a tall modular rack in a rented apartment without drilling?
If your tenancy agreement strictly prohibits drilling holes into concrete walls, you should avoid tall, freestanding racks that rely on wall anchors for stability. Instead, look for lower-profile modular units under 1.2 meters in height, which naturally have a lower center of gravity and are much less prone to tipping. Alternatively, you can use tension-mounted floor-to-ceiling shelving systems that secure themselves using vertical pressure brackets, completely eliminating the need for wall drilling while maximizing vertical space.
How do I protect my floors from heavy modular racks?
To prevent heavy metal frames or adjustable leveling feet from scratching, denting, or leaving permanent marks on your flooring, always check the manufacturer’s care recommendations. Placing heavy-duty felt pads or rubber caster cups under each foot is an effective way to distribute the weight and protect delicate surfaces like vinyl, laminate, or engineered wood. For high-load utility racks in storerooms, placing a durable, low-profile rubber utility mat beneath the entire footprint of the rack can prevent moisture buildup and protect the underlying tiles from cracking.
Community discussion
Share your experience or ask a question. Comments are reviewed before publication.