
Fitting a thin shelf rack into tight gaps requires matching the unit’s width and depth to the available clearance while accounting for baseboards, ventilation, and structural stability. The right modular configuration allows for vertical adjustment and customized storage without compromising the narrow footprint or creating tipping hazards. In compact homes like apartments and condominiums, maximizing these awkward spaces between a refrigerator and a kitchen wall, or beside a washing machine in the service yard, turns unused gaps into highly functional storage zones.
Measuring the Gap: Clearances, Baseboards, and Vents
Measuring a tight gap requires more than a single top-down estimate. Walls are rarely perfectly plumb, and furniture panels can bulge or settle over time. To avoid buying a rack that jams halfway in, measure the width of the gap at three distinct points: near the floor, in the middle, and at the top. Use the smallest measurement as your absolute maximum width limit.
Next, account for hidden obstructions along the floor and walls. Baseboards can protrude by 10 to 20 millimeters, significantly narrowing the usable floor width even if the upper wall space is wide open. Look for electrical outlets, switches, and cable conduits that might block the rack from sliding back fully. If a plug is actively in use, measure the depth of the plug head to ensure the rack does not crush the cable.
Products mentioned in this guide
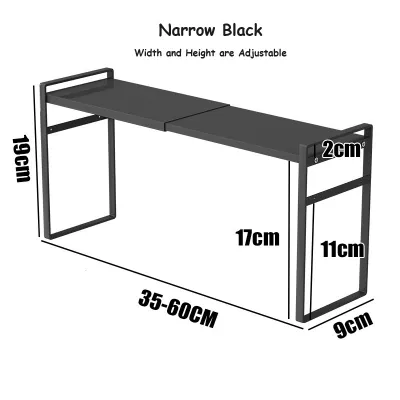
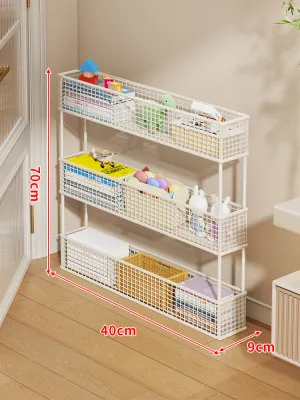
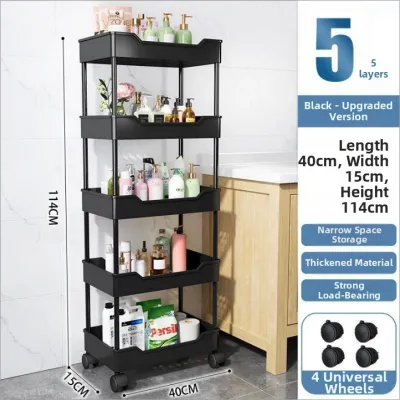
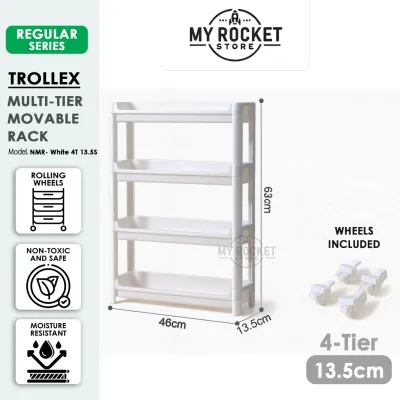
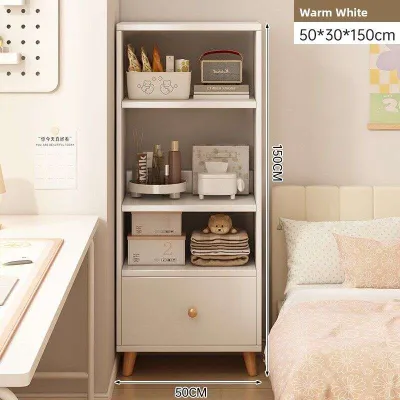
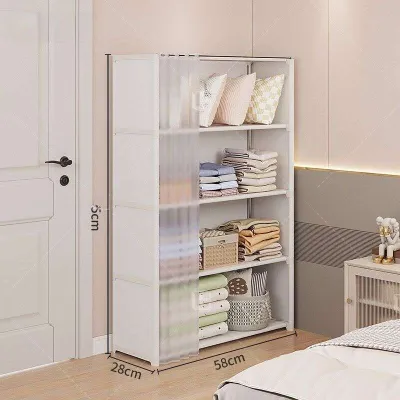
Prices are valid at publication and may change. Please refer to the product page for the latest price.
Finally, evaluate the thermal environment of the gap. If you are placing a thin shelf rack next to a refrigerator, freezer, or oven, check the appliance manual for mandatory heat dissipation clearances. Restricting airflow around these appliances forces their compressors to work harder, increasing energy consumption and potentially shortening their lifespan. Ensure your measurements leave at least a 20 to 50-millimeter buffer on the appliance side if required.
Selecting Width and Depth for Stability and Access
Selecting the right width is a delicate balance between maximizing storage volume and maintaining structural stability. Ultra-narrow racks—often ranging from 10 to 15 centimeters wide—have a high, narrow center of gravity. While they excel at holding small spice jars or cleaning bottles, they are inherently prone to wobbling. If your gap allows, opting for a slightly wider unit of 20 centimeters provides a much more stable base.

Depth is equally critical for maintaining clear pathways and functional adjacent furniture. A rack that is too deep will protrude into walkways, creating a tripping hazard or blocking the swing path of nearby cabinet doors and drawers. Measure the depth of the adjacent furniture and select a rack that sits flush with or slightly recessed behind the front edge of those units.
Accessing items stored deep within a narrow rack can be challenging. To solve this, look for configurations featuring built-in pull-out drawers, sliding tracks, or angled tiers. Raised shelf lips or guardrails are also essential; they prevent tall, slender items like olive oil bottles or spray canisters from tipping over and falling off the sides when the rack is moved or accessed.
Evaluating Modular Configurations for Custom Fits
Modular configurations offer the flexibility needed to adapt to irregular or changing storage demands. Freestanding modular units are highly popular because they require no drilling and can be easily relocated. However, in extremely tight or tall configurations, tension-pole systems or wall-mounted modular tracks provide superior stability by anchoring directly to the room’s structure, eliminating the risk of the rack swaying.
Adjustable shelf heights are a must-have feature for narrow racks. Fixed-shelf designs often leave you with wasted vertical space or shelves that cannot accommodate tall laundry detergent bottles, cereal boxes, or pantry canisters. Look for modular systems that use clip-in brackets or peg-and-hole adjustments, allowing you to customize the vertical clearance of each tier to match your specific items.
When evaluating stackable modular units, pay close attention to the connection mechanisms. Plastic push-fit joints, metal interlocking pins, or screw-down collars must fit tightly without any play. Loose joints compromise the structural integrity of the entire stack, causing the rack to lean or bow under load. Check that the material of the frame—whether powder-coated steel, heavy-duty plastic, or solid wood—offers sufficient rigidity to resist twisting.
Ensuring Stability and Safe Weight Distribution
Safe operation of a thin shelf rack depends heavily on how you distribute weight across its shelves. Always place your heaviest items, such as bulk liquid detergents, canned goods, or glass jars, on the bottommost shelves. This lowers the unit’s center of gravity, making it significantly more stable and less likely to tip forward when pulled out or bumped.
For tall, narrow freestanding racks that exceed a four-to-one height-to-depth ratio, relying solely on gravity is risky. In these setups, look for opportunities to secure the unit. If the rack is positioned next to a sturdy wooden cabinet, you can use small furniture straps or adhesive brackets to tether them together. For permanent installations, securing the rack to the wall with drywall anchors or masonry plugs is the safest approach.
Always verify the manufacturer’s specified weight limits for both individual shelves and the entire unit. Do not assume a metal rack can support heavy items if its narrow base and thin support pillars limit its overall capacity. Exceeding these limits can cause the shelves to sag, the joints to buckle, or the entire rack to collapse sideways into the gap.
Common Sizing and Placement Mistakes
One of the most common mistakes is failing to account for the swing radius and hardware of adjacent fixtures. A thin shelf rack might fit perfectly into a gap on paper, but if it blocks a refrigerator door from opening past 90 degrees, or if an oven handle strikes the rack when opened, the setup becomes highly frustrating. Always map out the movement paths of all nearby doors, drawers, and appliance handles.
Another frequent error is ignoring the heat dissipation requirements of household appliances. Squeezing a plastic or wooden shelf rack tightly against a refrigerator or washing machine can trap heat, leading to appliance inefficiency or even warping the rack itself. Always maintain the manufacturer-recommended clearance gaps to ensure safe, continuous airflow around motor housings and cooling coils.
Finally, avoid relying on generic marketing terms like “slim,” “ultra-thin,” or “space-saving” without checking the exact millimeter specifications. Different brands define these terms differently, and a “slim” rack from one manufacturer might be several centimeters wider than a “slim” rack from another. Always verify the precise physical dimensions of the product and compare them directly against your measured gap clearances before making a purchase.
Frequently Asked Questions (FAQ)
Can I use a thin shelf rack next to a heating vent or radiator?
Placing a thin shelf rack near an active heat source requires careful adherence to safety guidelines. Always consult the manufacturer instructions for both the heating appliance and the rack to determine safe clearance distances. Avoid using plastic or low-grade engineered wood racks in these zones, as high temperatures can cause warping, off-gassing, or present a fire hazard; instead, opt for heat-resistant metal configurations if cleared by safety guidelines.
How do I clean behind a thin shelf rack in a tight gap?
Maintaining cleanliness in tight gaps is easiest when you select a thin shelf rack equipped with lockable casters or smooth, non-scratch bottom glides. These features allow you to easily roll or slide the entire unit out of the gap for routine sweeping and mopping. For stationary racks that cannot be moved easily, utilize long-handled microfiber dusters, flexible crevice tools, or specialized vacuum attachments designed to reach deep into narrow spaces.
Community discussion
Share your experience or ask a question. Comments are reviewed before publication.