
To choose the right size wall-mounted TV console, you must coordinate three critical factors: the physical dimensions of your television, the structural capacity of your wall, and the depth of your media equipment. A well-proportioned console does more than hold your devices; it anchors the room visually, conceals unsightly cables, and preserves precious floor space in modern living areas. By matching the console’s scale to both your screen and your wall, you create a balanced, integrated look that enhances your entire viewing experience.
Measure Your Wall Space and Installation Clearances
Before browsing designs, you need to establish the physical boundaries of your room. Start by measuring the total width and height of the wall where you plan to install the console. Be sure to note the positions of nearby architectural features such as doorways, windows, built-in wardrobes, and adjacent furniture. A console that is too close to a doorway can restrict movement, while one placed too near a window might catch distracting glare during the day.
Next, identify the locations of your power outlets, cable ports, and internet connections. A wall-mounted console should ideally cover or sit directly below these outlets to make cable management seamless. If your home has drywall partition walls, use a stud finder to locate the vertical wooden or metal studs, as these structural elements will dictate where you can securely anchor a heavy console. For solid concrete or brick walls, which are common in many apartments, you will have more flexibility in placement but will need to plan for masonry drilling.
Products mentioned in this guide
![[Ready Stock] TV console nordic wall-mounted TV cabinet wall cabinet wall racks set-top rack set-top cabinet TV cabinets simple small-sized TV rack wall TV console wall TV cabinet](https://img.lazcdn.com/g/p/92b7eec424498f0cf6ba8e2d55261e7d.jpg_webp_400x400q80.jpg_.webp)
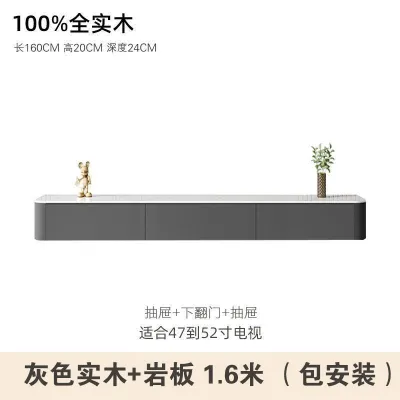
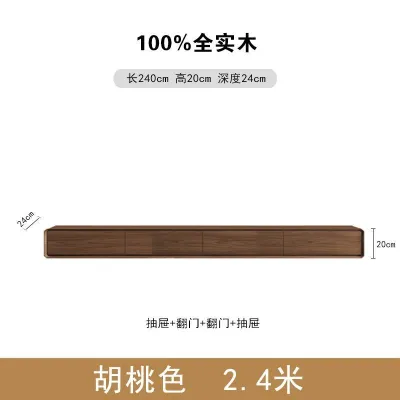
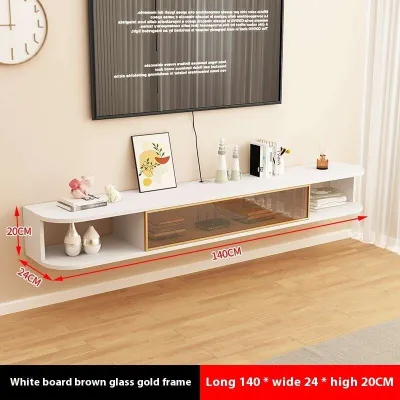
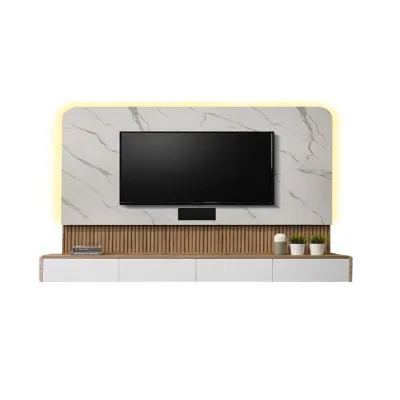
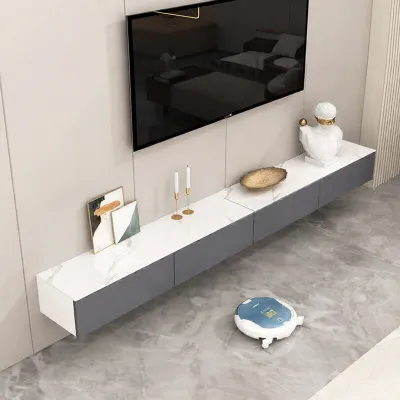
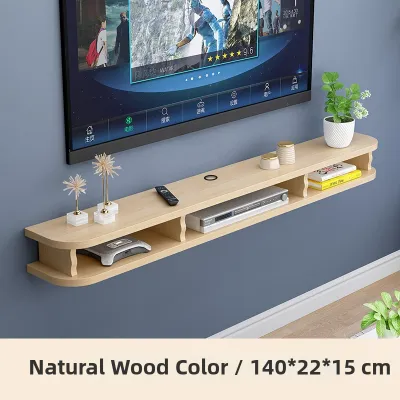
Prices are valid at publication and may change. Please refer to the product page for the latest price.
Finally, consider the flow of traffic through the room. A floating console projects outward into the living space, meaning it can become an obstacle if placed in a high-traffic walkway. Ensure there is ample clearance for people to walk past comfortably without bumping into the corners. Leaving a generous amount of empty wall space around the unit also provides visual breathing room, preventing the living area from feeling cramped or overly cluttered.
Match Console Width to Your TV Dimensions
A common mistake is assuming that a TV’s advertised size represents its actual physical width. Television sizes are measured diagonally across the screen, excluding the outer frame or bezel. To find the true width of your television, you must use a physical measuring tape to measure from the far-left edge to the far-right edge of the outer frame. This actual physical width is the baseline measurement you will use to size your wall-mounted console.

For an aesthetically pleasing setup, your wall-mounted console should always be wider than your television. A console that is the exact same width as the TV, or narrower, creates a top-heavy, unstable look that disrupts the visual harmony of the room. As a general guideline, aim for a console that extends at least 10 to 20 centimeters beyond the outer edges of your TV on both sides. This extra width creates a balanced, grounded silhouette and leaves room for small decorative items or a soundbar.
If you plan to place the television directly on top of the console rather than mounting the screen on the wall, you must also account for the TV’s stand footprint. Many modern televisions use wide-set feet rather than a central pedestal stand. Measure the distance between these feet to ensure they will fit securely on the console’s top surface with a safe margin of space on all sides. Even if the TV is wall-mounted above the console, keeping this proportional balance ensures the entire setup looks cohesive and intentional.
Determine the Right Depth for Equipment and Storage
The depth of your wall-mounted console determines how far it will protrude into your living room and what kind of equipment it can house. To find the minimum depth you require, measure the largest media component you plan to store inside or on top of the unit. This might be an AV receiver, a gaming console, a media streaming box, or a smart home hub. Be sure to measure from the very front of the device to the furthest projecting point at the back.
Crucially, you must add extra depth to this measurement to accommodate cables, connectors, and ventilation. HDMI cables, power cords, and audio jacks often require 5 to 8 centimeters of clearance behind the device to bend safely without damaging the ports. Furthermore, electronic devices generate heat during operation and require adequate airflow to prevent overheating. Choosing a console with a bit of extra depth, or one featuring open back panels, ensures your equipment remains cool and functions reliably.
While it is tempting to choose a deep console to maximize storage, you must balance this with the spatial flow of your room. In smaller living spaces, a deep console can make the room feel restricted and narrow. Opt for a streamlined, shallow console if you only need to store slim devices like streaming sticks or small modems. If you require deeper storage for larger components, consider a model with sliding doors or open shelving to minimize the physical footprint when accessing your gear.
Verify Weight Capacity and Wall Mounting Requirements
Safety is the most critical factor when installing a wall-mounted TV console. Because these units do not have legs to support them, the entire weight of the console and its contents relies on the mounting hardware and the wall structure. Begin by checking the manufacturer’s specifications for the console’s maximum weight capacity. Then, estimate the total weight of everything you plan to place inside or on top of it, including media players, books, decor, and the TV itself if it is not wall-mounted separately.
The type of wall in your home dictates how you must mount the console. Solid concrete, brick, or masonry walls offer excellent load-bearing capacity and allow you to mount the console almost anywhere using heavy-duty wall plugs and masonry screws. Drywall or plasterboard partition walls, however, require you to anchor the mounting brackets directly into the vertical wall studs. Never rely solely on standard drywall anchors to hold a heavy console, as they can pull out of the plaster under load, causing severe damage to your wall and equipment.
Always review the manufacturer’s installation instructions carefully before purchasing to ensure your wall type is compatible with the supplied hardware. The instructions will specify the required stud spacing, the types of anchors needed for different wall materials, and whether professional installation is recommended. If you are uncertain about your wall’s structural integrity, or if you lack the specialized tools required for masonry drilling, it is highly advisable to hire a qualified professional installer to ensure a secure and level mount.
Common Sizing and Placement Mistakes to Avoid
One of the most frequent errors homeowners make is purchasing a console based entirely on the TV’s diagonal screen size. This almost always results in a console that is too small, making the television look overwhelmingly large and creating an unbalanced aesthetic. Always measure the physical width of your TV frame before shopping to ensure your console is wide enough to frame the screen beautifully.
Another common pitfall is ignoring the depth required for cable management and device ventilation. Buying a console that is too shallow forces you to cram cables against the back wall, which can bend wires to breaking point or prevent cabinet doors from closing properly. Additionally, trapping heat-producing electronics in tight, unventilated compartments can shorten their lifespan. Always allow a few extra centimeters of depth for airflow and cable routing.
Finally, many people overlook the structural limits of their walls or use the wrong mounting hardware. Using standard plastic wall plugs in drywall, or failing to align the mounting brackets with wall studs, can lead to catastrophic structural failure. Take the time to identify your wall material, select the correct heavy-duty anchors, and strictly adhere to the manufacturer’s weight limits to keep your living room safe and secure.
Frequently Asked Questions (FAQ)
Do I need a specific type of wall for a wall-mounted TV console?
Yes, the type of wall you have determines how securely you can mount a console. Solid walls made of concrete, brick, or solid timber are ideal because they can support heavy loads at almost any point using appropriate masonry anchors. Drywall or partition walls can also support a wall-mounted console, but the mounting brackets must be anchored directly into the internal wooden or metal studs to distribute the weight safely. Always check the manufacturer’s guidelines for wall compatibility, and consult a qualified professional if you are unsure of your wall’s construction or load capacity.
How much space should I leave between the TV and the console?
Generally, leaving a gap of 10 to 20 centimeters between the top of the console and the bottom of your TV creates a clean, balanced look. This gap provides enough space to place a soundbar, a center channel speaker, or low-profile decorative items without blocking the bottom of the screen. Additionally, this clearance ensures proper heat dissipation from both the console’s electronic components and the television itself. Be sure to coordinate this gap with your TV manufacturer’s recommended viewing height to keep the screen at a comfortable eye level.

Community discussion
Share your experience or ask a question. Comments are reviewed before publication.