
Finding the right transparent shoe box size requires balancing your wardrobe’s physical constraints with the specific dimensions of your footwear collection. By accurately measuring your available shelf space and categorizing your shoes, you can select organizers that maximize storage capacity, protect your footwear, and maintain a clean, visible closet system.
In space-constrained homes, maximizing every square centimetre of wardrobe space is essential. Transparent shoe boxes offer an excellent way to keep your footwear visible, dust-free, and organized, but a mismatch in dimensions can lead to wasted shelf space or boxes that simply do not fit behind closed wardrobe doors. Choosing the right size involves analyzing both the physical limits of your shelving and the unique profiles of your shoes.
Measure Your Wardrobe Shelves and Available Space
Before purchasing any organizers, you must establish the exact physical boundaries of your wardrobe shelves. Start by measuring the three critical dimensions of your shelving: depth, width, and the vertical clearance between shelves. Use a metal measuring tape for accuracy, as fabric tapes can stretch and lead to incorrect calculations.
Products mentioned in this guide
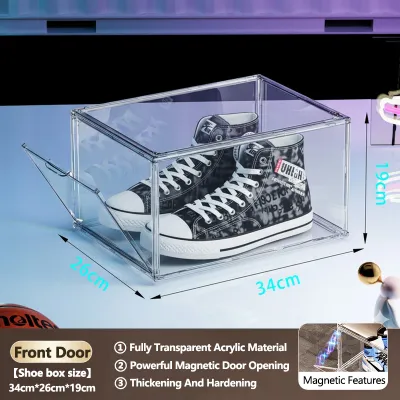
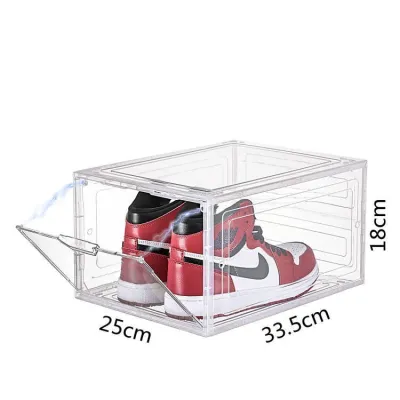
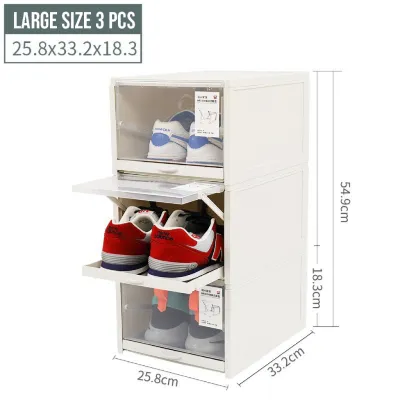
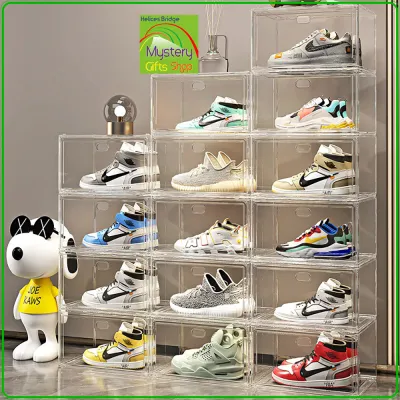
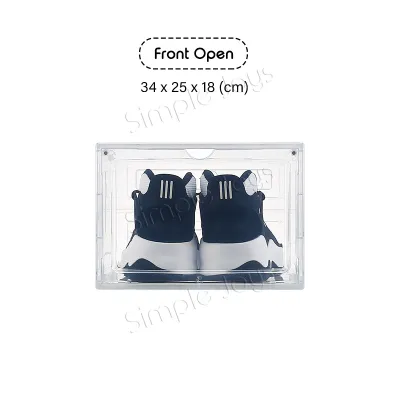
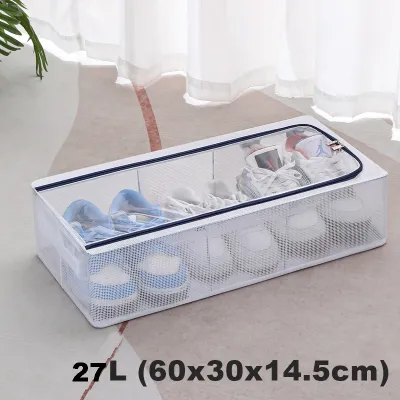
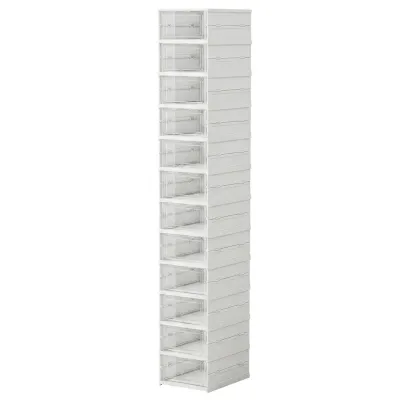
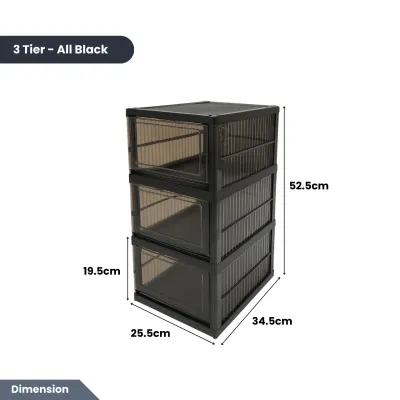
Prices are valid at publication and may change. Please refer to the product page for the latest price.
When measuring depth, do not just measure from the back wall to the front edge of the shelf. If your wardrobe has sliding doors or hinged doors that close inward, you must measure the depth up to the point where the door frame or track begins. Failing to account for this clearance can prevent your wardrobe doors from closing fully once the boxes are in place.
Next, look for internal obstacles that might obstruct your boxes. Wardrobe door hinges, vertical shelf supports, and built-in LED lighting fixtures often protrude into the usable space. Measure the clearance at the narrowest points, particularly near the door opening, to ensure you can slide the boxes in and out without scraping the sides.
Once you have the total width of a shelf, divide it by the external width of the shoe boxes you are considering. This calculation helps you determine how many boxes can sit side-by-side. If you have a few centimetres left over, consider whether this gap is useful for ventilation or if a slightly different box width would eliminate wasted space.
Vertical clearance determines how high you can stack your boxes. Compare the height of a single box against the total height between shelves to see how many units can safely fit. Keep in mind the load capacity of your shelves; while plastic boxes are lightweight, stacking multiple pairs of heavy leather shoes or thick-soled boots can cause wooden or laminate shelves to sag over time.
Match Box Dimensions to Your Footwear Collection
Not all shoes are shaped the same, which means a single box size rarely fits an entire footwear collection. To avoid buying boxes that are either too small for your sneakers or unnecessarily large for your sandals, start by sorting your shoes into distinct categories based on their height, width, and length.

Standard flats, sandals, and low-profile loafers generally require the least amount of space. These can often fit into standard-sized boxes, which typically measure around 30 to 33 centimetres in length and 10 to 12 centimetres in height. For these compact styles, you can sometimes store pairs side-by-side or even slightly overlapped to save space.
Bulky athletic sneakers, basketball shoes, and platform heels demand significantly more volume. These shoes have wider outsoles and taller profiles that require extra internal width and height. When shopping, always check the manufacturer’s listed internal dimensions rather than the external footprint, as thick plastic walls and interlocking frames can reduce the actual usable space inside by a centimetre or more.
High-top sneakers, ankle boots, and high heels present the greatest sizing challenge. Storing these upright often requires extra-tall boxes, which can range from 18 to 22 centimetres in height. If you are constrained by vertical shelf space, you can sometimes store high heels on their sides or alternate the direction of the shoes—placing one toe-forward and one heel-forward—to minimize the required height and width.
For a diverse collection, a modular system that offers matching widths but varying heights is often a highly efficient choice. This allows you to stack a tall box for boots directly on top of a standard box for flats, maintaining a clean, uniform look across your wardrobe shelves while tailoring the storage to each specific shoe type.
Evaluate Stackability and Structural Stability
When stacking transparent shoe boxes, structural integrity is paramount to prevent the column from tilting, buckling, or collapsing. Look for boxes specifically designed with interlocking mechanisms, such as raised ridges on the lids that slot into matching grooves on the bases of the boxes above them. This physical connection prevents the boxes from sliding when you open or close wardrobe doors.
The material and construction of the box frame play a critical role in stability. Rigid acrylic or heavy-duty polypropylene boxes with reinforced corners offer much greater load-bearing capacity than soft, collapsible plastic alternatives. If you plan to stack boxes four or five units high, the bottom box must be strong enough to support the cumulative weight of all the boxes and shoes above it without warping.
To maintain a safe and functional setup, place your heaviest footwear, such as leather boots or heavy-soled trainers, in the bottom boxes of the stack. This lowers the centre of gravity and reduces the risk of the stack tipping over. Lighter shoes, like fabric flats and sandals, should occupy the higher levels of the stack.
Finally, consider your own physical reach and the height of your wardrobe shelves. Stacking boxes too high can make it difficult to access the top units safely, especially if you have to reach above shoulder level. Ensure the top box still has enough clearance below the ceiling or upper shelf to allow you to open the door or slide the box out without restriction.
Avoid Common Sizing and Placement Mistakes
One of the most common mistakes is purchasing a large bulk pack of identical, standard-sized boxes without verifying the dimensions of your largest shoes. This often leaves you with several pairs of high-tops, boots, or heels that cannot fit, forcing you to store them loose or buy a second, mismatched set of organizers later.
Another frequent oversight is ignoring the door mechanism of the shoe boxes themselves. Drop-front or magnetic swing-open doors are highly convenient for wardrobe shelves, but they require clear space in front of the box to open fully. If your wardrobe has sliding doors, ensure the box doors can open within the narrow opening gap, or choose drawer-style boxes if your shelf depth allows.
Overstuffing boxes is another error that can damage both your footwear and your storage system. Forcing a wide or long shoe into a box that is too small puts constant outward pressure on the plastic joints, which can cause the hinges to fail or the transparent walls to warp. It also presses the shoe material against the hard plastic, potentially scuffing delicate leather, suede, or patent finishes over time.
Lastly, do not overlook the importance of ventilation. In humid climates, sealing shoes in completely airtight plastic boxes can trap moisture and lead to mould growth. Look for transparent boxes that feature integrated ventilation holes or small gaps around the door frame to allow continuous airflow while still keeping dust out.
Frequently Asked Questions (FAQ)
Can I use transparent shoe boxes on wire shelving?
Yes, you can use transparent shoe boxes on wire shelving, but you must take steps to ensure stability. Because wire shelves have gaps and can sometimes sag slightly under weight, flat-bottomed plastic boxes may wobble or tilt. To create a stable surface, place a solid shelf liner, a thin acrylic sheet, or a piece of sturdy cardboard over the wire shelf before arranging your shoe boxes. This distributes the weight evenly and prevents the feet or corners of the boxes from slipping between the wires.
How much extra space should I leave inside the box for the shoes?
As a general rule, aim for at least one to two centimetres of clearance around the sides, toe, and heel of your shoes inside the box. This extra space prevents the shoes from rubbing against the plastic walls, which can cause scuffs or wear on delicate materials. It also ensures you can easily insert and remove the shoes without having to force them, preserving both the shape of your footwear and the structural integrity of the transparent box.
Community discussion
Share your experience or ask a question. Comments are reviewed before publication.