
To choose the right size projector cabinet, you must balance the physical dimensions of your projector and accessories with the available space in your room and the required projection distance. A cabinet that is too small can lead to overheating, messy cables, and a distorted image, while an oversized unit can crowd your living space and block natural walkways. By measuring your equipment, planning for ventilation, and verifying your room’s layout, you can find a cabinet that keeps your setup organized, safe, and visually aligned.
Measure Your Projector and Accessories for Internal Clearance
To determine the minimum internal dimensions of your cabinet, start by measuring your projector’s physical length, width, and height. Do not rely solely on the dimensions listed in the marketing materials, as these may exclude protruding feet, lens caps, or rear cable connectors. Once you have the base measurements, check your projector’s user manual for the manufacturer’s recommended ventilation clearance. This clearance is essential for preventing heat buildup and must be added to the top, sides, and rear of the device when calculating the required internal space.
Next, list all the additional equipment that will share the cabinet, such as media players, streaming devices, gaming consoles, and audio receivers. Measure each device and plan their placement, keeping in mind that stacking components can restrict airflow and cause overheating. You must also account for the bending radius of thick HDMI cables, optical cords, and power plugs. Stiff cables often require several centimeters of extra depth behind the equipment to bend safely without damaging the ports or preventing the cabinet doors from closing.
Products mentioned in this guide
Prices are valid at publication and may change. Please refer to the product page for the latest price.
Finally, evaluate the structural support of the cabinet’s interior. Check if the shelves are adjustable, which allows you to customize the height of each compartment to fit your specific gear. Verify the weight capacity of both the cabinet frame and the individual shelves. Heavy home theater receivers and amplifiers can weigh a significant amount, so ensuring the shelves can support this load without sagging is crucial for the long-term safety of your equipment.
Calculate the Ideal External Dimensions for Your Living Room
Determining the external dimensions of your projector cabinet requires a careful assessment of your living room layout. Begin by measuring the width and depth of the wall or floor area where you plan to place the cabinet. Ensure the unit will not block doorways, extend into high-traffic walkways, or obstruct wall sockets and light switches. If your living room has tight corners or narrow pathways, a shallower cabinet may be necessary to maintain a comfortable flow of movement.

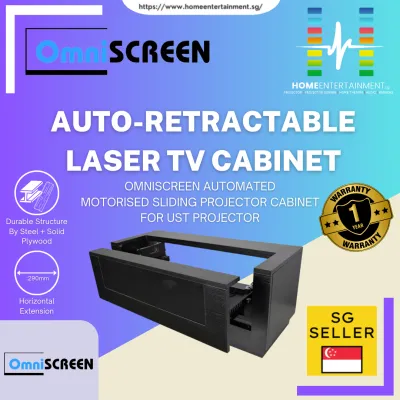
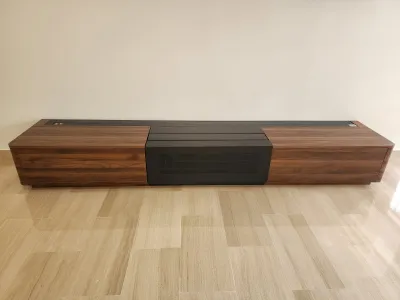
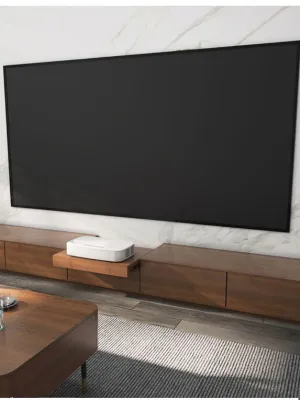
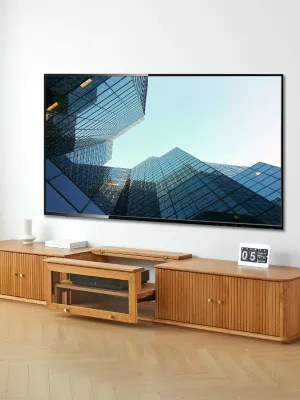
The cabinet’s depth and placement are also directly tied to your projector’s throw distance. The projector must be positioned at a specific distance from the wall or screen to project your desired image size. If you are using an ultra-short-throw projector, the cabinet must be deep enough to sit the required distance from the wall, or you may need a cabinet with a sliding drawer designed specifically for these devices. Measure the distance from the front of the cabinet to the screen to ensure it aligns with your projector’s optical requirements without causing image distortion.
Viewing comfort is another critical factor when choosing the cabinet’s height. Ideally, the center of the projected image should align with the seated eye level of your audience to prevent neck strain. Measure the height of your sofa seats and calculate the resulting eye level. Choose a cabinet height that allows the projector to cast its image at this comfortable viewing angle, taking into account any offset or vertical adjustment features your projector might have.
Plan for Ventilation, Signals, and Cable Management
Proper heat dissipation is vital for extending the lifespan of your projector and electronic components. When selecting a cabinet, check if the doors are made of materials that allow remote control signals to pass through while still protecting the gear inside. IR-friendly glass, perforated metal, or fabric mesh doors are excellent options that keep your equipment hidden from view while allowing infrared signals from your remote to reach the sensors.
Cable management is another essential feature to inspect before purchasing. Look for cabinets with pre-drilled cable routing holes in the back panels and internal dividers. These holes allow you to run power and signal cables neatly between compartments and out to wall outlets. If the cabinet you prefer does not have these holes, verify if the back panel material is made of thin plywood or MDF that allows for safe custom drilling without compromising the structural integrity of the main frame.
For fully enclosed cabinet designs, passive ventilation may not be sufficient to keep temperatures down. Consider whether you need to install active cooling solutions, such as quiet USB-powered exhaust fans. Many modern media cabinets feature mounting points for these fans, which actively pull hot air out of the cabinet and draw cool air in. This is especially important for high-performance projectors and receivers that generate substantial heat during extended viewing sessions.
Verify Delivery Access and Installation Conditions
Before finalizing your purchase, you must ensure the cabinet can actually reach its designated spot in your home. Measure the dimensions of your building’s elevator, the width of your stairwells, and the clearance of all doorways and tight turns along the delivery path. Large, fully assembled cabinets can be difficult to maneuver, and verifying these pathways beforehand prevents the frustration of a failed delivery.
Once the cabinet is in your room, consider its stability and installation requirements. Many tall or heavy cabinets require anti-tip wall anchoring to prevent them from tipping over, especially if you have children or pets. Inspect your wall type—whether it is concrete, drywall, or brick—to ensure you select the correct heavy-duty wall anchors and screws. Secure anchoring is not only a safety measure but also helps keep the cabinet perfectly still during use.
Floor levelness is another factor that can impact your projector’s performance. An uneven floor can cause the cabinet to tilt, resulting in a crooked or distorted projected image. Inspect your floor with a spirit level and look for cabinets equipped with adjustable leveling feet. These feet allow you to compensate for uneven flooring, stabilizing the cabinet and preventing minor vibrations from disrupting your viewing experience.
Common Sizing Mistakes to Avoid
One of the most frequent mistakes is measuring only the physical footprint of the projector while ignoring the required airflow clearance. Placing a projector in a tight compartment with no room to breathe leads to rapid heat buildup, which can trigger automatic thermal shutdowns and shorten the lifespan of the lamp or laser light source. Always allow for the manufacturer’s recommended clearance on all sides.
Another common error is failing to account for the projector’s throw distance and offset. If you choose a cabinet that is too shallow or too tall, you may find that the projected image is either too small, too large, or cast at an awkward angle that cannot be corrected by digital keystone adjustments. Always map out the projection path and distance before committing to a cabinet size.
Lastly, do not forget to factor in the space needed for cables and connectors. Stiff, high-quality HDMI cables and power cords often stick out several centimeters from the back of the projector. If you do not add this extra depth to your measurements, you may find that you cannot push the projector back far enough to close the cabinet doors, or you may put dangerous stress on the device’s input ports.
Frequently Asked Questions (FAQ)
Can I use a standard TV cabinet for a projector setup?
Yes, you can use a standard TV cabinet, but you must check its depth and ventilation. Standard TV stands are often shallower than projector cabinets because modern flat-screen TVs have very thin profiles. A projector setup typically requires a deeper surface or interior shelf to accommodate the unit and its rear cables. Additionally, standard cabinets may lack the necessary ventilation cutouts or cable management holes, meaning you may need to modify the back panel to ensure adequate airflow and neat cable routing.
What if the cabinet depth is slightly too short for my projector?
If your cabinet is slightly too short, avoid forcing the projector into the space, as this will block the exhaust vents and cause overheating. Instead, consider using a pull-out sliding shelf or drawer designed for projectors, which allows you to extend the device forward during use and tuck it away when turned off. Alternatively, you can wall-mount the projector above the cabinet or place the cabinet a few centimeters away from the wall, using a decorative top panel or trim to bridge the gap and hide the exposed rear.
Community discussion
Share your experience or ask a question. Comments are reviewed before publication.