
Selecting a floating tv console requires balancing visual proportions with structural safety. To achieve a clean, modern aesthetic, your media unit should be roughly 10% to 20% wider than the actual physical width of your television, while its mounting height must align with your seated eye level to prevent neck strain. Beyond visual appeal, you must verify your wall’s structural capacity—particularly crucial in Singapore’s residential landscape where wall types vary from solid concrete to lightweight drywall. Measuring your space accurately and planning for device depth and cable paths will ensure a seamless, secure installation.
Match Your Floating TV Console Width to Your TV Dimensions
To create a balanced and grounded entertainment area, your media furniture must be visually wider than the television screen. When a TV is the same width as or wider than the console beneath it, the entire setup looks top-heavy and unstable. A wider console provides a solid visual anchor, making the room feel more spacious and organized. Ideally, you should aim for a console that extends at least 10 to 20 centimeters beyond the outer edges of your television frame on both the left and right sides.
Before shopping for a console, measure the actual physical width of your television. A common mistake is relying on the manufacturer’s advertised screen size, which is a diagonal measurement of the screen glass and does not account for the horizontal width or the outer bezels. Use a physical tape measure to find the exact distance from the far-left edge of the frame to the far-right edge. For example, a standard 55-inch television is typically about 122 centimeters wide, while a 65-inch model is approximately 145 centimeters wide.
Products mentioned in this guide
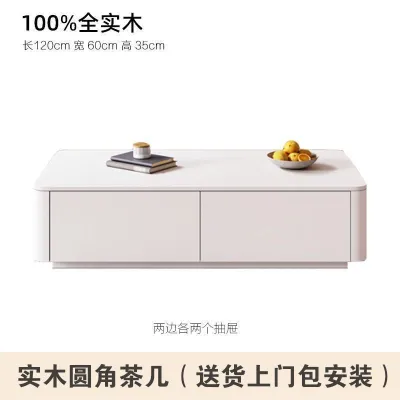
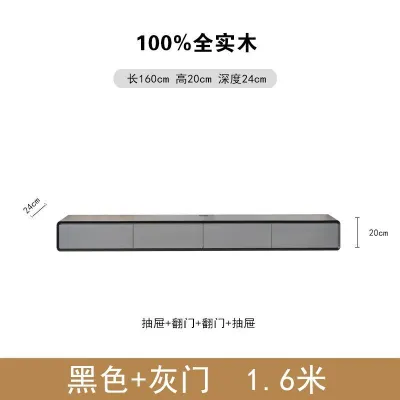
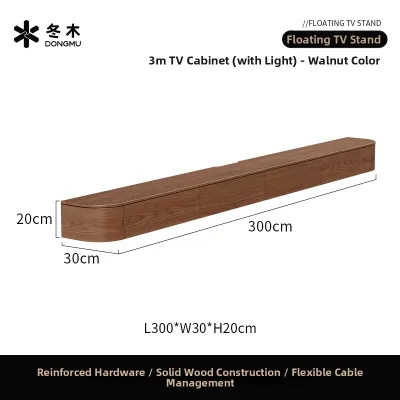
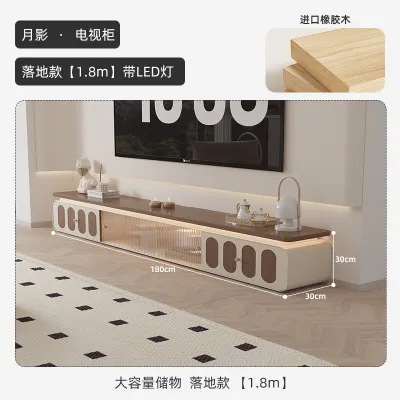
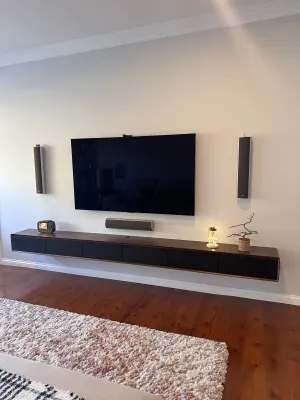
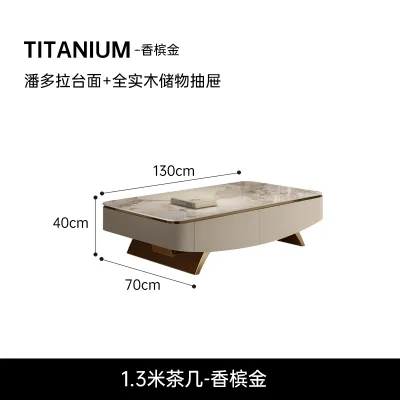
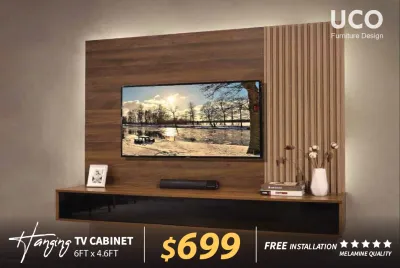
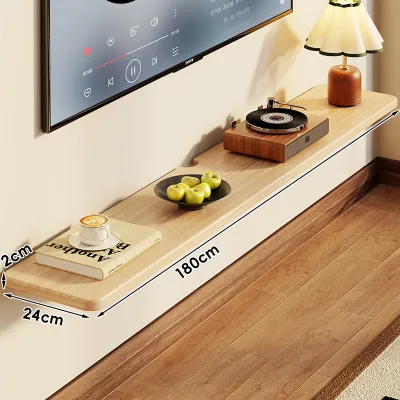
Prices are valid at publication and may change. Please refer to the product page for the latest price.
Once you have the true horizontal width of your television, you can determine the appropriate console size. For a 55-inch TV (122 cm wide), a console width of 150 to 180 centimeters offers excellent visual balance. For a larger 65-inch TV (145 cm wide), look for a console that measures between 180 and 210 centimeters. If you plan to place a soundbar, smart home hubs, or decorative items on top of the unit, choosing a wider model prevents the surface from looking cluttered and preserves the clean, minimalist lines characteristic of floating furniture.
Measure Wall Space, Depth, and Clearance
Before finalizing your purchase, you must evaluate the physical dimensions of the wall where the console will hang. In many Singapore homes, living room layouts are constrained by structural columns, household shelter doors, built-in cabinetry, or adjacent balcony access. Measure the total continuous wall space available, ensuring the console will sit centered with your primary seating area. Leave at least 15 to 30 centimeters of clearance between the ends of the console and any intersecting walls, doorways, or walkways to prevent the room from feeling cramped.

Console depth is another critical dimension that directly impacts both functionality and room flow. Standard floating units typically feature depths ranging from 30 to 45 centimeters. If your living room features a narrow layout or serves as a high-traffic walkway, a shallower unit (around 30 to 35 centimeters) is preferable to keep the path clear and prevent accidental bumps. However, you must cross-reference this depth with the physical dimensions of your media hardware to ensure everything fits inside.
Do not forget to account for the depth of the television itself and its mounting bracket. If your TV is wall-mounted above the console, a heavy-duty articulating mount can cause the screen to protrude 10 centimeters or more from the wall. To maintain a cohesive look, ensure that the depth of your floating console is slightly greater than the distance your TV protrudes from the wall, which keeps the visual weight balanced and prevents the TV from looking like it is hovering precariously over a too-shallow shelf.
Verify Weight Capacity and Wall Structural Limits
Safety is the most critical factor when installing wall-mounted furniture. You must calculate the total load the console will bear, which includes the weight of the cabinet itself, media players, gaming consoles, soundbars, remote controllers, and any decorative objects. Compare this total weight against the manufacturer’s stated maximum weight capacity. Never exceed this limit, as overloading the unit can lead to structural failure, causing the console to pull away from the wall and damage your home or electronics.
In Singapore, residential walls generally fall into two categories, each requiring a different installation approach:
- Solid Masonry or Concrete Walls: Common in Housing & Development Board (HDB) flats, Build-To-Order (BTO) units, and condominium structural walls. These walls offer exceptional load-bearing capacity. To mount a console here, you must use a rotary hammer drill, high-quality masonry drill bits, and heavy-duty nylon or metal wall plugs (such as Fischer plugs) to secure the mounting bracket. Note that drilling into household shelter (bomb shelter) walls is subject to strict structural regulations and should generally be avoided.
- Drywall or Plasterboard Partition Walls: Often used to divide bedrooms or study areas from the main living space. Drywall cannot support the weight of a heavy floating console on its own. You must locate the internal timber or metal studs behind the plasterboard using a stud finder and anchor the console's mounting system directly into these structural studs. If the studs do not align with your desired console placement, the wall must be reinforced internally with plywood backing during your renovation, or you must use specialized heavy-duty toggle bolts designed for hollow walls.
Always check your TV wall mount’s VESA compatibility and weight rating if you plan to mount the television above the console. If you are uncertain about your wall’s material, lack the specialized tools required for concrete drilling, or find that your estimated total weight approaches the console’s maximum limit, strongly consider hiring a qualified professional installer. A professional can assess the wall’s integrity and ensure the mounting brackets are anchored safely.
Plan for Cable Management and Device Storage
A floating console loses its sleek, modern appeal if a tangle of power cords and HDMI cables hangs down beneath it. To avoid this, plan your cable routing before mounting the unit. Identify the exact locations of your wall power sockets and cable TV outlets. Ideally, your floating console should be positioned directly over these sockets so they are completely hidden inside the cabinet compartments, allowing you to plug in your devices out of sight.
If your wall sockets are located lower down near the floor, you will need a strategy to conceal the trailing wires. During a home renovation, you can install in-wall PVC conduit piping to route cables cleanly behind the plaster or concrete. For existing spaces where cutting into the wall is not an option, high-quality, paintable external cable trunking can be mounted to the wall and painted the same color as your wall to minimize its visual impact.
Inside the console, ensure there is sufficient space and ventilation for your electronics. Gaming consoles, AV receivers, and media boxes generate significant heat during operation. Measure these devices to ensure they fit comfortably with at least 5 centimeters of clearance on all sides for airflow. Look for consoles that feature pre-drilled cable grommets in the back panels, internal wire routing channels, and doors made of slatted wood, mesh, or infrared-friendly glass that allow remote signals to pass through while keeping the doors closed.
Common Sizing and Placement Mistakes to Avoid
One of the most frequent mistakes is mounting the floating console and the television too high on the wall. This forces viewers to tilt their heads upward, leading to neck and eye strain over long viewing sessions. The center of your television screen should align naturally with your eye level when you are seated comfortably on your sofa. Consequently, the top surface of your floating console should sit directly below the TV, typically placing the bottom of the console about 20 to 30 centimeters off the floor.
Another common error is ignoring the depth of power plugs and cable connectors. Even if a media player physically fits inside a 35-centimeter-deep cabinet, an HDMI cable or power adapter plugging into the back of the device can add several centimeters to its footprint. This can prevent the console doors from closing properly or force you to bend your cables at dangerous angles. Always measure your devices with their cables plugged in to ensure you select a console with adequate internal depth.
Finally, never rely on standard plastic drywall anchors or simple adhesive solutions to support a floating console. The downward leverage exerted by a cantilevered cabinet is significantly higher than that of a flat picture frame. Without proper anchoring into concrete or wall studs, the constant weight of the console and your media equipment will eventually pull the anchors out of the wall, leading to a costly and dangerous collapse.
Frequently Asked Questions (FAQ)
How high should a floating TV console be mounted from the floor?
Generally, a floating tv console should be mounted so that its bottom edge sits between 20 and 30 centimeters off the floor. However, the exact height depends on your seating. Sit on your sofa and measure the distance from the floor to your eye level. The center of your TV screen should align with this eye-level measurement. Once you establish the TV’s position, mount the floating console directly below it, leaving a gap of 10 to 15 centimeters between the bottom of the TV and the top of the console.
Can I install a floating TV console on a drywall partition?
Yes, but you cannot mount it directly to the plasterboard alone. You must anchor the console’s mounting bracket directly into the internal timber or metal wall studs using heavy-duty wood screws or specialized toggle bolts. If the wall studs do not align with your preferred placement, you will need to reinforce the partition wall with internal plywood backing (usually done during renovation) or consult a professional contractor to ensure the wall can safely bear the structural load.
Community discussion
Share your experience or ask a question. Comments are reviewed before publication.