
Selecting the right acrylic shoe boxes requires a systematic approach that balances your closet’s physical limits with the actual dimensions of your footwear. Rather than buying a generic set and hoping for the best, a successful organization system relies on precise measurements, structural planning, and an understanding of how different shoe styles fit within rigid containers. By taking the time to assess your storage space and shoe collection beforehand, you can create a visually clean, highly functional display that protects your investment.
In space-constrained homes, such as apartments with built-in wardrobes, maximizing vertical storage is essential. Acrylic boxes offer an excellent way to utilize high shelves or floor space, but their rigid structure means there is no room for error. A mismatch of even a few millimeters can prevent closet doors from closing or cause a stack to fit awkwardly on a shelf. Additionally, in humid tropical climates, enclosed acrylic storage helps shield delicate leather and suede from dust and moisture, provided the boxes have adequate ventilation.
Measure Your Available Closet and Shelf Space
Before browsing online marketplaces for storage solutions, you must establish the exact physical boundaries of your closet. Use a metal tape measure to record the width, depth, and height of the specific shelves, cubbies, or floor areas where you plan to stack the boxes. Avoid relying on standard builder blueprints, as actual finished dimensions inside built-in wardrobes often vary slightly due to plastering, trim, or internal partitions.
Products mentioned in this guide
![[2021 NEW] Premium Ultimate Big Capacity Full Acrylic Stackable Magnetic Side Open Display Sneakers Shoes Boxes Sneaker Storage Shoe Rack](https://img.lazcdn.com/g/p/42ac334d1dc8510716de63969699994d.jpg_400x400q80.jpg_.webp)
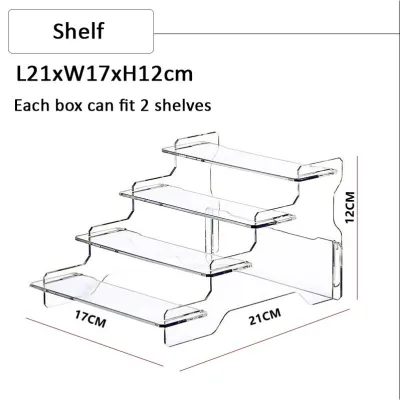
![[SG STOCK] Ultra Clear High Capacity Shoe Box Stackable Magnetic Acrylic Display Storage](https://img.lazcdn.com/g/p/edf83a690b259345d9b59c0c97e18f3e.jpg_400x400q80.jpg_.webp)
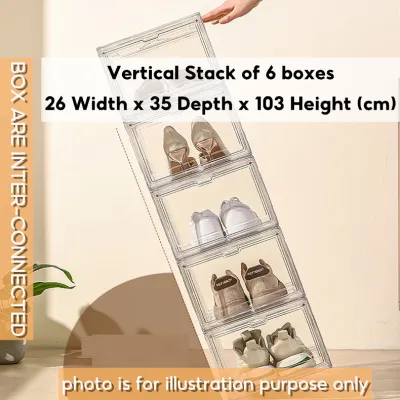
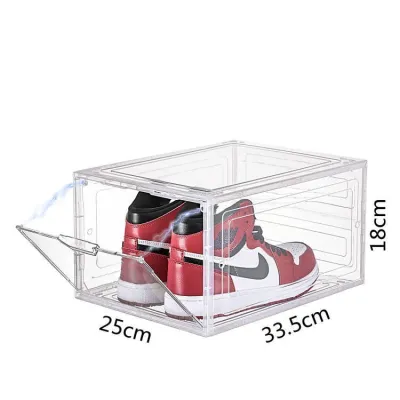
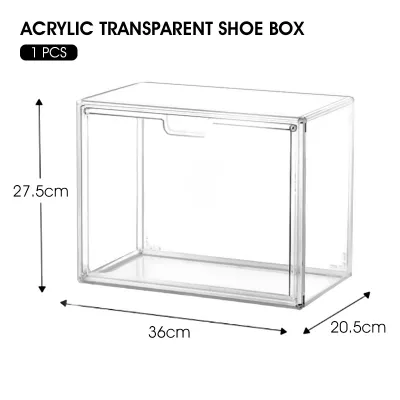
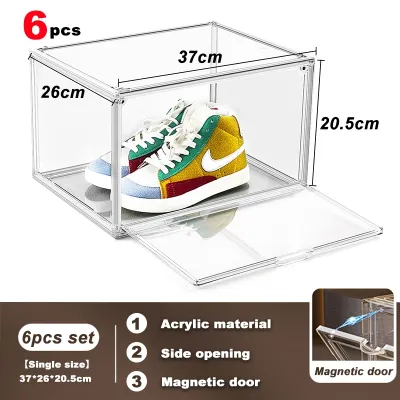
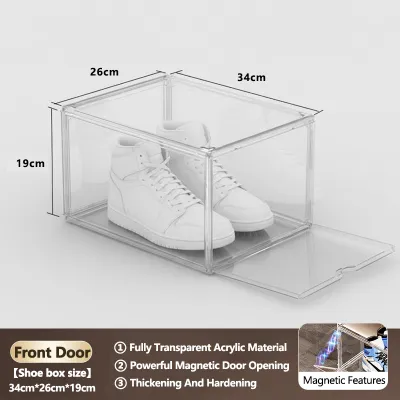
Prices are valid at publication and may change. Please refer to the product page for the latest price.
When measuring, pay close attention to hidden physical obstructions that can interfere with the placement of rigid acrylic boxes. Sliding wardrobe door tracks, hinges, protruding drawer handles, and baseboards can significantly reduce your usable depth or width. For example, if your closet has sliding doors, the overlap area of the doors may restrict access to the center of the shelf, meaning boxes placed there cannot be easily pulled out or opened.
Additionally, you must verify the weight capacity of your shelving system. While a single empty acrylic box is relatively light, a vertical stack of five or six boxes filled with heavy leather boots or thick-soled sneakers can exert substantial downward force. Standard wire shelving or thin particleboard shelves can sag or bow under cumulative weight over time. If you are planning a tall stack, consider placing it on the closet floor or reinforcing your shelves with additional brackets to ensure long-term stability.
Match Your Footwear to Acrylic Box Dimensions
To ensure your shoes actually fit inside the containers, you must compare the physical measurements of your largest footwear against the internal dimensions of the boxes. Manufacturers often highlight external dimensions in their product listings, but the internal usable space is always smaller. This discrepancy is caused by the thickness of the acrylic panels, structural corner reinforcements, and the hinges or magnetic latches of the opening mechanisms.

Gather your bulkiest shoes—such as high-top sneakers, platform heels, wide-soled running shoes, or ankle boots—and measure their maximum length, width, and height. High-top sneakers and heels often need to be stored on their sides or require specialized high-clearance boxes. If you plan to store shoes upright, ensure the internal height of the box accommodates the highest point of the shoe collar or heel without forcing the material to bend.
You will also need to decide between a uniform layout and a mixed-size configuration. Using identical boxes throughout your closet creates a highly streamlined, visually satisfying aesthetic, but it can result in wasted space if you use large boxes for low-profile flats or sandals. Conversely, mixing box sizes allows you to optimize space for different shoe categories, but it requires careful planning. If you mix sizes, ensure the boxes share compatible interlocking designs or stack them in separate, dedicated columns to maintain structural stability.
Calculate the Right Quantity for Your Space and Collection
Determining how many boxes to purchase involves matching your current shoe inventory with the physical capacity of your closet. Start by sorting your collection and identifying the exact pairs you want to transition into acrylic storage. If you prefer to keep original cardboard shoeboxes or use bulky plastic shoe trees inside the acrylic containers, you must factor this extra volume into your measurements, though storing shoes directly inside the acrylic box is generally the most space-efficient method.
To find the maximum physical capacity of your shelf, divide the total usable shelf width by the external width of a single box. Do the same for the height, dividing the available vertical clearance by the external height of the box. For example, if your shelf width is 90 centimeters and the external box width is 28 centimeters, you can fit a maximum of three boxes side-by-side, leaving a small 6-centimeter gap. Always round down to the nearest whole number to ensure the boxes actually fit within the space.
It is crucial to leave a practical margin for daily use rather than packing every square centimeter of your closet. Leaving a few centimeters of clearance at the top of a stack or on the sides allows you to slide boxes out easily for cleaning or reorganization. Overfilling the closet space makes it difficult to access your footwear, defeating the purpose of an organized, accessible storage system.
Plan for Box Design, Clearance, and Stacking
The functionality of your acrylic shoe boxes depends heavily on how they interact with the surrounding closet environment. One of the most critical factors is the clearance required to open the box doors. Drop-front doors swing downward, while side-opening doors swing outward. You must ensure there is enough clearance in front of or beside the stack for these doors to open fully without hitting adjacent shelves, closet door frames, or nearby furniture.
Stacking stability is another vital consideration, especially in homes with active households or pets. Look for boxes that feature built-in interlocking mechanisms, such as matching grooves, pegs, or recessed channels on the top and bottom panels. These features prevent individual units from sliding or shifting when you open a door to retrieve a pair of shoes. Avoid stacking non-interlocking boxes too high, as the smooth surface of acrylic can easily slide under lateral pressure.
Always review the manufacturer’s care, assembly, and structural guidelines before finalizing your setup. Some acrylic boxes are designed with reinforced frames specifically for high stacking, while lighter, folding acrylic models may have strict limits on how many units can be safely stacked. Adhering to these structural boundaries prevents the lower boxes in a stack from cracking or warping under the weight of the units above them.
Common Sizing and Layout Mistakes to Avoid
A frequent mistake when planning a closet organization system is relying solely on external product dimensions. This often leads to purchasing boxes that are too small internally for larger shoe sizes, forcing you to store shoes at awkward angles or return the product entirely. Always double-check the internal clearance specifications provided by the manufacturer.
Another common oversight is ignoring the swing radius of your main closet doors or the path of pull-out drawers. If your acrylic boxes are stacked right up to the edge of a wardrobe opening, they may block drawers from sliding out, or the wardrobe door itself might strike the boxes when closed.
Finally, do not underestimate the cumulative weight of your storage setup. Standard particleboard or wire shelves are not always rated for heavy, multi-tiered stacks of acrylic and footwear. Always distribute the weight evenly across the shelf, or place the heaviest shoe categories on the bottom row to prevent structural sagging.
Frequently Asked Questions (FAQ)
Can I stack acrylic shoe boxes directly on the closet floor?
Yes, you can stack acrylic shoe boxes directly on the closet floor, provided the surface is completely level and stable. Floors offer a solid, high-weight-capacity foundation, making them ideal for taller stacks. However, you must ensure the boxes feature secure interlocking designs to prevent tipping. Always check the manufacturer’s maximum recommended stacking height to avoid putting excessive pressure on the bottom units, which can lead to stress fractures in the acrylic over time.
Do I need to assemble acrylic shoe boxes before measuring my closet?
You should measure your closet space thoroughly before purchasing or assembling any boxes. However, once your boxes arrive, it is highly recommended to assemble just one unit first. This allows you to verify the actual external dimensions, test the door clearance, and check the fit on your shelves before assembling the entire batch. This step ensures that any minor manufacturing variances or measurement miscalculations are caught before you invest time in full assembly.
Community discussion
Share your experience or ask a question. Comments are reviewed before publication.