
To choose the right multi-layer rack for a compact home, you must balance your available floor footprint and vertical clearance against the specific dimensions of the items you intend to store. Maximizing vertical space with a multi-layer rack is an excellent way to clear floor clutter, but success depends on precise measurements, verifying weight capacities, and ensuring the unit does not obstruct daily movement or safety pathways. By assessing your room’s physical limits and choosing adjustable or modular configurations, you can find a storage solution that fits seamlessly into tight corners, service yards, or bomb shelters.
Measure Your Available Space Before Choosing Dimensions
Start with the floor footprint. In compact Singapore homes, every millimeter counts. When measuring the designated spot for your multi layer rack, do not just measure wall-to-wall. You must account for skirting boards or baseboards, which can push the rack away from the wall by a centimeter or more, potentially blocking a doorway or overlapping with adjacent furniture.
Next, check the door swing arcs and drawer clearances. Ensure that nearby cabinet doors, room entryways, or wardrobe drawers can open fully without striking the rack. If you are placing the rack in a tight service yard or bomb shelter, verify that the door can swing to its maximum angle to allow easy entry and exit.
Products mentioned in this guide
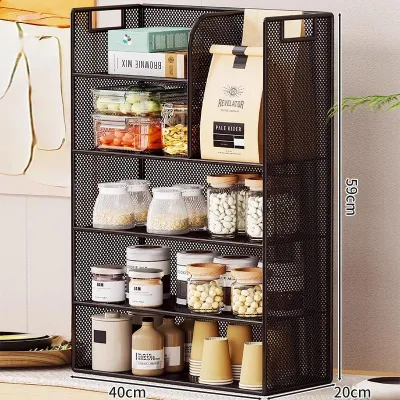
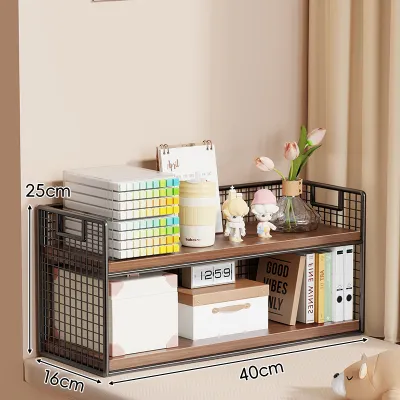
![UnihomSG [ReadyStock] Weather & Dust Proof Multi Layer Tier Shoe Rack With Cover](https://img.lazcdn.com/g/p/b6b950f68182b1d788431be8ee909211.jpg_400x400q80.jpg_.webp)
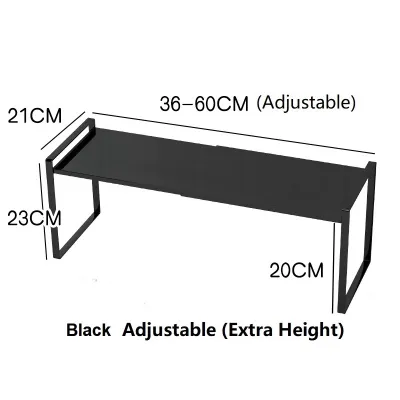
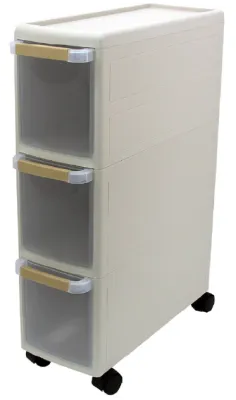
![UnihomSG [ReadyStock] 2/3 Tier Stainless Steel Bathroom Racks Layered Toilet Shelf Living Room Cabinet Dish Rack](https://img.lazcdn.com/g/p/f2373e9aaffe235ddaf1c1844b7d9bed.png_400x400q80.png_.webp)
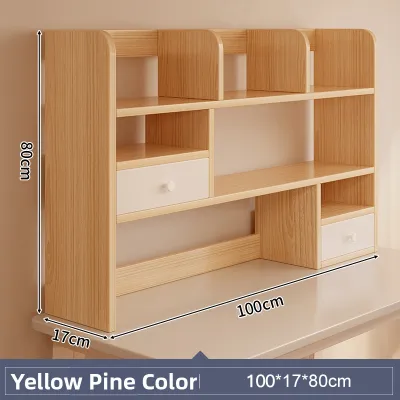
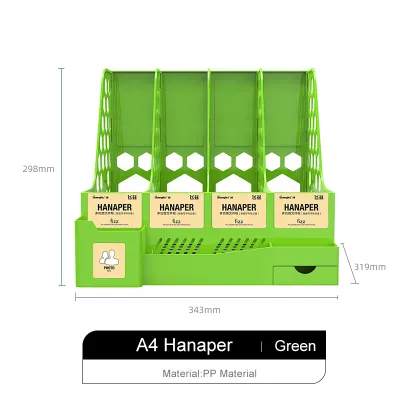
Prices are valid at publication and may change. Please refer to the product page for the latest price.
Vertical clearance is equally critical. Measure the height from the floor to the ceiling, but pay close attention to overhead obstructions. Look out for wall-mounted air conditioning units, ceiling fans, light fixtures, and structural beams. Leaving a safe gap of at least 30 to 50 centimeters below any ceiling fan or air vent is essential to maintain proper airflow and prevent accidental contact.
Do not forget lift and doorway access during delivery. Before ordering a fully assembled or large flat-pack rack, measure your HDB lift door and main entryway. A rack that is too tall or wide to fit through the lift or front door will cause significant delivery headaches.
Finally, plan for comfortable walking pathways. In a small living room or kitchen, maintain a clear walkway of at least 60 to 90 centimeters in front of the rack. This ensures you can walk past, bend down, or reach for items on the lower shelves without feeling cramped or bumping into the structure.
Determine the Ideal Tier Count for Your Storage Needs
To decide on the number of tiers, start by cataloging the items you plan to store. Group them by height, width, and weight. For example, small kitchen appliances, storage boxes, and folded linens require different vertical clearances. Knowing these dimensions helps you estimate how many shelves can realistically fit within the rack’s total height.

Balance the tier count with daily accessibility. While a tall six-tier rack maximizes vertical storage, the top shelves may be difficult to reach safely without a step stool. Reserve the highest tiers for lightweight, infrequently used items, and keep daily essentials at waist-to-shoulder height.
If your storage needs are likely to change, look for modular or expandable designs. Racks with adjustable shelf heights allow you to customize the gap between tiers as your collection grows or changes. This flexibility prevents wasted vertical space, which often happens with fixed-tier units where short items leave large, unusable gaps above them.
Consider the visual impact of the tier count in a small room. A solid, dark five-tier rack can make a small condo hallway feel narrow and dark. Opting for open-backed designs or a lower three-to-four-tier unit can help maintain an airy, spacious feel while still providing substantial storage.
Evaluate Weight Capacity and Structural Stability
Safety must be your top priority when loading a multi-layer rack. Always check the manufacturer’s specified weight capacity per tier as well as the total weight limit for the entire unit. Exceeding these limits can lead to structural failure, causing shelves to sag, bend, or collapse entirely.
Distribute the weight strategically to maintain stability. Place your heaviest items, such as bulk groceries, heavy kitchen appliances, or toolboxes, on the bottom shelf. This lowers the unit’s center of gravity, making it much less likely to tip over if bumped.
Examine the rack’s base design and stability features. Look for adjustable leveling feet, which are crucial for balancing the rack on slightly uneven tiled floors or balcony surfaces. If you live in a household with active pets or young children, securing the rack is non-negotiable.
Verify the anchoring requirements before purchasing. Tall racks, typically those over 1.2 meters, often require wall anchoring to prevent tipping. Check if the product includes wall-mounting brackets and ensure your wall type (such as concrete in HDB flats) is suitable for drilling and installing the appropriate wall plugs.
Assess the material thickness and joint connections. Inspect the shelf support brackets and frame joints to ensure they are robust. Thin metal or flimsy plastic joints are prone to bowing under sustained heavy loads, so look for reinforced connections and sturdy frame profiles.
Avoid Common Sizing and Placement Mistakes in Compact Homes
One of the most common mistakes in small-space organization is ignoring the surrounding architectural details. Placing a rack too close to a window might block natural light or prevent the window from opening fully. Similarly, ensure the rack does not cover electrical switches, power outlets, or fiber optic termination points that you need to access regularly.
Another frequent error is purchasing a fixed-tier rack without measuring your tallest items. If you have a tall kitchen blender or large storage bins, a fixed-tier rack may force you to store these items elsewhere, defeating the purpose of the organizer. Always verify if the shelf heights can be adjusted to accommodate irregular items.
Do not overlook ventilation and moisture build-up. Placing a tightly packed rack directly against a damp wall in a service yard can restrict airflow, leading to mold growth on both the wall and your stored items. Leave a small gap of two to three centimeters between the rack and the wall to promote healthy air circulation.
Lastly, avoid over-furnishing your space. It is tempting to buy the largest rack that physically fits the floor area, but this can make a small room feel claustrophobic. Choosing a slightly smaller rack or a modular unit that can be reconfigured ensures your home remains functional and visually comfortable.
Frequently Asked Questions (FAQ)
Can I use a multi-layer rack in a humid area like a bathroom or kitchen?
Yes, but you must select materials designed to withstand high humidity. Check the manufacturer’s specifications for rust-resistant coatings, such as powder-coated steel, stainless steel, or moisture-resistant plastics. Ensure the area remains well-ventilated, and wipe down the rack regularly to prevent water pooling and rust formation.
How do I secure a tall multi-layer rack to prevent tipping?
To secure a tall rack, always use the wall-anchoring hardware provided by the manufacturer. Follow the installation manual carefully to mount the brackets securely into your wall. Additionally, always place the heaviest items on the lowest shelves to keep the center of gravity low, and avoid climbing or hanging heavy items on the outer edges of the upper tiers.
Community discussion
Share your experience or ask a question. Comments are reviewed before publication.