
The ideal kitchen island size and layout depend on balancing your kitchen’s physical footprint with the necessary clearance zones for safe movement. In Singapore, where kitchen layouts range from compact HDB flats to expansive landed homes, choosing an island requires measuring your available floor space, accounting for appliance door swings, and selecting a configuration—whether a fixed central block, a space-saving peninsula, or a mobile cart—that preserves a functional work triangle.
Assessing Your Kitchen Space and Clearance Requirements
Before sketching any island design, map out the physical boundaries of your kitchen. Use a high-quality measuring tape to record the total floor area, noting the exact locations of structural pillars, load-bearing walls, and existing utility lines. In many local layouts, structural columns cannot be demolished or altered, meaning your island must be planned around these fixed architectural elements. Remember to measure vertical heights as well, ensuring that any overhead lighting or hanging pot racks will have sufficient clearance from the countertop surface.
A functional kitchen relies on comfortable traffic flow. Aim for a clearance walkway of at least 900 mm to 1200 mm between the edges of the island and surrounding countertops or walls. This spacing allows two people to pass each other without squeezing and ensures the kitchen remains highly accessible during meal preparation. If your kitchen is a high-traffic zone where multiple family members cook simultaneously, leaning toward the upper limit of 1200 mm will prevent bottlenecks.
Products mentioned in this guide
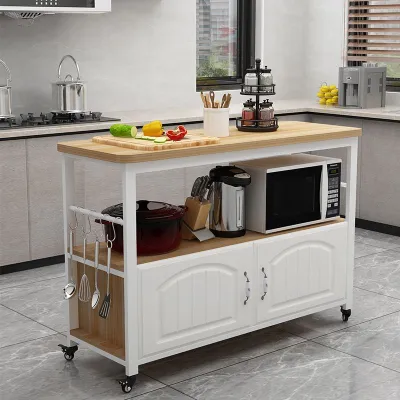
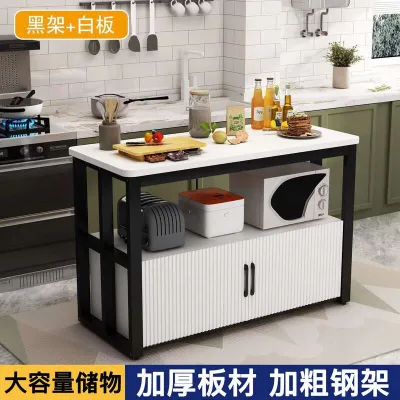
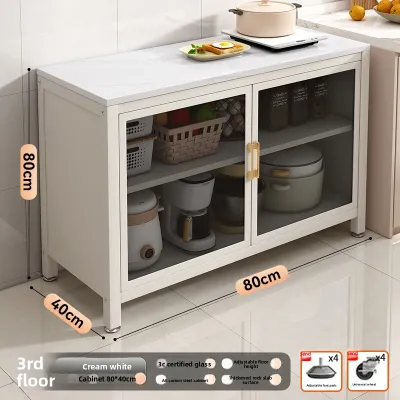
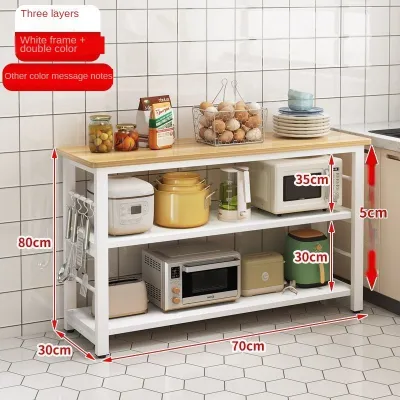
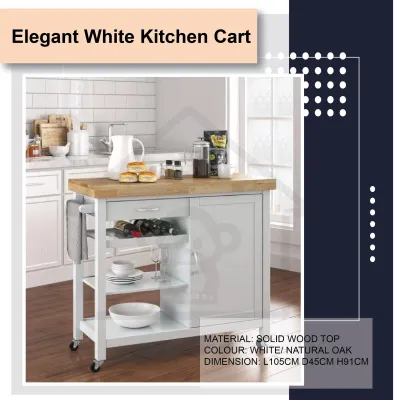
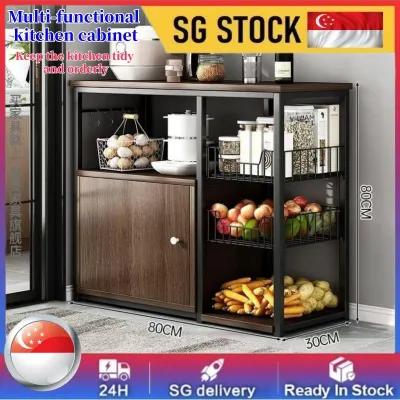
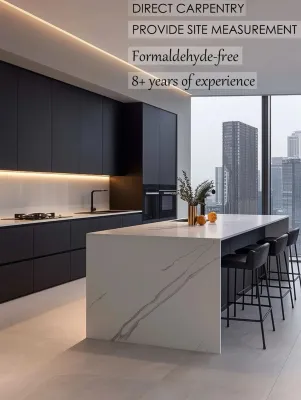
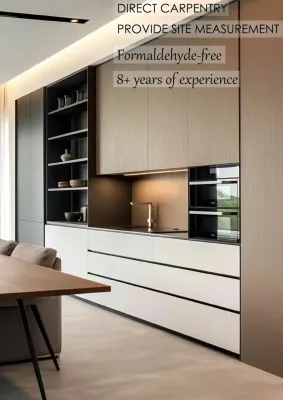
Prices are valid at publication and may change. Please refer to the product page for the latest price.
Do not forget to account for the physical space required to fully open appliance doors and pull out deep drawers. Measure the extension distance of your oven, dishwasher, and refrigerator doors to ensure they do not collide with the island. Your layout should preserve the classic kitchen work triangle—the path between the sink, stove, and refrigerator—without forcing you to walk around a massive central obstacle. If an open dishwasher door blocks the entire walkway, it can create a safety hazard and disrupt your cleaning workflow.
Island Layout Strategies by Housing Type
Every residential property type in Singapore presents unique spatial opportunities and limitations. Matching your kitchen island layout to your specific housing type ensures that you maximize storage and countertop space without compromising the room’s overall flow and comfort. A layout that works beautifully in a spacious landed home might make a compact apartment kitchen feel cramped and unusable.

Before finalizing any layout or purchasing materials, always verify the specific renovation guidelines governing your property. Structural modifications, plumbing relocations, and electrical routing are subject to strict regulatory approvals that vary significantly between public housing and private developments. Consulting with a qualified interior designer or contractor early in the planning phase can help you avoid costly compliance issues later.
HDB Flats: Peninsula and Mobile Solutions
For standard HDB kitchens where floor space is at a premium, a peninsula layout is often the most practical alternative to a freestanding island. A peninsula anchors to an existing wall or countertop run, providing extra prep space and a casual dining counter while keeping the central walkway completely unobstructed. This configuration effectively creates a U-shaped or L-shaped kitchen flow, which maximizes efficiency in tight quarters.
If you prefer a flexible setup, a mobile kitchen cart or a drop-leaf island offers excellent versatility. These units can be rolled against a wall when you need open floor space or wheeled to the center of the kitchen to serve as a temporary prep station during heavy cooking sessions. Drop-leaf mechanisms allow you to extend the countertop surface when hosting guests and fold it down to reclaim valuable floor space when the meal is over.
Always consult the Housing & Development Board (HDB) renovation guidelines before planning any structural changes. Demolishing non-load-bearing walls to create an open-concept kitchen or hacking existing floor tiles to run utilities requires official permits and must be executed by HDB-registered contractors. Be aware that certain walls in HDB flats are structural shear walls that cannot be touched under any circumstances.
Condominiums: Compact Fixed Islands and Multi-Functional Designs
Condominium kitchens often feature open-plan layouts that transition directly into the living area. A compact, fixed island can act as a subtle room divider, integrating deep drawers or open shelving on the kitchen side to maximize storage without overwhelming the apartment’s visual flow. This setup helps keep the cooking zone organized while presenting a clean, streamlined facade to the living room.
To get the most value out of a condo kitchen island, design the surface to serve multiple purposes. A single, continuous countertop can function as a food preparation zone during meal times, a casual breakfast bar, and a comfortable remote workspace during the day. Integrating flush-mounted power points or pop-up electrical sockets into the island body allows you to plug in laptops or small kitchen appliances safely without dangling cords.
Private condominium developments are governed by their own Management Corporation Strata Title (MCST) by-laws. You must obtain written approval from your condo management office before attempting to relocate plumbing lines, route electrical conduits through the floor, or install exceptionally heavy stone countertops that might exceed floor load limits. Every development has specific rules regarding working hours, delivery logistics, and structural modifications that must be strictly followed.
Landed Properties: Expansive Custom Islands and Zoning
Landed homes typically offer the generous floor plans needed for expansive, highly customized kitchen islands. With ample space, you can design a large single island or even a double-island configuration to establish distinct zones for food preparation, cooking, and social gathering. This layout allows the kitchen to function as the primary entertainment hub of the home, where guests can interact with the cook without getting in the way of active prep zones.
An expansive island in a landed property can house major kitchen appliances, such as a built-in dishwasher, a secondary prep sink, or a dedicated wine chiller. This setup transforms the island into a self-contained workstation, keeping the main perimeter counters clear for other tasks. When planning these integrations, ensure that the internal cabinetry layout provides easy access to appliance filters, shut-off valves, and electrical connections for routine maintenance.
Large-scale installations require careful technical planning. Ensure that your floor structure can support heavy engineered stone or natural stone surfaces, and coordinate with your contractor to route high-capacity electrical wiring, plumbing lines, and under-floor ventilation ducts safely before the flooring is laid. If you plan to install a heavy stone waterfall edge, verify that the subfloor is perfectly level to prevent uneven weight distribution and potential cracking over time.
Determining the Ideal Dimensions for Your Needs
If you plan to use your kitchen island for dining, ensure the countertop overhang provides comfortable legroom. For standard counter-height seating, an overhang depth of at least 300 mm to 380 mm is recommended to allow users to sit comfortably without hitting their knees against the island’s base cabinet. Additionally, allow at least 600 mm of width per person along the seating side so that diners have enough elbow room to eat comfortably without feeling crowded.
The overall width of your island should match its intended functions. A basic prep island requires a minimum width of 600 mm, but if you plan to integrate a sink, a cooktop, or allow for dual-sided workflows where two people work opposite each other, increase the width to at least 900 mm to 1200 mm. This extra width prevents water splashes or hot oil splatters from reaching the seating area or the opposite side of the island.
Standard kitchen countertops stand at approximately 850 mm to 900 mm high, which is ideal for comfortable food preparation. If you prefer high bar stools, you can design a split-level island with a 900 mm high prep zone and an elevated 1050 mm high bar counter to accommodate different activities and seating preferences. This split-level design also has the added benefit of visually screening dirty dishes in the sink from the view of guests seated at the bar.
Pre-Purchase and Installation Checklist
Before ordering a custom-built or pre-assembled kitchen island, measure every point along the delivery route. Verify the height and depth of your building’s service elevator, the clearance of tight staircase turns, and the width of your main entrance door to ensure the island components can be safely transported into your home. Many homeowners overlook these logistical constraints, only to find that a fully assembled island or a massive single-piece countertop cannot fit through the lift doors.
Heavy island structures, especially those featuring thick stone countertops, exert significant weight on your flooring. Confirm with your builder or structural engineer that your floor can handle the load, and complete all electrical and plumbing rough-ins before the final flooring material is installed. Planning these utility connections early prevents the need to hack newly laid tiles or run unsightly external conduits across your kitchen floor.
Always review the manufacturer’s specifications or your carpenter’s technical drawings for assembly conditions, maximum weight limits, and long-term care requirements. Understanding these parameters beforehand helps prevent structural damage and ensures your island remains stable and safe for daily use. Pay close attention to the anchoring methods specified for freestanding islands to ensure they do not tip over when heavy drawers are fully extended.
Frequently Asked Questions (FAQ)
Can I add a sink or cooktop to an existing kitchen island?
Adding a sink or cooktop to an existing island is possible but requires careful evaluation of your kitchen’s infrastructure. For a sink, you must verify that your floor can accommodate the necessary plumbing drainage slopes and waterproofing standards to prevent leaks. For a cooktop, consult a licensed electrician to ensure your home’s electrical DB box has sufficient load capacity for high-wattage appliances, and plan for safe wire routing through the floor. You will also need to consider how to manage steam and odors, which may require installing an island hood or a downdraft extractor.
What is the best countertop material for a kitchen island?
The ideal countertop material depends on your specific cooking habits and maintenance preferences. Rather than relying on general material names, evaluate the manufacturer’s specification sheets for stain resistance, heat tolerance, and scratch resistance. Check the care instructions carefully, as some materials require regular sealing or specialized cleaning products, while others offer low-maintenance durability for busy households. Always request physical samples to test how the material handles common kitchen spills before making your final selection.
Community discussion
Share your experience or ask a question. Comments are reviewed before publication.