
Selecting the right IKEA shoe rack cabinet size comes down to matching your home’s physical entry constraints with your household’s actual footwear volume. In compact living spaces, particularly high-rise apartments where entryways are narrow, finding a practical balance between storage capacity and floor space is essential. A cabinet that is too large can block walkways, obstruct doors, and make your home feel cramped from the moment you step inside. Conversely, a unit that is too small leads to shoe overflow, leaving your entryway cluttered. By systematically measuring your space, auditing your footwear collection, and understanding how to read product dimensions, you can select a cabinet that fits seamlessly into your lifestyle.
Assess Your Available Floor and Wall Space
Before browsing any catalog, you must establish the exact physical limits of your designated entryway or hallway zone. Use a reliable measuring tape to record the width, height, and depth of the wall space where you plan to position the cabinet. Do not rely on visual estimates, as even a discrepancy of one or two centimeters can prevent a cabinet from fitting into a tight alcove. Be sure to account for permanent fixtures such as baseboards, door frames, light switches, electrical outlets, and intercom systems. A baseboard that projects from the wall will prevent a flat-backed cabinet from sitting flush, which can alter the effective depth and stability of the unit.
Operational clearance is just as critical as the static footprint of the furniture. You must calculate the space required for cabinet doors to swing open or for drawers and tilting compartments to pull out fully. If the cabinet is placed in a narrow corridor, an open drawer should not completely block the walkway or collide with opposing walls. Measure the swing path of your main entrance door as well; the shoe cabinet must sit far enough away to allow the front door to open fully without striking the unit.
Products mentioned in this guide
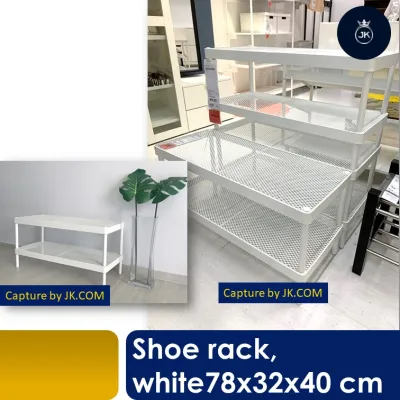

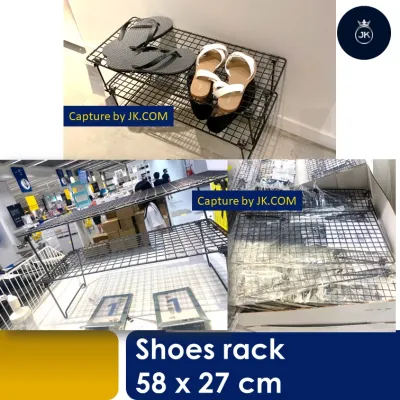
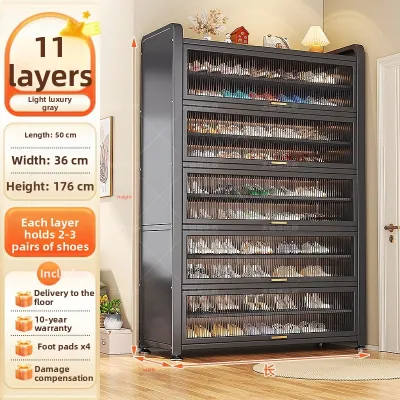
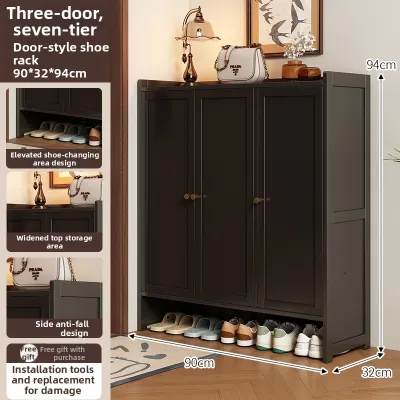
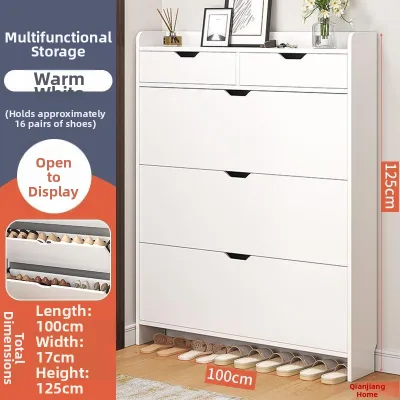
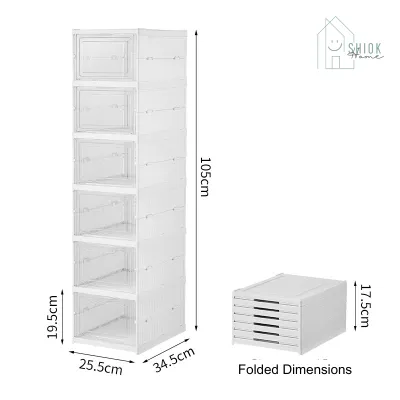
Prices are valid at publication and may change. Please refer to the product page for the latest price.
Finally, look upward to evaluate vertical clearance and potential obstructions. If you are considering a tall wardrobe-style shoe cabinet, check the height of your ceiling, especially if you have dropped ceilings, decorative plaster moldings, or overhead beams. Take note of any wall-mounted items such as air conditioning units, distribution boards, or light fixtures that might restrict how high your cabinet can go. Ensuring clear access to these utilities is vital for long-term home maintenance.
Determine Your Shoe Storage Capacity Needs
Once you know how much physical space you have, you must determine how much storage volume your household actually requires. Begin by conducting a thorough audit of your footwear collection. Separate your shoes into daily-wear items that need immediate, easy access near the door, and seasonal or infrequently worn pairs that can be stored elsewhere, such as in a bedroom wardrobe. This distinction helps you avoid buying an oversized cabinet for the entryway when a smaller, more streamlined unit would suffice for your everyday needs.

The types of shoes you own will heavily influence the internal configuration and shelf spacing of your cabinet. Low-profile shoes like flats, sandals, and loafers require very little vertical clearance, allowing you to stack shelves closely together to maximize capacity. On the other hand, bulky sneakers, high heels, and tall boots demand significantly more vertical space. If your collection consists primarily of high-top sneakers or boots, you will need a cabinet with adjustable shelving so you can customize the height of each compartment.
It is also important to understand how manufacturers calculate shoe capacity. Standard capacity claims on product labels are typically based on average-sized, flat shoes, often around European sizes 38 to 40. If members of your household wear larger shoe sizes, such as European size 44 and above, or if you own wide-soled athletic shoes, you will not be able to fit the advertised number of pairs. Larger shoes often have to be placed at an angle or turned sideways, which can reduce the overall capacity of a shelf by a third or more.
Match Space and Capacity with IKEA Cabinet Dimensions
With your spatial measurements and storage requirements in hand, you can begin cross-referencing these figures with official product specifications. When browsing online or in-store, locate the “Product size” or “Assembled dimensions” section. Pay close attention to the three primary dimensions: width, height, and depth. Compare these figures directly against the maximum limits you measured in your entryway, keeping a buffer of a few centimeters to ensure a comfortable fit.
Different cabinet designs serve different spatial layouts. For tight corners or narrow hallways, tall and narrow cabinets utilize vertical wall space efficiently without consuming precious floor area. These units often feature tilting compartments that store shoes vertically, keeping the overall depth of the cabinet exceptionally shallow—sometimes under 20 centimeters. Conversely, if you have a long, open wall or want to place storage beneath a window, a wide, low-profile bench-style cabinet is more appropriate. These low units can also double as a convenient seating area where you can sit down to put on your shoes.
Always verify the total depth of the cabinet when it is fully loaded and operational. While a tilting shoe cabinet might have a closed depth of only 18 centimeters, the compartment extends outward when opened. Ensure that this extended depth does not protrude into high-traffic corridors, creating a tripping hazard. For traditional hinged-door cabinets, remember that the doors will require a clearance radius equal to the width of the door panel itself.
Check Installation, Clearance, and Safety Requirements
Selecting a cabinet that fits your room is only half the battle; you must also ensure it can be safely transported, assembled, and secured. Before finalizing your purchase, check the packaging dimensions listed under the product details. Measure your building’s lift, stairwells, and interior doorways to confirm that the flat-pack boxes can be easily carried into your home. This is particularly important for long, single-box items that may not fit into standard passenger elevators.
Safety is a paramount consideration when installing any tall or shallow storage unit. Because shoe cabinets are often narrow and front-heavy when filled with footwear, they present a significant tip-over risk. IKEA instructions strictly mandate that these units be securely anchored to the wall. Review the assembly manual to determine what type of wall-anchoring hardware is required. You will need to verify your wall material—whether it is concrete, brick, or drywall—to ensure you use the correct wall plugs and screws, which are typically sold separately.
Additionally, consider the bottom clearance of the cabinet. Some models sit flush against the floor, while others are elevated on legs or designed to be completely wall-mounted with open space underneath. A cabinet with bottom clearance allows you to slide everyday slippers underneath, keeping them off the main walkway. It also makes floor cleaning much easier, allowing broom bristles or robot vacuums to pass underneath without obstruction.
Common Sizing Mistakes to Avoid
One of the most frequent mistakes shoppers make is forgetting to add the depth of open doors or extended drawers to the base cabinet measurements. Always calculate the maximum footprint of the cabinet in its fully open state to prevent unexpected blockages in your hallway.
Another common oversight is ignoring the thickness of baseboards. If your baseboard is thick and you purchase a cabinet designed to sit flush against the wall, you will be left with an unstable gap at the top. This gap makes wall anchoring difficult and can cause small items to slip down behind the unit. Look for cabinets that feature a cut-out back design specifically made to accommodate baseboards.
Lastly, do not assume that standard fixed shelves will accommodate all your footwear. Buying a cabinet with non-adjustable shelves often leads to wasted vertical space above low-profile shoes, while leaving no room at all for taller boots or high heels. Always check if the model you are interested in offers adjustable or removable shelves to give you the flexibility your collection requires.
Frequently Asked Questions (FAQ)
Can I stack or combine multiple IKEA shoe cabinets?
Stacking or combining shoe cabinets is only safe if the specific product line is explicitly designed and tested for modular configuration. Never stack units that are intended solely as freestanding single cabinets, as this can compromise their structural integrity and increase the risk of tipping. If you plan to place multiple units side-by-side or stack compatible modular pieces, always consult the assembly manual for the required interlocking hardware and follow the mandatory wall-anchoring protocols to ensure the entire setup remains stable and secure.
How do I fit long boots in a standard IKEA shoe rack?
To fit tall boots into a standard shoe cabinet, look for models that feature adjustable or removable shelves, allowing you to create taller compartments as needed. If the internal shelves are fixed, you can store boots flat on their sides if the cabinet depth permits, or use boot shapers to keep them upright and prevent creasing. Alternatively, you can utilize external wall hooks or dedicated boot racks for your tallest footwear, reserving the main cabinet shelves for standard low-profile shoes.

Community discussion
Share your experience or ask a question. Comments are reviewed before publication.