
To choose the right hanging shoe organizer size, you must match the physical dimensions of your closet rod and vertical clearance with the specific volume and height of your footwear collection. A misjudged purchase can lead to jammed sliding doors, sagging closet rods, or shoes that stick out and fall. By taking precise measurements of your wardrobe interior and auditing your shoes, you can select an organizer that maximizes vertical space without cluttering your room.
Finding the perfect fit requires balancing your storage needs with the physical limits of your wardrobe. This guide will walk you through measuring your closet, calculating shelf capacity, and checking structural support to ensure your new organizer functions flawlessly.
Measure Your Closet Rod and Available Clearance
Before browsing online marketplaces, you must determine the exact physical boundaries of your wardrobe. Start by measuring the vertical distance from the top of your closet rod down to the floor or the top of any built-in shelving below. This measurement establishes the absolute maximum length your hanging organizer can be. To make cleaning easier and prevent dust from settling on your shoes, select an organizer that leaves at least 10 to 15 centimeters of clearance at the bottom.
Products mentioned in this guide
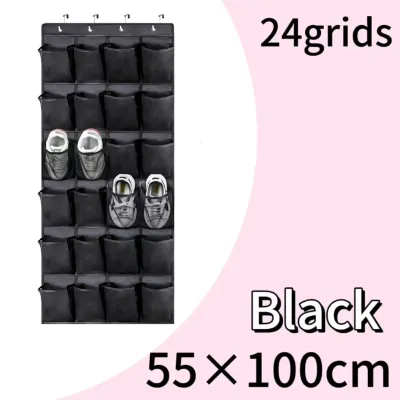
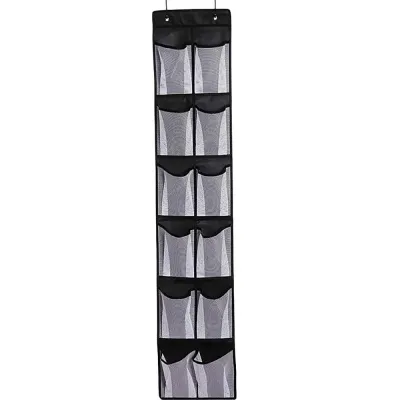
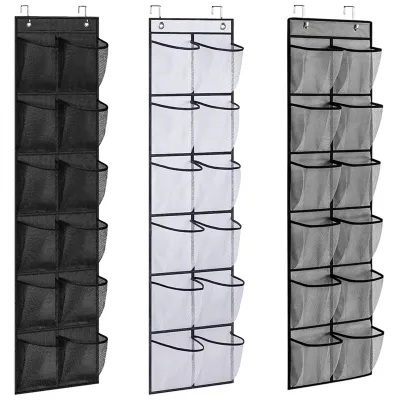
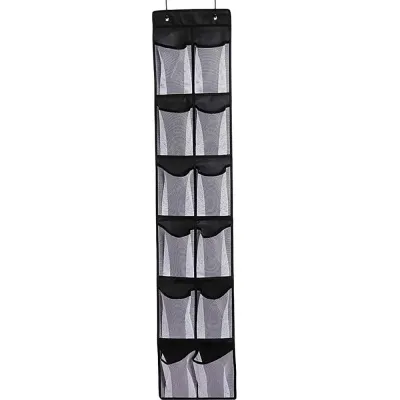
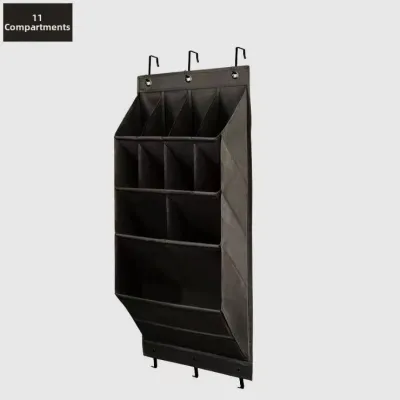
Prices are valid at publication and may change. Please refer to the product page for the latest price.
Next, check the diameter of your closet rod. Hanging organizers typically attach using either metal hooks or wide hook-and-loop fabric straps. If your closet rod is exceptionally thick, standard metal hooks might not fit over it, causing the organizer to sit at an awkward angle. Measuring the rod’s circumference or diameter beforehand ensures you choose a compatible attachment style that hangs straight and secure.
Finally, verify the depth clearance from the center of the rod to the front of the closet. In many modern apartments, sliding wardrobe doors or tight bifold doors leave very little clearance. If your organizer is too deep, your shoes will press against the doors, preventing them from closing smoothly or causing unsightly scuff marks on the door interiors.
Calculate Shelf Count Based on Your Shoe Types
Once you know your physical space limits, you need to audit your footwear collection to determine how many shelves you actually require. Begin by separating your everyday shoes from seasonal or occasional footwear. In humid climates, keeping your daily shoes in a well-ventilated hanging organizer helps prevent moisture buildup, while formal shoes might be better off stored in protective boxes on higher shelves.

Different shoe styles require different vertical clearances, meaning a standard one-size-fits-all shelf may not work for your entire collection. Low-profile footwear like flats, sandals, and canvas sneakers can easily share compact compartments or fit into standard 12-to-15-centimeter high shelves. However, high heels, bulky athletic shoes, and ankle boots require taller compartments, often around 18 to 20 centimeters, to avoid being crushed.
When calculating your required shelf count, always plan for a slight capacity buffer. If you currently have eight pairs of shoes, choosing an eight-compartment organizer leaves no room for future purchases or guest footwear. Opting for a ten-compartment model provides flexibility and prevents you from having to double up shoes in a single slot, which can deform their shape over time.
Match Organizer Width and Depth to Your Layout
Aligning the width of your organizer with your remaining closet rod space is crucial for maintaining an organized wardrobe. A wide organizer takes up valuable horizontal space that could otherwise hold hanging clothes like shirts, dresses, or trousers. Measure the total length of your closet rod and subtract the space needed for your existing clothes to find the maximum width your organizer can occupy.
You will generally choose between single-column and double-column designs. Single-column organizers are narrow and highly efficient for compact wardrobes, but they stack shoes vertically, requiring significant vertical clearance. Double-column designs are wider and distribute weight more evenly across the rod, making them ideal for walk-in wardrobes or closets with ample horizontal rod space but limited vertical height.
Do not forget to assess the depth of the individual shelves against the length of your shoes. Measure your largest pair of shoes from heel to toe and compare this to the organizer’s depth specification. If your shoes are longer than the shelves, they will protrude into the closet aisle, which can block sliding doors or snag on hanging garments as you browse your wardrobe.
Check Structural Support and Weight Limits
A hanging shoe organizer must be sturdy enough to handle the cumulative weight of your footwear without sagging or tearing. Look for models that feature rigid internal shelf supports, such as thick cardboard, plastic inserts, or reinforced fiberboard sewn into the fabric base of each compartment. Without these supports, the shelves will bow under the weight of heavy shoes, causing your footwear to slide toward the center and bunch up.
Always review the manufacturer’s stated weight capacity before making a purchase. A fully loaded organizer containing several pairs of heavy leather shoes, boots, or thick-soled sneakers can weigh several kilograms. Ensure that both the organizer’s fabric seams and your closet rod are rated to handle this load safely without bending, warping, or pulling away from the wall.
The attachment mechanism also plays a vital role in structural stability. Heavy-duty metal hooks offer excellent support on sturdy metal rods, while wide hook-and-loop straps distribute weight more evenly across wooden or plastic rods. Check that the attachment style is compatible with your rod’s finish to prevent scratching, sliding, or accidental detachment when retrieving your shoes.
Common Sizing and Installation Mistakes
One of the most frequent mistakes is ignoring how much space shoes actually take up when placed inside the organizer. Many buyers measure the empty organizer but forget that bulky sneakers or heels can stretch the fabric outward, causing the unit to take up more depth and width than anticipated. This expansion can jam sliding wardrobe doors or crowd adjacent hanging clothes.
Another common error is forcing oversized or high-top shoes into standard-sized compartments. Forcing shoes into tight spaces stretches the fabric seams, eventually leading to tears, and can permanently crease or damage the structure of your footwear. If you have larger shoes, look for organizers with adjustable shelves or dedicated wide compartments.
Finally, overloading one side of a long closet rod can cause serious structural issues. Hanging a heavy, fully loaded shoe organizer on an unsupported section of a rod can cause the rod to bow or slip from its wall brackets. To prevent this, position the organizer close to a wall support bracket or a central vertical divider to distribute the weight safely.
Frequently Asked Questions (FAQ)
Can I use a hanging shoe organizer on a tension rod?
Using a hanging shoe organizer on a tension rod is generally not recommended unless the rod is specifically rated for heavy loads. Tension rods rely solely on friction and pressure against the walls to stay in place. The dynamic weight of a fully loaded shoe organizer can easily exceed this friction limit, causing the entire rod to collapse. If you must use a tension rod, verify its maximum weight capacity, use anti-slip rubber pads at the contact points, and limit the organizer to lightweight footwear like sandals and slippers.
How do I clean and maintain a fabric hanging shoe organizer?
To clean a fabric hanging shoe organizer, always check the manufacturer’s care label first, as most fabric models cannot be machine washed due to their internal cardboard or fiberboard supports. Instead, perform regular maintenance by dusting the shelves or using a vacuum cleaner with an upholstery brush attachment to remove dirt and debris. For stains, spot clean the fabric with a damp cloth and a mild detergent, then allow the organizer to air dry completely in a well-ventilated area before returning it to your closet to prevent mold and musty odors.
Community discussion
Share your experience or ask a question. Comments are reviewed before publication.