
Choosing the right floating shelf size requires balancing the physical constraints of your wall, the structural capacity of your wall material, and the scale of the items you intend to display. You must match the shelf’s length to your existing furniture lines, keep the depth shallow enough to prevent bracket strain, and space multiple tiers to accommodate your tallest items with comfortable breathing room. Selecting the wrong dimensions can lead to sagging shelves, visual clutter, or accidental head-height collisions in high-traffic walkways.
To find the perfect fit, you must evaluate your wall’s internal structure and take precise physical measurements of your space. This guide outlines the exact steps to calculate the ideal length, depth, thickness, and layout for your floating shelves, ensuring a secure installation that complements your home’s interior design.
Assessing Your Wall Space and Storage Needs
Before browsing designs or purchasing materials, you must determine the physical limits of your wall. Start by using a steel measuring tape to map out the width and height of the dedicated installation zone. Do not rely on visual estimation, as even minor miscalculations can leave you with a shelf that blocks a doorway or overlaps a light switch.
Products mentioned in this guide
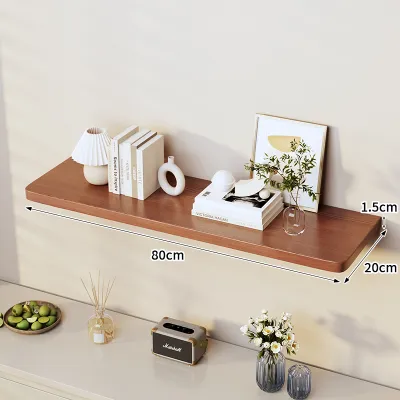
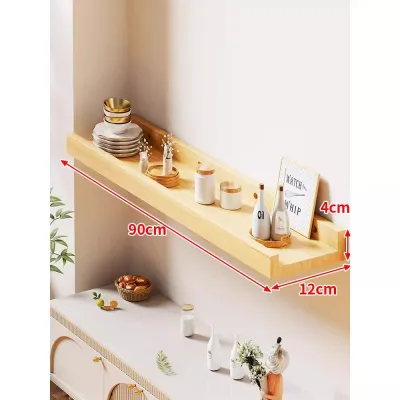
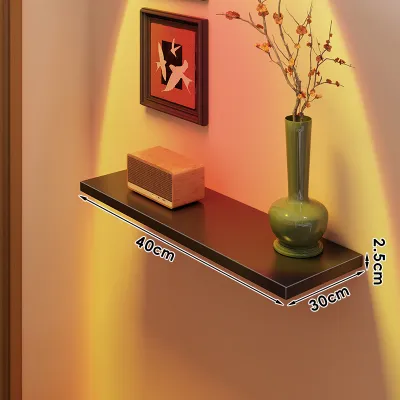
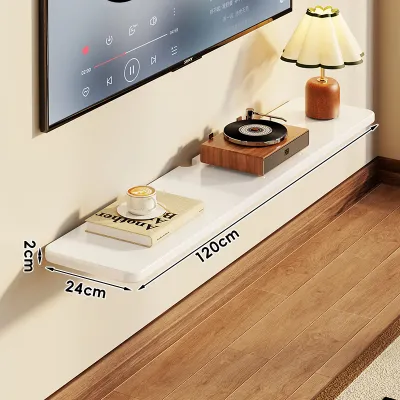
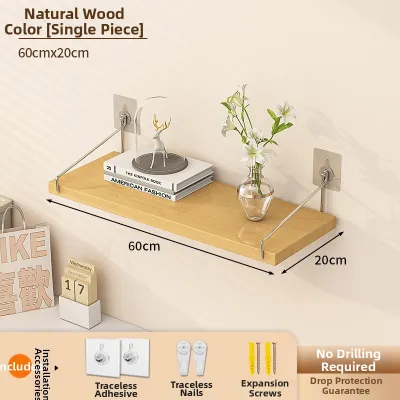
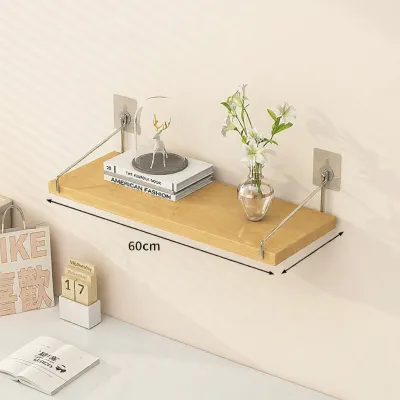

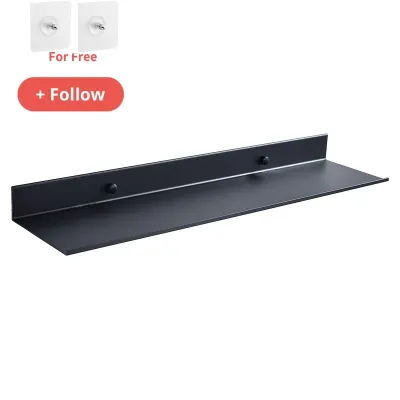
Prices are valid at publication and may change. Please refer to the product page for the latest price.
During your measurements, note any permanent physical obstacles that restrict wall access. In modern apartments, look out for air conditioning trunking, wall-mounted power outlets, light switches, window frames, and structural pillars. To ensure a clean aesthetic and safe installation, maintain a clearance buffer of at least 50 mm to 100 mm away from these fixtures. This buffer prevents the shelf from looking crowded and provides sufficient clearance for drilling tools during mounting.
Next, you must identify the composition of your wall, as this directly dictates the type of bracket, wall plug, and weight capacity your shelf can support. Singapore homes feature distinct wall types that require different installation approaches:
- Reinforced Concrete Walls: Common in HDB structural walls, household shelters (bomb shelters), and condominium load-bearing columns. These walls offer maximum stability and can support deep, heavy floating shelves, but they require an SDS rotary hammer drill and heavy-duty masonry wall plugs for installation.
- Drywall or Plasterboard Partition Walls: Frequently used to divide bedrooms or study areas in newer HDB flats and private condominiums. Drywalls have limited load-bearing capacity and require you to locate the internal metal or timber studs using a stud finder. If you cannot align the shelf bracket with a stud, you must use specialized heavy-duty toggle bolts, which significantly reduces the maximum weight the shelf can carry.
- Hollow Block or Brick Walls: Commonly found in older properties. These walls require sleeve anchors or specialized universal wall plugs to prevent the brick from crumbling under the tension of the mounting screws.
Finally, categorize the items you plan to store to determine the physical demands on the shelf. Lightweight decorative pieces, such as small photo frames, air plants, and plastic figurines, require minimal depth and place very little strain on wall anchors. Medium-weight items, including standard paperback novels, small ceramic pots, and kitchen spice jars, demand a sturdier shelf with reliable mid-sized brackets. Heavy items, such as large hardcover coffee table books, heavy ceramic dinnerware, speaker units, or large potted plants, require thick, solid-wood shelves anchored securely into concrete or structural studs.
Choosing the Right Floating Shelf Dimensions
To select the ideal floating shelf, you must understand how its three primary dimensions—length, depth, and thickness—interact. These measurements do not just dictate how much storage space you have; they also determine the shelf’s structural integrity and how heavy or light it appears on your wall. Balancing these dimensions ensures your shelving looks intentional rather than like an afterthought.

Selecting the Right Length
Proportioning your shelf length to the surrounding furniture is essential for achieving a balanced, professional look. If you are mounting a floating shelf above a piece of furniture, such as a TV console, a study desk, or a bed headboard, follow the rule of proportions. The shelf should ideally span between 50% and 80% of the width of the furniture below it. This creates a pleasing pyramid effect, keeping the visual weight grounded. Alternatively, you can match the exact width of the furniture below to create a clean, modern, and highly structured architectural line.
When dealing with empty wall space without underlying furniture, you must choose between installing a single continuous shelf or multiple shorter shelves. A single long shelf (typically 1200 mm to 1800 mm) creates a strong, uninterrupted horizontal line that makes a room feel wider. However, long shelves require robust internal bracket systems with multiple wall-mounting points to prevent bowing in the center. Multiple shorter shelves (such as 400 mm to 600 mm) offer greater layout flexibility, are easier to level, and distribute the physical weight across separate sets of wall anchors, making them highly suitable for drywall partition walls.
Determining the Ideal Depth
Your shelf depth must match the physical dimensions of the items you intend to display while keeping your living spaces safe and functional. Standard items require varying depths to sit securely without overhang:
- 100 mm to 150 mm (Shallow): Ideal for picture ledges, small spice jars, keys, perfumes, and slim decorative items.
- 150 mm to 200 mm (Medium): The standard range for paperbacks, novels, small potted plants, and standard-sized smart speakers.
- 200 mm to 250 mm (Deep): Necessary for large coffee table books, storage baskets, kitchen dinnerware, and binders.
Avoid choosing excessively deep shelves (greater than 250 mm) unless absolutely necessary. A deep shelf acts as a long lever arm; the further your items sit from the wall, the higher the rotational force (torque) exerted on the internal bracket and wall anchors. This increased leverage can cause the shelf to sag forward, even if your wall anchors are technically secure. Furthermore, deep shelves installed in narrow hallways, compact bedrooms, or high-traffic walkways create immediate head-height collision hazards and make small rooms feel cramped.
Factoring in Shelf Thickness
Shelf thickness plays a critical role in both structural rigidity and visual design. Thin shelves, ranging from 15 mm to 25 mm, offer a sleek, minimalist, and airy feel that works beautifully in modern, Scandinavian-style interiors. However, thin shelves have less resistance to bending and are prone to sagging over time if loaded with heavy items or stretched across a long span without intermediate support.
In contrast, thicker shelves, ranging from 35 mm to 50 mm, provide a substantial, grounded look that complements rustic, industrial, or classic decor. From a structural standpoint, thicker profiles are highly rigid and resist bowing under heavy loads. More importantly, a thicker shelf profile provides enough internal cavity space to completely conceal robust steel mounting brackets and thick support rods, ensuring the shelf remains perfectly level and secure under load.
Planning Shelf Spacing and Layout
When installing multiple floating shelves, planning the vertical spacing and layout is crucial for both functional accessibility and visual harmony. To calculate the ideal vertical distance between your shelves, measure the height of the tallest item you plan to store on each level. Always add a clearance margin of 50 mm to 75 mm to this measurement. This extra space provides visual breathing room and ensures you can easily slide items in and out without scraping the shelf above or damaging your belongings. For a general-purpose bookshelf setup, a standard vertical spacing of 300 mm to 400 mm between shelves is highly effective.
Your layout strategy should reflect the size of your wall and the overall style of your room. You can arrange your shelves in several distinct patterns:
- Perfectly Aligned (Vertical Stack): This classic layout stacks shelves directly above one another. It is highly space-efficient, clean, and formal, making it an excellent choice for narrow walls, tight alcoves, or flanking a central feature like a television or fireplace.
- Staggered (Step Pattern): A dynamic, contemporary arrangement where shelves are offset horizontally and vertically. This layout is ideal for displaying a mix of books and cascading or trailing plants, as it allows foliage to drape over the shelf edges without blocking the shelf below.
- Asymmetrical: Best suited for wide, expansive walls. By mixing shelves of different lengths at varying heights, you create a unique visual rhythm that guides the eye across the wall, turning the shelving unit into a standalone design feature.
To maintain visual balance and daily usability, you must also consider the ergonomic placement of your shelves. The highest shelf should remain within comfortable reach, typically no higher than 1800 mm from the floor for items you access daily. If you are mounting shelves above a desk or a bed headboard, ensure the lowest shelf clears the surface below by at least 600 mm to 750 mm. This clearance prevents you from bumping your head when sitting up or leaning forward and ensures the lower surface remains fully usable.
Before drilling any holes, use painter’s tape to map out the exact dimensions of your shelves on the wall. Step back and view the taped outlines from different angles in the room. This simple, non-destructive step allows you to verify the spacing, proportions, and overall layout before making any permanent changes to your wall.
Installation Clearances and Common Sizing Mistakes
Achieving a successful floating shelf installation requires careful attention to physical clearances and structural limits. In compact apartment layouts, you must verify that your shelves do not obstruct the swing paths of bedroom doors, wardrobe doors, or cabinet doors. Additionally, check that pulling out dining chairs or study desk chairs will not cause guests or family members to collide with the sharp corners of the shelves. If space is tight, consider choosing shelves with rounded corners or bevelled edges to minimize the impact of accidental bumps.
One of the most common sizing mistakes is choosing a shelf that is too deep for its mounting system. As shelf depth increases, the physics of the installation change dramatically. The weight of the shelf and its contents pulls downward and outward on the wall anchors. If the shelf is too deep, this lever-arm effect can cause the internal bracket rods to bend or pull the wall plugs out of the wall, leading to catastrophic failure. To prevent this, always adhere to the maximum depth recommended by the manufacturer for your specific wall type.
Before beginning installation, check the manufacturer’s weight capacity specifications. Keep in mind that these ratings are typically based on installation into solid concrete or solid timber studs. If you are mounting your shelves on drywall, you must de-rate the load capacity by approximately 50% unless you are anchoring the bracket directly into the internal metal or timber studs. Never exceed these adjusted weight limits, and distribute the weight of your items evenly across the length of the shelf rather than concentrating heavy items in one spot.
Finally, always account for the hidden bracket mechanism and rod thickness when planning your installation. Floating shelves rely on a metal backplate with protruding rods that slide into pre-drilled holes in the rear of the shelf. If your wall is slightly bowed or uneven—a common issue in both old and new plaster walls—the shelf may not sit perfectly flush. Verify your wall’s flatness using a spirit level before drilling. If the wall is uneven, you may need to gently sand the back edge of the shelf or use thin shims behind the bracket plate to ensure the shelf sits level and flush against the wall surface.
Community discussion
Share your experience or ask a question. Comments are reviewed before publication.