
Choosing the correct angle bracket ensures your furniture remains stable, safe, and structurally sound. The right choice depends on matching the bracket’s design, size, and material to your specific project—whether you are assembling a small drawer, reinforcing a wobbly table leg, or mounting heavy shelves to a wall. By evaluating the direction of the load, the thickness of the wood, and the mounting surface, you can select hardware that provides long-lasting support.
Taking the time to assess these factors prevents common issues like sagging shelves, loose joints, or damaged walls. This guide walks you through the key decisions and installation checks needed to complete your project securely.
Identify Your Project Type and Load Requirements
Before purchasing any hardware, you must assess the specific furniture task at hand and estimate the weight the bracket will need to support. Light-duty tasks include assembling small drawers, picture frames, or lightweight decorative boxes. These projects experience minimal physical stress and primarily require brackets to keep joints aligned during assembly and daily use.
Products mentioned in this guide
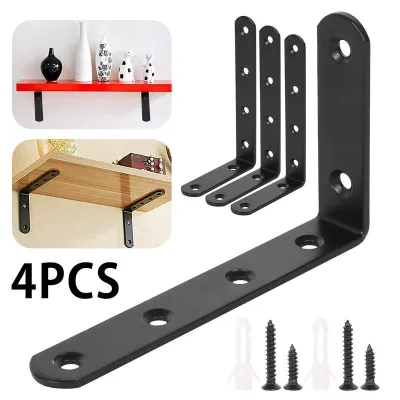
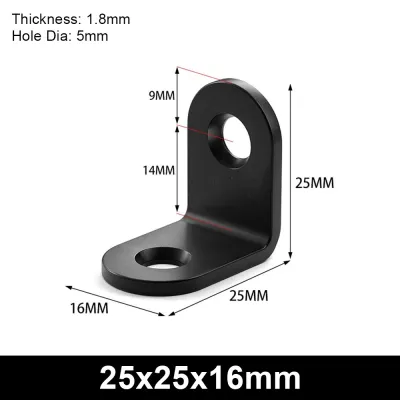
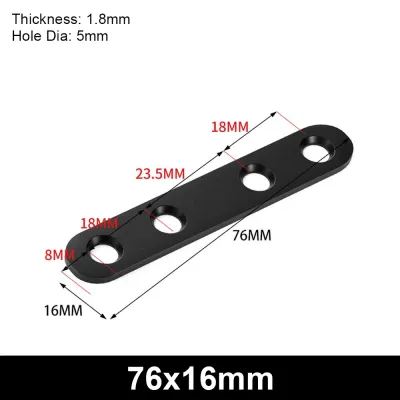
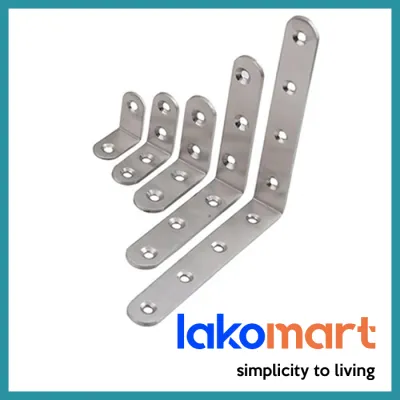


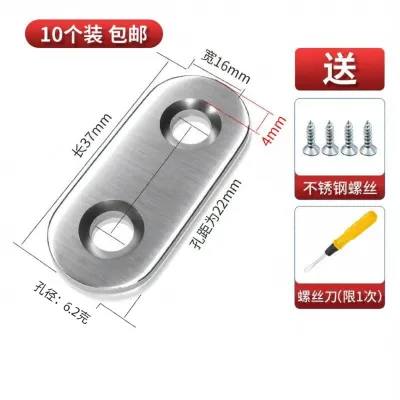
Prices are valid at publication and may change. Please refer to the product page for the latest price.
Medium-duty reinforcement involves stabilizing wobbly table legs, reinforcing bed frames, or securing the inner corners of bookcases. These joints must withstand dynamic forces, such as the shifting weight of books or the lateral movement of a table being pushed. For these applications, a standard bracket with moderate thickness is usually sufficient to prevent joint separation.
Heavy-duty mounting covers wall-mounted shelving, overhead cabinets, or heavy floating desks. These installations must support both the dead weight of the furniture itself and the live weight of books, kitchenware, or electronics placed upon them. Underestimating these loads can lead to structural failure, making careful planning essential.
To estimate the load capacity needed, calculate the total potential weight the bracket must bear. This includes the weight of the shelf or cabinet panel plus the maximum anticipated load of the stored items. It is always safer to design for the maximum possible load rather than the average expected weight to ensure a margin of safety.
The material of your wall or furniture also dictates mounting limits. Fastening a bracket into solid timber or a wall stud provides maximum holding power, whereas mounting directly into drywall or hollow masonry requires specialized anchors and carries significantly lower weight limits. Always inspect the substrate before selecting your hardware to ensure it can support the intended load.
Select the Right Angle Bracket Shape and Design
The physical shape of an angle bracket determines how it distributes stress across a joint. Selecting the correct profile ensures that the bracket reinforces the joint in the direction of the applied force, preventing warping or joint failure.

Standard L-Brackets for Basic Joints
Standard L-brackets feature a simple 90-degree bend with screw holes on both legs. These are highly effective for light-duty internal corners, small box assemblies, and basic frame reinforcement where space is limited and aesthetic concealment is preferred. They are designed to hold two perpendicular pieces of wood together securely under light to moderate tension.
Because standard L-brackets rely solely on the thickness and temper of the metal at the bend, they have inherent limitations under heavy downward or lateral pressure. Without additional reinforcement, a basic L-bracket can slowly bend outward over time, compromising the joint. For heavy-duty applications, look for thicker gauges or alternative designs.
Heavy-Duty and Gusseted Brackets for Shelving
Heavy-duty brackets often incorporate a diagonal support beam or a stamped triangular gusset across the interior angle. This gusset acts as a brace, transferring downward vertical forces away from the bend and distributing them evenly along both mounting legs. This design significantly increases the bracket’s resistance to bending under heavy loads.
These reinforced designs are ideal for wall-mounted shelves, workbenches, and heavy cabinet supports where downward force is high. When installing gusseted brackets, ensure the gusset does not interfere with the placement of items on the shelf or the operation of nearby doors.
Flat and Mending Plates for Surface Reinforcement
Flat brackets, commonly known as mending plates, are straight, flat pieces of metal designed to join two surfaces that lie on the same plane. They are frequently used to repair split wood, reinforce butt joints on flat frames, or connect adjacent cabinet panels together. They help distribute tension across a flat seam rather than a corner.
It is important to note that mending plates provide no structural support for 90-degree angles or load-bearing shelves. Attempting to bend a flat plate to fit a corner weakens the metal significantly and can lead to sudden failure under load. Always use a pre-formed 90-degree bracket for corner connections.
Determine the Correct Size and Screw Specifications
Choosing the correct bracket size is critical for maintaining leverage and stability. As a general rule of thumb for shelving, the vertical leg of the bracket should extend down the wall at least two-thirds of the depth of the shelf it supports. A bracket that is too short creates a lever effect, pulling away from the wall under minimal load.
For internal furniture joints, the bracket legs should cover a significant portion of the joining members without extending past the edges of the wood. Using a bracket that is too small concentrates all the stress on a tiny area of the wood, which can cause the timber to split or the screws to pull out.
Matching the screw length to the thickness of your furniture material is essential to prevent the screw from piercing through the visible outer surface. Measure the thickness of the wood panel and subtract the thickness of the bracket itself to determine the maximum safe screw length. For example, if you are fastening into a 15mm panel with a 2mm thick bracket, your screw length should not exceed 12mm.
Always check the diameter of the screw holes on the bracket before purchasing fasteners. The screw head must be larger than the hole to prevent it from slipping through, while the shank must fit cleanly without forcing. Using countersunk screws with brackets designed for flat-head screws can lead to loose connections and uneven pressure distribution.
Select the correct screw type based on the materials you are joining. Wood screws feature deep, coarse threads designed to grip wood fibers tightly, making them ideal for timber furniture. If you are mounting to metal frames or using pre-installed threaded inserts, machine screws with matching thread pitches are required.
Check Material and Finish for Your Environment
The material of your angle bracket directly influences its load-bearing capacity and resistance to environmental wear. Stamped steel is the most common and cost-effective option for indoor furniture, offering high tensile strength but requiring a protective coating to prevent rust.
Stainless steel and aluminum are excellent choices for areas exposed to moisture, such as bathrooms, kitchens, or laundry rooms. Stainless steel provides superior strength and corrosion resistance, while aluminum offers a lightweight, rust-free alternative for moderate loads. Plastic brackets are suitable only for very light-duty applications, such as securing lightweight cabinet backings or internal trim pieces.
Aesthetic finishes allow you to match the hardware to your furniture’s design. Zinc-plated finishes offer basic corrosion protection and are typically hidden inside furniture. For visible joints, matte black, brass, or antique bronze finishes can complement the wood tone and overall style of the piece.
Do not rely solely on the generic material name to guarantee performance in harsh environments. Always verify the manufacturer’s specific product guidelines and care instructions for outdoor or high-humidity use. Some finishes are purely decorative and will degrade quickly if exposed to moisture or outdoor weathering.
Step-by-Step Installation and Safety Checks
Successful installation begins with precise preparation. Measure and mark the exact placement of your brackets using a pencil and a spirit level to ensure everything is perfectly aligned. Pre-drilling pilot holes is a crucial step; it guides the screw straight and prevents the wood from splitting, especially near the edges of panels.
When mounting brackets, follow a logical installation sequence. For wall-mounted shelves, secure the brackets to the vertical wall surface first, ensuring they are anchored into studs or appropriate wall anchors. Once the vertical legs are firmly attached, place the shelf on top and secure it to the horizontal legs from underneath.
After completing the installation, perform a thorough post-installation verification. Apply gradual, manual weight to the shelf or joint to test its stability before placing valuable items on it. Check closely for any signs of wobbling, shifting, or the bracket pulling away from the mounting surface.
Be prepared to halt the installation if you encounter unexpected structural issues. If the wall material crumbles during drilling, if the screws strip the wood fibers and spin freely, or if the bracket begins to bend during tightening, stop immediately. These are clear indicators that the mounting surface or hardware is insufficient, and you should consult a qualified professional to assess the setup.
Frequently Asked Questions (FAQ)
Can I use drywall anchors with angle brackets for heavy shelves?
Standard plastic drywall anchors have very low weight limits and are not recommended for supporting heavy shelves or load-bearing angle brackets. For heavier items, you should always attempt to anchor the brackets directly into wall studs. If stud placement does not align with your shelf layout, heavy-duty toggle bolts or specialized hollow-wall anchors must be used, and you should check the anchor packaging for exact load ratings or consult a professional.
How do I hide angle brackets on visible furniture joints?
To maintain clean furniture lines, you can use smaller, countersunk brackets installed on the underside or interior corners of the joint where they are naturally out of sight. Alternatively, you can paint the brackets to match the exact color of the wood or wall, or choose decorative brackets with ornamental designs that enhance the furniture’s appearance rather than detracting from it.
Community discussion
Share your experience or ask a question. Comments are reviewed before publication.