
Replacing a broken or worn-out armrest hinge or bracket is a practical way to extend the lifespan of your favorite office chair, recliner, or sofa. However, finding a compatible replacement part requires looking beyond basic aesthetics. Because furniture hardware is not universally standardized, selecting the wrong specifications can lead to alignment issues, structural instability, or damage to the furniture frame. To ensure a successful repair, you must carefully evaluate key physical dimensions, weight capacities, and mounting configurations before making a purchase.
By focusing on precise measurements and material compatibility, you can restore your furniture’s structural integrity and avoid the hassle of returning incompatible parts. This guide breaks down the essential specifications you need to verify to find the perfect replacement hardware.
How to Measure Hole Spacing and Mounting Dimensions Accurately
The most common mistake when purchasing replacement armrest hardware is relying on rough approximations. To ensure the new bracket or hinge aligns perfectly with the existing mounting points in your furniture, you must take highly precise measurements using a digital caliper or a reliable steel ruler.
Products mentioned in this guide
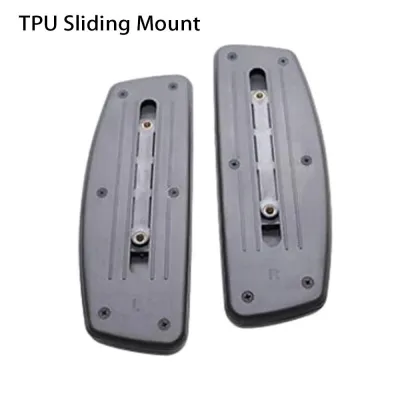
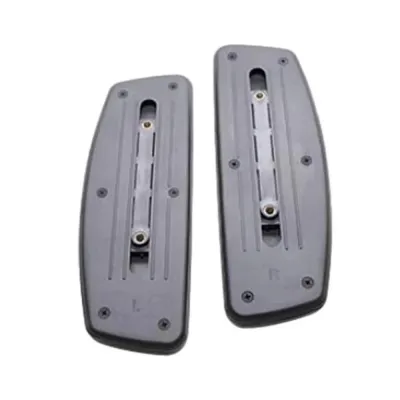
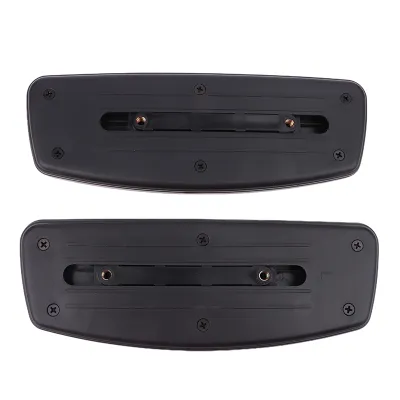
Prices are valid at publication and may change. Please refer to the product page for the latest price.
When measuring the distance between screw holes, always measure from the exact center of one hole to the exact center of the other. Measuring from the outer or inner edges of the holes can introduce small errors that make it impossible to thread the screws properly during installation. If your bracket uses a multi-hole pattern, measure both the horizontal and vertical center-to-center distances to map out the exact layout.
Additionally, you must verify the diameter and depth of the existing screw holes. If the replacement hardware requires thicker screws than the original holes allow, you may have to drill into the frame, which can weaken the structure. Conversely, if the screws are too long for the depth of the hole, they will bottom out before the bracket is fully secured, leaving the armrest loose and unstable.
Finally, pay close attention to the measurement units used by the manufacturer. Many replacement parts sold on online marketplaces use metric measurements (such as millimeters), while older or regionally manufactured furniture may rely on imperial units (such as inches). Even a tiny discrepancy, such as confusing a 6 mm screw hole with a 1/4-inch (6.35 mm) hole, can prevent the hardware from fitting correctly.
Understanding Weight Capacity and Dynamic Load Limits
Armrests are subjected to significant physical stress, meaning the replacement hardware must be rated to handle both static and dynamic forces. Failing to match the weight capacity of the replacement parts to your actual usage needs can result in bent brackets, stripped screws, or sudden hardware failure.

When reviewing product specifications, distinguish between static load and dynamic load limits. Static load refers to the constant, stationary weight the armrest can support when you rest your arms naturally. Dynamic load, on the other hand, is the peak force exerted when you move, such as when you lean heavily to one side or push down on the armrests to stand up. Because dynamic forces are much higher than static weight, replacement hardware must have a robust dynamic load rating to ensure long-term safety.
Consider your daily habits and the primary users of the furniture. If the chair is used in a busy office or a household where users frequently lean or apply full body weight to the armrests, prioritize heavy-duty steel or reinforced alloy brackets. Choosing hardware with an insufficient weight rating increases the risk of bracket deformation or screw pull-out, which can permanently ruin the mounting area of the furniture frame.
Matching Mounting Types and Bracket Configurations to Your Furniture
Replacement brackets and hinges come in various shapes and mounting styles. To maintain the original ergonomics and appearance of your furniture, you must match the configuration of the replacement part to the design of the frame.
First, determine whether your furniture uses a surface-mount or a recessed-mount configuration. Surface-mount brackets are secured directly onto the exterior of the frame, making them easier to install but highly visible. Recessed-mount brackets sit inside a pre-carved pocket or channel within the furniture frame, providing a flush, hidden profile. Installing a surface-mount bracket on a piece of furniture designed for a recessed mount will alter the armrest’s height and alignment, potentially making the seating uncomfortable.
Next, check the angle and adjustability of the bracket. Some armrests require a fixed 90-degree bracket to keep the armrest perfectly horizontal, while others use angled or multi-position adjustable hinges to allow for reclining. Ensure the replacement part matches the exact angles and range of motion of the original hardware.
Finally, assess the base material of your furniture frame, as this dictates the type of fasteners you must use. Solid wood frames offer excellent holding power for wood screws, but engineered woods like particleboard or MDF are prone to crumbling under high stress and often require specialized threaded inserts. Metal frames, common in office chairs, require machine screws that match the pre-threaded holes in the frame exactly.
Verifying Material Durability and Finish Compatibility
The material composition and surface treatment of your replacement hardware directly affect how well it performs over time, especially in challenging indoor environments.
In humid climates like Singapore, moisture in the air can rapidly accelerate the rusting of untreated metal hardware. When selecting replacement hinges or brackets, look for materials with built-in corrosion resistance, such as stainless steel, powder-coated steel, or anodized aluminum. These protective finishes prevent rust from weakening the joints and stop unsightly metal flakes or rust stains from ruining your furniture’s fabric or leather.
Visual compatibility is also important for maintaining the aesthetic value of your furniture. Try to match the color, texture, and gloss level of the replacement hardware with the remaining original parts. If the bracket is visible, choosing a matching matte black, polished chrome, or brushed brass finish ensures the repair looks seamless and professional.
If the replacement hardware includes plastic, nylon, or composite components—often found in adjustable or pivoting armrest joints—check the manufacturer’s guidelines regarding material durability. High-quality nylon composites offer excellent wear resistance, whereas cheap plastics can degrade, warp, or become brittle over time when exposed to friction and ambient heat.
Pre-Purchase Verification Checklist for Replacement Hardware
Before finalizing your order, take a few minutes to double-check all specifications to ensure a smooth installation process.
- Compile Your Measurements: Write down the exact center-to-center hole spacing, screw thread sizes, bracket depth, and overall dimensions of your original hardware on a single reference sheet.
- Take Reference Photos: Capture clear, well-lit photos of the original brackets and the mounting area on the furniture frame. Place a ruler next to the parts in the photos to provide an immediate visual scale.
- Consult the Seller: If you are buying from an online retailer, send your measurements and photos to the seller's customer service team to confirm compatibility before shipping.
- Review Return Policies: Check the retailer's return and exchange terms. Because minor manufacturing tolerances can sometimes cause slight fitment issues, choosing a seller that offers hassle-free returns provides valuable peace of mind.
Frequently Asked Questions (FAQ)
Can I use longer screws if the original armrest holes are stripped?
Using longer screws to fix stripped holes is highly discouraged. Longer screws can easily penetrate too deep into the furniture, piercing the outer upholstery, damaging internal padding, or splitting the wooden frame. Instead of using longer screws, repair the stripped holes properly. For wooden frames, fill the stripped hole with a high-quality wood filler or glue a wooden dowel into the cavity before drilling a fresh pilot hole. For metal or composite frames, installing a threaded metal insert is the most reliable way to restore a strong, secure connection.
What should I do if the replacement bracket hole spacing is slightly off?
If the hole spacing on the replacement bracket is slightly off, do not attempt to force the screws in at an angle or modify the bracket holes yourself. Forcing screws compromises the thread alignment, leading to loose joints and uneven weight distribution that can cause the bracket to fail under pressure. If you cannot find an exact hardware match, the safest approach is to consult a professional carpenter. A professional can safely plug the old mounting holes in the furniture frame and drill new, structurally sound holes to accommodate the new bracket’s spacing.
Community discussion
Share your experience or ask a question. Comments are reviewed before publication.