
Finding the right storage for your footwear while maintaining free-flowing walkways is a classic layout puzzle in Singapore’s HDB flats and condominiums. To choose a shoes rack that fits neatly inside a closet or along a hallway without creating a bottleneck, you must align the unit’s outer dimensions with your home’s physical clearances. By opting for space-efficient configurations—such as ultra-slim tilting cabinets for narrow passages or modular stackable systems for deeper wardrobes—you can store your footwear collection without sacrificing valuable floor area.
Measure Your Space: Clearances and Walkway Rules
Before browsing online marketplaces or visiting local furniture showrooms, you must establish the exact boundary lines of your potential storage area. Grab a metal measuring tape to record the maximum width, height, and depth available for the unit. Do not simply measure wall-to-wall; you must account for structural protrusions such as skirting boards, light switches, electrical outlets, and any decorative wall trim. Skirting boards, for instance, can prevent a flat-backed cabinet from sitting flush against the wall, effectively pushing the entire unit forward by one to two centimeters.
Equally critical is mapping out the clearance envelopes of nearby doors. Measure the swing radius of your main entrance door, household shelter door, and any adjacent bedroom or built-in closet doors. A shoe storage unit that fits perfectly on paper can easily block a door from opening fully, creating a daily annoyance or even a safety hazard during an emergency. Make sure to mark the path of these door arcs on your floor with masking tape to visualize how much space remains when doors are fully open.
Products mentioned in this guide
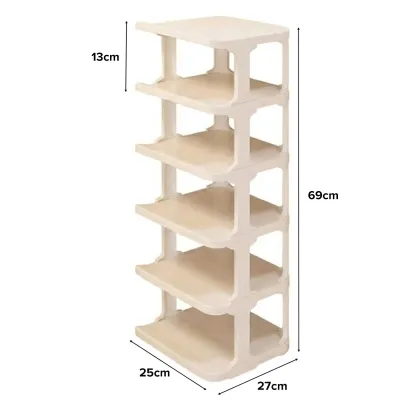
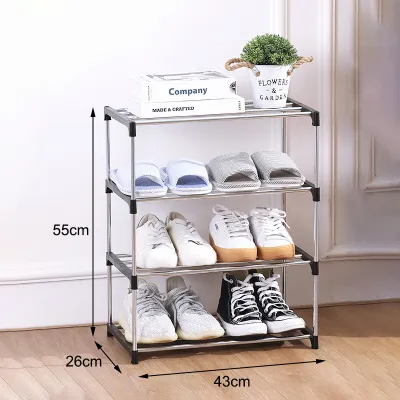
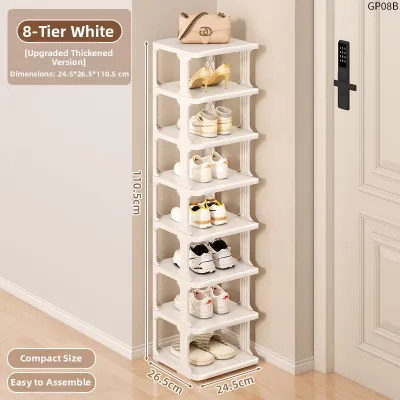
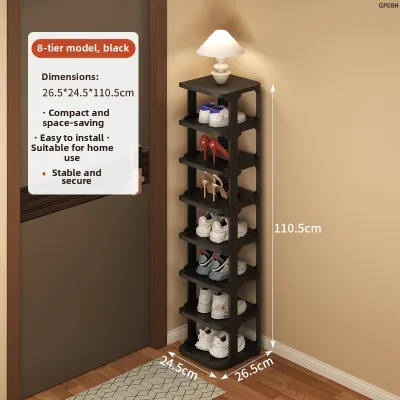
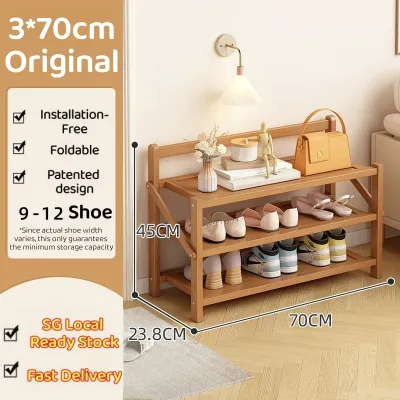
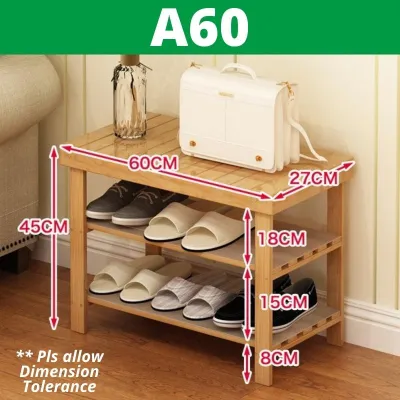

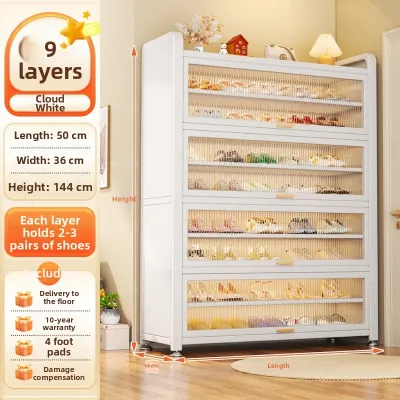
Prices are valid at publication and may change. Please refer to the product page for the latest price.
To maintain a safe and comfortable home environment, you must adhere to standard ergonomic walkway clearances. In high-traffic residential corridors, a clear passage of at least 60 cm to 90 cm is recommended for comfortable, unobstructed movement. If your hallway or closet walkway is narrow, subtract this required clearance from the total width of the passage to find the absolute maximum allowable depth for your new furniture. If the remaining depth is less than 30 cm, standard flat-shelved cabinets will likely protrude into your walking path, signaling that you need a specialized slim-profile solution.
Match Shoe Rack Dimensions to Your Layout
Once you have established your space boundaries, you can match those dimensions to the standard sizing categories of retail shoe organizers. Traditional shoe cabinets typically feature a depth of 30 cm to 40 cm, which allows shoes to sit flat on the shelves. These units are highly practical if you have a deep closet recess or a wide foyer, but they will quickly choke a narrow HDB household shelter corridor. For tight spaces, look for ultra-slim designs that range from 15 cm to 20 cm in depth, which typically utilize angled or vertical storage mechanisms.

Calculating the required height and width of your unit depends on both your current footwear inventory and the vertical space available. To estimate the width you need, measure the sole width of your widest pair of shoes and multiply that by the number of pairs you wish to store per tier. Remember to leave a few centimeters of breathing room between pairs to promote airflow, which is essential in Singapore’s humid climate to prevent mold growth. When planning the vertical stack, ensure there is sufficient top clearance between the top of the rack and any overhead shelves or hanging clothes to allow easy access.
Slim and Tilting Shoe Racks for Narrow Entryways
For exceptionally narrow entryways or shallow closet recesses, tilting shoe cabinets are highly effective space-savers. Instead of storing shoes flat, these units hold footwear vertically or at a sharp angle inside drop-down compartments. This clever mechanical orientation slashes the required cabinet depth to as little as 15 cm, making it possible to place a shoes rack behind a door or along a slim walk-up passage without blocking foot traffic.
However, because tilting drawers shift the weight of your footwear outward when opened, these units present a distinct structural challenge. The shifting center of gravity makes tall, shallow cabinets highly prone to tipping forward during use. To prevent accidents, you must anchor these units securely to a solid wall. Before purchasing, verify that your wall material can support wall anchors and check the manufacturer’s installation instructions to ensure you have the appropriate hardware for concrete, brick, or drywall.
Stackable and Modular Racks for Deep Closets
If you are organizing the interior of a deep built-in wardrobe or a walk-in closet, stackable and modular racks offer excellent flexibility. These systems allow you to build your storage vertically, utilizing the often-wasted space beneath hanging clothes. As your shoe collection grows or changes over time, you can purchase additional matching tiers or reconfigure the layout to accommodate different storage needs.
When integrating modular components inside an existing closet, you must pay close attention to the internal depth and door mechanics. Ensure that the outer frame of the modular rack or the front edges of stacked shoe boxes do not interfere with the sliding tracks or hinge mechanisms of your closet doors. A mismatch of even half a centimeter can prevent sliding wardrobe doors from closing completely, exposing your clothes to dust and disrupting the clean lines of your bedroom cabinetry.
Space-Saving Configurations and Mounting Options
When floor space is at an absolute premium, looking upward to alternative mounting configurations can free up valuable walkway area. Wall-mounted floating shelves, over-the-door organizers, and under-bench storage units are excellent ways to utilize underused vertical and horizontal zones. Floating shelves lift your footwear completely off the ground, making floor cleaning easier and leaving walkways entirely clear, while under-bench units combine seating with storage for a highly functional entryway.
However, each alternative mounting style comes with specific structural limits and installation requirements that you must verify beforehand. For wall-mounted floating shelves, you must assess the load-bearing capacity of your wall; concrete or solid brick walls can handle significantly more weight than lightweight partition drywall. Over-the-door organizers require sufficient clearance between the top of the door frame and the ceiling, as well as robust hinges that can support the added weight of multiple pairs of shoes without sagging. Always check the manufacturer’s rated load capacity for any wall-mounted or hanging organizer to avoid structural failure.
If you are renting your HDB flat or condo, you must also consider tenancy agreements and building management rules before installing wall-mounted fixtures. Drilling into walls or modifying built-in wardrobe structures often requires prior landlord approval or may violate condominium renovation guidelines. In such scenarios, non-invasive options like over-the-door hooks, free-standing tension rods, or low-profile under-bed storage boxes on wheels are safer, fully reversible alternatives that won’t risk your security deposit.
Common Sizing Mistakes to Avoid
One of the most frequent errors when choosing a shoes rack is ignoring the physical dimensions of the shoes themselves. Many slim cabinets are designed around standard shoe sizes, meaning that larger men’s sneakers, high-top boots, or high-heeled shoes may overhang the shelves or fail to fit inside tilting compartments entirely. If your shoes protrude past the edge of the rack, they will catch on passing trousers or block closet doors from closing. Always measure your largest pair of shoes and compare those dimensions against the internal shelf depth of the product before buying.
Another common oversight is forgetting to account for the thickness of skirting boards along the base of your walls. If a shoe rack does not feature a base cutout or legs that offset the frame, the skirting board will prevent the unit from sitting flush against the wall. This creates an unsightly gap behind the cabinet and pushes the entire unit forward, narrowing your walkway clearance more than you initially calculated. Look for models specifically designed with a skirting board recess or choose wall-mounted units that hang well above the floor trim.
Lastly, buying a rack with fixed-height shelves often leads to inefficient use of vertical space. Flat sandals and sneakers require very little vertical clearance, whereas boots and high heels need significantly more room. If your rack has non-adjustable shelves, you may end up with wasted empty space above low-profile shoes, while taller footwear is forced to lie sideways or sit awkwardly on top of the cabinet. Opt for units with adjustable or removable shelves, and verify the internal tier heights against your specific footwear collection to maximize storage density.
Frequently Asked Questions (FAQ)
How many pairs of shoes can a standard slim shoe rack hold?
The capacity of a slim shoe rack is not a fixed number; it depends on the unit’s overall width, the number of tiers, and the style of shoes you own. On a standard shelf width of 60 cm to 80 cm, you can typically fit three to four pairs of flat shoes, such as sandals, loafers, or women’s flats, per tier. However, if you are storing bulky athletic sneakers, wide-soled running shoes, or boots, that capacity can easily drop to two or three pairs per tier. To get an accurate estimate, measure the width of your three widest pairs side-by-side and use that measurement to gauge how many tiers you will need to accommodate your entire collection.
Do I need to anchor a tall, narrow shoe rack to the wall?
Yes, anchoring any tall, narrow, or top-heavy shoe rack to the wall is a critical safety step that should not be skipped. Because these units have a high aspect ratio and a shallow base, they are highly susceptible to tipping forward when drawers are pulled open or if someone accidentally bumps into them. This risk is amplified in households with young children or active pets who might climb or pull on the furniture. To secure the unit, first identify your wall type—such as solid concrete in most HDB flats or drywall partition walls in some condos—and use the appropriate heavy-duty wall plugs and screws. Always consult and follow the manufacturer’s specific safety guidelines and installation instructions to ensure a secure, stable mount.
Community discussion
Share your experience or ask a question. Comments are reviewed before publication.