
Finding shoes piled up at your entryway is a common household frustration. To determine the ideal shoe rack capacity, you must calculate your total shoe count, account for future purchases, and map these numbers to physical dimensions. A successful setup provides dedicated slots for daily wear while respecting the spatial constraints of your home, ensuring your entryway remains tidy, safe, and welcoming.
Audit Your Household's Current Shoe Collection and Future Needs
To establish an accurate baseline for your shoe rack capacity, you must first conduct a comprehensive physical audit of every pair of footwear currently owned by your household. Gather all shoes from around the home—including those tucked away in closets, left by the front door, or stored in plastic boxes—and group them by owner. This physical consolidation often reveals a surprising volume of footwear that has been forgotten or underutilised.
Once gathered, segment the collection by type and frequency of use. Group daily footwear, such as work shoes, school shoes, and everyday sneakers, separately from occasional wear like formal heels, dress shoes, and specialized sports gear. Occasional and seasonal footwear does not necessarily need to occupy prime real estate at your main entryway; these pairs can often be relegated to higher shelves or secondary storage in bedroom closets, freeing up valuable space on your primary rack.
Products mentioned in this guide
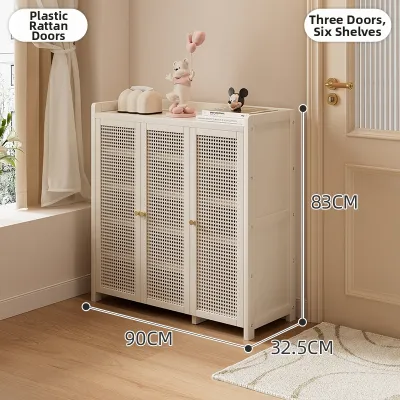
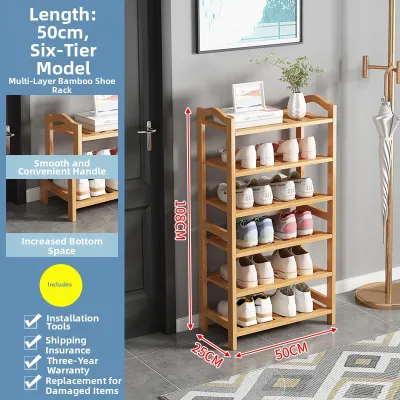
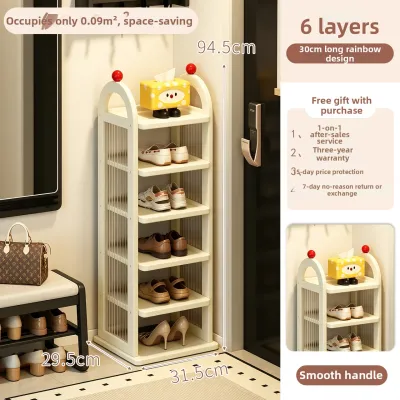
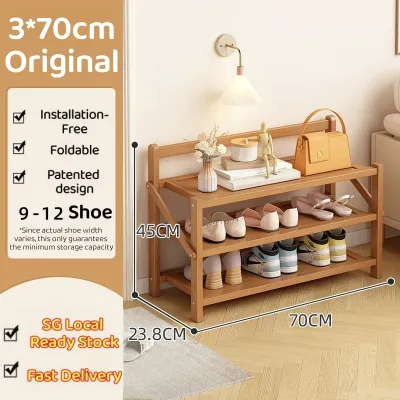
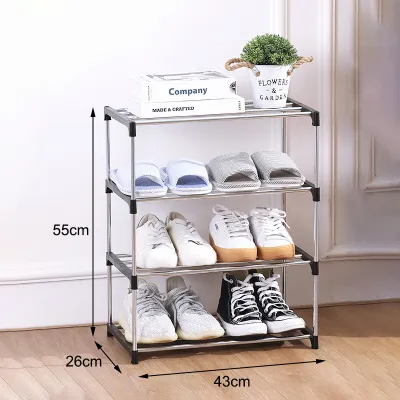
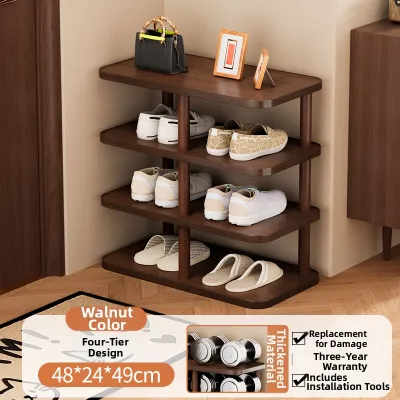
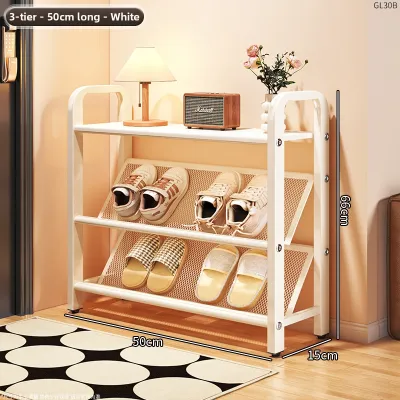
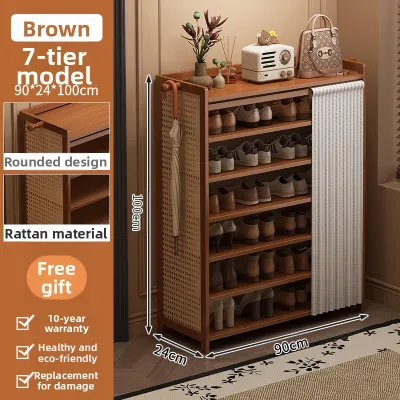
Prices are valid at publication and may change. Please refer to the product page for the latest price.
Finally, anticipate how your household’s needs will evolve over the next three to five years. If you have young children, their shoe sizes will increase rapidly, requiring significantly more physical space even if the number of pairs remains constant. Active lifestyle changes, such as taking up new outdoor hobbies or sports, will also introduce bulkier specialized footwear. Planning for a 20% to 30% capacity buffer prevents your newly purchased storage solution from becoming obsolete as your family or collection grows.
Translate Your Shoe Count into Rack Tiers and Dimensions
Once you have a clear count of the shoes that must be accommodated at your entryway, you need to translate this number into physical furniture dimensions. A common mistake is assuming that a standard “10-pair” or “20-pair” shoe rack will fit your specific collection. Manufacturers base these capacity estimates on standard, low-profile footwear. In reality, the physical width and height profiles of your shoes dictate the actual space required.

To calculate the necessary width of your shoe rack, measure the horizontal footprint of your typical pairs. On average, a pair of men’s shoes requires 22 to 25 centimetres of lateral space, while women’s shoes average 18 to 22 centimetres, and children’s shoes require 12 to 15 centimetres. To find your minimum shelf width, multiply the number of pairs you wish to store per tier by these average widths. For example, storing four pairs of men’s sneakers side-by-side requires a shelf width of at least 90 to 100 centimetres, whereas four pairs of women’s flats might only require 80 centimetres.
Vertical clearance is equally critical and varies dramatically by shoe style. Standard flat sandals, slippers, and loafers require a tier height of only 8 to 10 centimetres. Everyday sneakers, running shoes, and low heels need approximately 15 to 18 centimetres of clearance. High-top sneakers, ankle boots, and high heels require 20 to 25 centimetres, while tall boots demand 35 to 45 centimetres of vertical space. Summing these requirements will help you determine the total vertical height and the number of tiers your rack needs. If your collection is highly diverse, a rack with uniform 15-centimetre tiers will leave you with wasted vertical space above flat shoes and no room at all for taller footwear.
Measure Your Entryway and Verify Clearance Limits
Calculating the ideal capacity of your shoe rack is only half the battle; the unit must also physically fit your entryway without obstructing daily traffic or violating local safety regulations. Start by measuring the maximum width, depth, and height of the designated area. Use a metal measuring tape for accuracy, and note any architectural features that could limit the usable space, such as baseboards, electrical outlets, light switches, or intercom units.
Pay close attention to door swing arcs. The main entrance door, adjacent room doors, and even the doors of your electrical distribution board (DB) box must be able to open fully without striking the shoe rack. If you live in Singapore, you must also account for the outer metal gate common in HDB flats; ensure the gate’s lock mechanism or handle does not collide with your storage unit when swung inward.
Safety and accessibility are paramount, particularly in shared residential spaces. For those residing in HDB flats or condominiums with common corridors, the Singapore Civil Defence Force (SCDF) mandates strict fire safety guidelines. Specifically, a minimum clear escape passage of 1.2 metres must be maintained along common corridors at all times. If you plan to place an outdoor shoe rack along the corridor, verify that its depth does not reduce the walkway below this legal limit. Indoors, ensure a clear pathway of at least 90 centimetres is maintained to allow residents to move comfortably through the foyer without bumping into the furniture.
Match Your Calculated Capacity to Shoe Rack Designs
With your capacity requirements and physical space limits defined, you can now select a shoe rack design that balances storage efficiency with your home’s aesthetic. The primary choice lies between open shelving and enclosed cabinets. Open shoe racks offer immediate accessibility and excellent air circulation, making them highly practical for daily-use shoes. However, they expose your footwear to view, which can look cluttered if not kept meticulously organized.
Enclosed shoe cabinets provide a clean, streamlined appearance by hiding footwear behind solid doors. When choosing an enclosed cabinet, remember that the doors themselves require clearance to open, and the cabinet’s external depth must accommodate both the shoes and the door thickness (typically requiring an internal depth of at least 32 to 35 centimetres for larger shoe sizes). In Singapore’s hot, humid tropical climate, enclosed cabinets must feature adequate ventilation, such as louvred doors, mesh back panels, or ventilation cutouts. Without proper airflow, trapped moisture from damp shoes will quickly lead to mould, mildew, and persistent odours.
For tight entryways, space-saving designs can dramatically increase effective capacity without expanding the furniture’s footprint. Slanted-tier cabinets place shoes at an angle, reducing the required cabinet depth to as little as 20 to 25 centimetres. Drop-down compartment cabinets store shoes vertically inside tilting drawers, making them exceptionally slim and ideal for narrow hallways, though they generally cannot accommodate high-top sneakers or boots. Alternatively, you can utilize double-layer shoe slot organizers on flat shelves to stack one shoe above the other, effectively doubling the capacity of a standard tier.
Common Shoe Rack Sizing Mistakes to Avoid
One of the most frequent errors when purchasing a shoe rack is buying a unit based solely on a generic pair count without analyzing the depth of the shelves. If you or members of your household wear larger shoe sizes (such as US size 11 or larger), standard 30-centimetre-deep shelves may cause your shoes to overhang the edge. In an enclosed cabinet, this prevents the doors from closing completely; on an open rack, overhanging shoes can easily trip passersby in a narrow hallway. Always check the internal depth specification before buying.
Another common pitfall is purchasing a fixed-tier rack with uniform spacing when your household owns a wide variety of footwear styles. This setup inevitably leads to inefficient space utilization. You may find yourself with large, empty gaps above low-profile sandals, while your boots and high-top sneakers are forced to lie sideways or are relegated to the floor beside the rack, defeating the purpose of organized storage.
Finally, avoid buying a shoe rack that matches your current collection exactly without leaving room for temporary additions. Entryways are dynamic spaces that must accommodate guests, delivery personnel, and temporary wet footwear on rainy days. Failing to incorporate a buffer zone—either through a dedicated empty lower tier or an open space beneath the rack—leads to immediate clutter the moment you host visitors or purchase a new pair of shoes. Depending on your budget, options range from simple open plastic or metal racks starting under S$20 to high-end custom built-in cabinets exceeding S$500, but the capacity calculations remain identical.
Frequently Asked Questions (FAQ)
Is it better to buy a shoe rack with adjustable shelves?
Yes, investing in a shoe rack with adjustable shelves is highly recommended for almost every household. Footwear collections are rarely uniform; they naturally comprise a mix of flat sandals, bulky sneakers, and tall boots. Adjustable shelves allow you to customize the height of each tier to match the exact profile of your shoes, eliminating wasted vertical space. This flexibility also ensures that your storage setup can evolve over time as your style preferences change or as children grow into larger footwear, maximizing the long-term utility of your furniture.
How do I store tall boots if my rack has fixed tiers?
If you are working with a fixed-tier shoe rack that cannot accommodate tall boots vertically, you can employ several practical workarounds. First, check if the shelves are removable; removing a single middle shelf will create a double-height tier perfect for boots, though it will reduce your overall pair capacity. Alternatively, you can use boot shapers or inserts to keep the shafts upright and store them on top of the cabinet. For soft, non-structured boots, gently folding the shafts downward allows them to fit into standard-height slots without creasing or damaging the material.
Community discussion
Share your experience or ask a question. Comments are reviewed before publication.