
Building a custom wooden corner shelf is an excellent way to reclaim underutilized space while adding tailored storage to your home. Whether you want to display decorative items, organize books, or clear countertop clutter, constructing your own shelving allows you to customize the dimensions to fit your exact space. This step-by-step guide covers everything from measuring uneven walls to securely mounting the finished structure, ensuring a stable and professional result using basic hand and power tools.
Planning and Measuring Your Corner Space
To ensure a successful build, start by thoroughly assessing the corner where you plan to install the shelf. Although walls appear to meet at a perfect 90-degree angle, structural settling and plastering variations mean that interior corners are rarely perfectly square. Use a carpenter’s square or the 3-4-5 triangle method to check the angle of your walls. If the corner is out of square, you will need to customize the shape of your shelf boards to prevent unsightly gaps along the wall line.
Next, determine the height, number of tiers, and vertical spacing of your shelves. Consider the items you intend to store; taller books or decorative vases require more vertical clearance, while smaller items can sit on closely spaced tiers. Ensure the overall height of the unit remains easily accessible and does not obstruct nearby doorways, light switches, or window frames.
Products mentioned in this guide
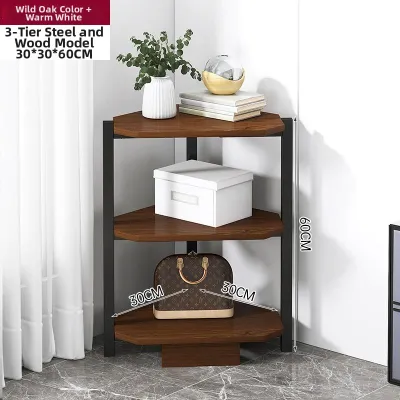
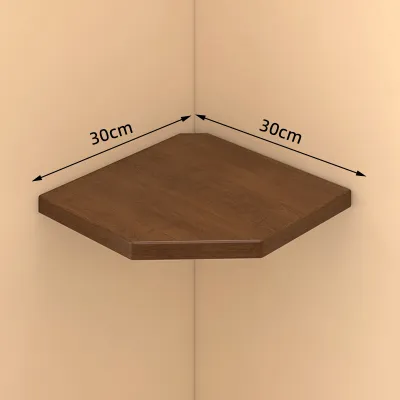
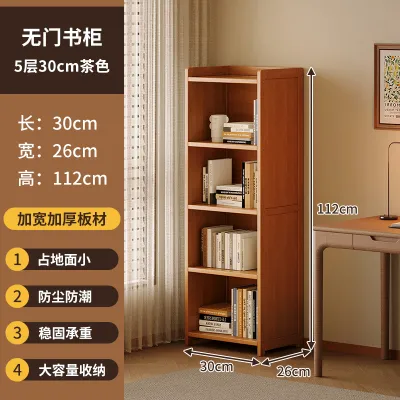
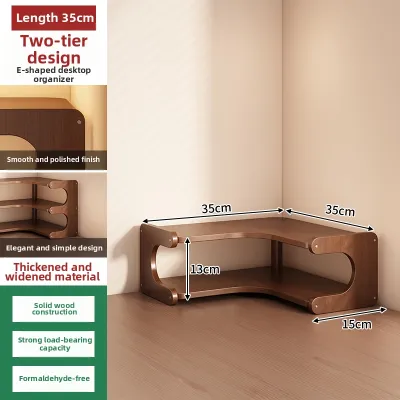
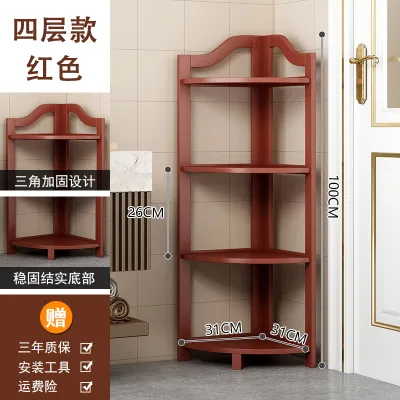
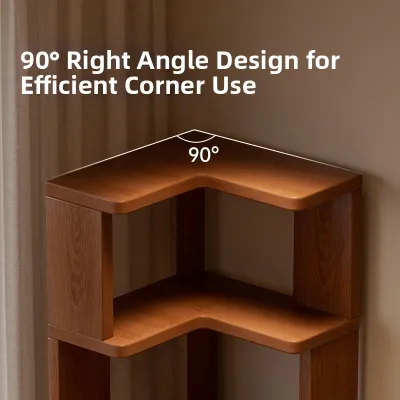
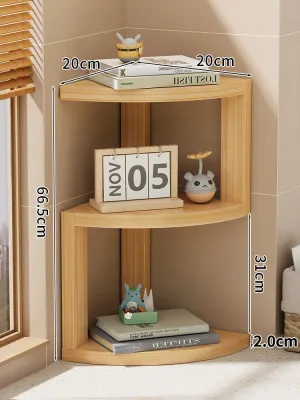
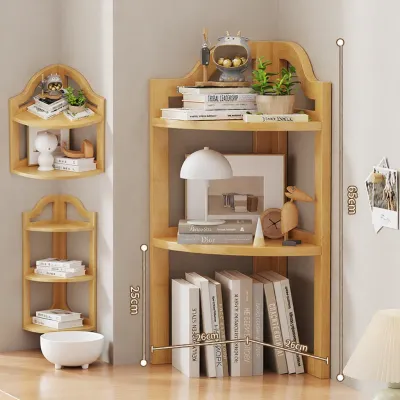
Prices are valid at publication and may change. Please refer to the product page for the latest price.
Finally, identify the construction material of your walls. In many modern apartments, such as those in Singapore, walls often consist of solid concrete, brick, or hollow drywall. This material determines the type of drill bits, wall plugs, and fasteners required for installation. Solid masonry walls require a hammer drill and masonry plugs, whereas drywall requires locating timber studs or utilizing specialized hollow-wall anchors.
Tools and Materials Checklist
Selecting the right materials is crucial for the structural integrity and longevity of your corner shelf. When choosing wood, prioritize flat, straight boards with minimal warping or knotting. A thickness of 18mm to 25mm is generally suitable for supporting moderate loads without sagging. Keep in mind that the durability and moisture resistance of the wood depend heavily on the protective finish you apply rather than the wood species alone.

For marking and cutting, gather a tape measure, a sharp pencil, a carpenter’s square, and a hand saw or jigsaw. If you plan to cut intricate shapes or scribe uneven walls, a jigsaw offers the necessary maneuverability.
For assembly and mounting, you will need wood screws, wood glue, a power drill with matching drill bits, a spirit level, and appropriate wall anchors. Sandpaper in progressive grits—such as 120-grit for initial smoothing and 240-grit for a fine finish—is essential for preparing the wood surfaces.
Step 1: Cutting and Preparing the Wood
Before making any cuts on your timber, create a cardboard template of the corner space. Press a piece of stiff cardboard firmly into the corner, trace the exact contour of both walls, and cut out the shape. This template allows you to test the fit and make adjustments for any wall bowing or unevenness without risking expensive wood. Once satisfied with the template, trace its outline onto your wooden board.
When operating saws or power tools, always prioritize safety. Work in a well-ventilated area, wear safety goggles to protect your eyes from flying debris, and use a dust mask to avoid inhaling fine wood particles. Secure the wood firmly to your workbench using clamps to prevent shifting during the cut, which helps ensure a straight, clean edge.
After cutting the shelf pieces, sand all surfaces and edges thoroughly. Start with a medium-grit sandpaper to remove rough spots and manufacturing marks, then progress to a fine-grit paper for a smooth touch. Soften the sharp outer edges slightly—a process known as easing the edges—to prevent splinters and allow paint or varnish to adhere more evenly.
Step 2: Assembling the Shelf Structure
Joining the wooden components securely is vital for a stable shelf. Depending on your design, you can use simple butt joints reinforced with wood screws, pocket hole joinery for hidden fasteners, or wooden dowels for a clean, hardware-free look. For a basic corner shelf with supporting side cleats, wood screws combined with high-quality wood glue provide excellent holding power.
During assembly, use corner clamps and a carpenter’s square to hold the pieces at a precise 90-degree angle. Any slight misalignment at this stage will compound, making the shelf difficult to mount flush against the walls. Keep the clamps tight until the fasteners are fully secured.
To prevent the wood from splitting, always pre-drill pilot holes before driving screws, especially when working near the edges of the boards. Select a drill bit that matches the inner shank diameter of your screws. Countersink the holes slightly so the screw heads sit flush with or just below the wood surface, allowing them to be concealed with wood filler later if desired.
Step 3: Mounting and Securing to the Wall
A secure mounting system is essential to prevent the shelf from sagging, tipping, or collapsing under load. Begin by holding the assembled shelf in the desired position against the corner. Place a spirit level on top of the shelf to ensure it is perfectly horizontal in both directions, then use a pencil to mark the mounting hole locations on the wall through the shelf’s pre-drilled holes or brackets.
Before drilling into your walls, use a reliable wall scanner or stud finder to check for hidden electrical wiring, water pipes, or metal conduits. Once the path is clear, drill the mounting holes using the appropriate drill bit for your wall type. For concrete or brick walls, insert plastic or nylon wall plugs flush with the wall surface; for drywall, install heavy-duty toggle bolts or threaded drywall anchors.
Align the shelf with the installed anchors and drive the mounting screws home. Avoid over-tightening, which can strip the anchors or damage the wood. Once fully secured, apply gentle downward pressure to the shelf to verify its stability and ensure there is no movement or separation from the wall.
Step 4: Finishing and Styling
Applying a protective finish enhances the appearance of the wood and shields it from environmental factors like humidity and dust. Choose a finish that matches the room’s conditions; for instance, a water-resistant polyurethane sealant is highly recommended for shelves placed in kitchens or high-humidity areas. Apply the stain, paint, or clear coat in thin, even layers, following the manufacturer’s instructions regarding ventilation, safety gear, and drying times. Allow the finish to cure completely before placing any items on the shelf.
When styling your completed corner shelf, distribute the weight of your items thoughtfully. Place heavier objects, such as large books or ceramic pots, closer to the corner joint and wall anchors where the structural support is strongest. Lighter decorative items can be placed toward the outer edges. This distribution minimizes leverage stress on the wall anchors and prevents the wood from bowing over time.
Frequently Asked Questions (FAQ)
Do I need special brackets for a corner shelf?
Standard L-brackets are often sufficient for supporting basic corner shelves, provided they are rated for the intended load and secured to wall studs or solid masonry. For a cleaner, minimalist aesthetic, you can use low-profile wooden cleats screwed directly into the walls, which support the shelf from underneath. Specialized floating shelf hardware is also an option, but it requires precise internal drilling into the rear edges of the shelf boards.
How much weight can a DIY wooden corner shelf hold?
The maximum weight capacity of your shelf is determined by its weakest component, which is typically the wall anchors rather than the wood itself. To determine the safe load limit, check the manufacturer’s weight ratings for your specific wall anchors and brackets. A shelf anchored securely into solid concrete or timber wall studs will support significantly more weight than one mounted solely into drywall using standard expansion plugs.
Community discussion
Share your experience or ask a question. Comments are reviewed before publication.