
Building a DIY modular corner shelf is an exceptionally efficient way to reclaim underutilized space, turning awkward nooks into functional storage hubs. By utilizing customizable modular components, you can design a shelving system tailored precisely to your room’s dimensions, aesthetic preferences, and storage requirements. The process involves measuring your corner space, selecting compatible modular parts, preparing a level foundation, assembling the tiers systematically, and anchoring the completed structure securely to the wall. This step-by-step guide walks you through the entire planning, assembly, and safety verification process to ensure a professional, stable, and long-lasting installation.
Planning Your Corner Space and Shelf Dimensions
Before purchasing any modular components, you must thoroughly evaluate the target corner. Begin by measuring the wall angles using a corner protractor or a simple paper-folding template to confirm if the walls meet at a true 90-degree angle. Even minor deviations can cause gaps between the shelf and the wall, which affects both stability and aesthetics. Measure the floor clearance and the total ceiling height, taking careful note of any potential obstructions such as skirting boards, electrical outlets, light switches, window frames, or decorative cornices.
Next, calculate your load capacity requirements based on the specific items you plan to store. Heavy books, ceramic pots, and kitchen appliances demand robust support, whereas lightweight decorative items or photo frames require less structural reinforcement. Check the manufacturer’s specifications for individual modular panels to verify their rated weight limits. Keep in mind that corner shelves naturally distribute weight differently than flat wall shelves, making it critical to align your storage expectations with the structural limits of the modular system.
Products mentioned in this guide
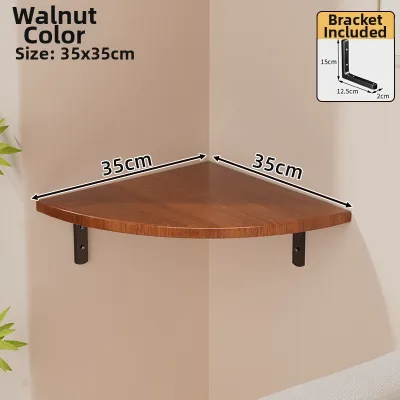
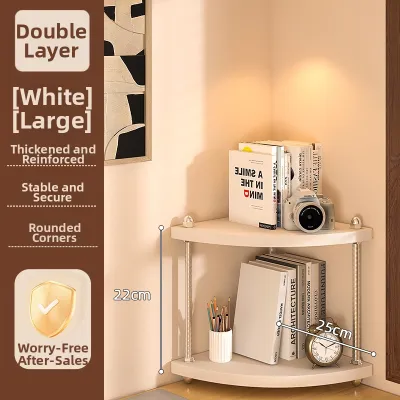
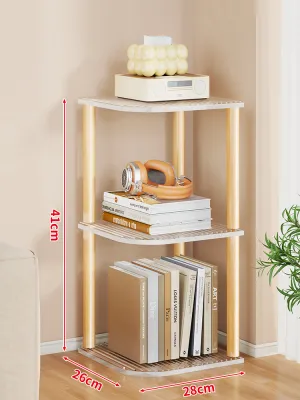
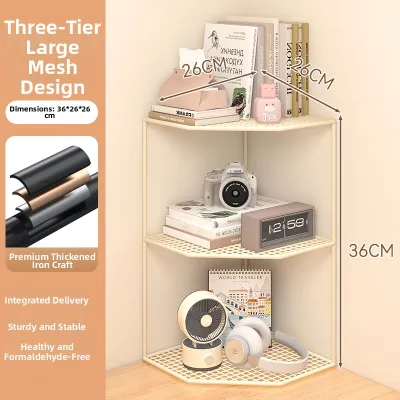
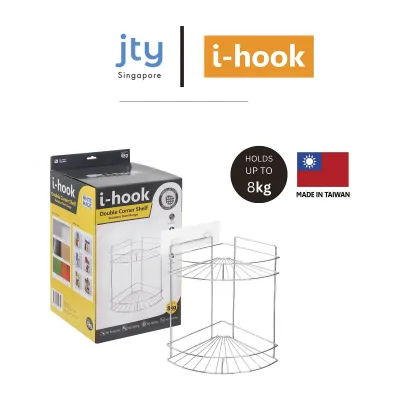
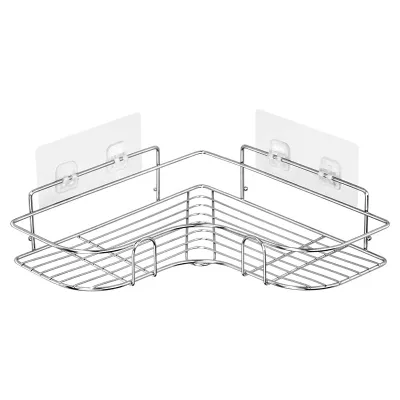
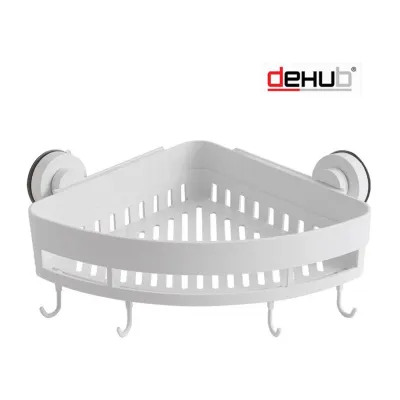
Prices are valid at publication and may change. Please refer to the product page for the latest price.
Finally, select modular unit sizes and configurations that match the available footprint of your room. Consider the physical logistics of bringing the components into your home, especially if you live in a high-rise apartment where lift dimensions and narrow doorways can restrict the transport of pre-assembled or exceptionally long panels. Choosing a modular system allows you to transport flat-packed components easily and assemble them directly in the designated corner, maximizing space efficiency without logistical headaches.
Tools and Materials Checklist
Having the correct tools and materials on hand before you begin assembly prevents unnecessary delays and ensures a safer installation process. For marking and measuring, you will need a reliable measuring tape, a spirit level, a pencil, and a stud finder. For the physical assembly and wall mounting, prepare a power drill with a set of wood and masonry drill bits, a screwdriver set or a hex key set, and a rubber mallet to gently tap interlocking joints into place without damaging the finish.

Your materials list starts with the modular shelf components, which typically include vertical support panels, horizontal shelves, corner connectors, and adjustable leveling feet. Ensure you have all the necessary hardware, such as joint brackets, dowels, or locking cams specified by the manufacturer.
The choice of wall anchors and fasteners is critical and must be selected based on your specific wall material. For solid concrete or brick walls, which are common in many modern apartments, heavy-duty masonry plugs or expansion anchors are required. If you are mounting onto drywall or partition walls, you must secure high-quality toggle bolts or heavy-duty hollow-wall anchors to provide sufficient holding power.
Step-by-Step Assembly and Installation
Assembling a modular corner shelf requires a systematic approach to ensure the structure remains plumb, level, and structurally sound. The installation process is divided into three distinct phases: preparing the base and wall anchors, stacking and connecting the individual modular tiers, and securing the completed structure to prevent tipping. Following this logical sequence minimizes errors and ensures that each component supports the next one perfectly.
Preparing the Base and Wall Anchors
A stable corner shelf relies entirely on a level foundation. Begin by placing your spirit level on the floor in the exact corner where the shelf will stand, checking both axes of the corner. If the floor slopes, you will need to plan for adjustments using leveling feet or structural shims to prevent the entire tower from leaning.
Next, use a stud finder to locate the structural framing studs behind drywall, or identify solid masonry areas if you are working with concrete walls. Mark these structural points clearly with a pencil. Align the base or the lower bracket of your modular shelf against the wall, and use your spirit level to ensure it is perfectly horizontal before marking the drill points through the mounting holes.
Once the drill points are marked, select the appropriate drill bit size matching your wall anchors. Drill the holes to the depth recommended by the anchor manufacturer, keeping the drill perfectly perpendicular to the wall surface. Insert the wall anchors firmly into the drilled holes, ensuring they sit flush with the wall surface, ready to receive the mounting screws.
Stacking and Connecting the Modular Units
With the base prepared, you can begin the process of stacking and connecting the modular units. Lay out the components for the first tier on a clean, flat surface to prevent scratching the finish. Assemble the bottom frame according to the manufacturer’s instructions, ensuring all interlocking joints, dowels, or cam locks are aligned correctly before applying pressure.
Carefully position the assembled base tier in the corner, checking its alignment with the pre-installed wall anchors or brackets. When stacking subsequent tiers, slide the vertical supports into the interlocking connectors of the lower tier. Avoid using excessive force; if a joint does not slide together smoothly, check for debris, manufacturing defects, or misalignment rather than forcing the components, which can split wood or bend metal connectors.
As you complete each tier, place your spirit level across the shelf surface in multiple directions to verify that it remains level and plumb. Tighten the connecting hardware progressively—start by tightening screws or cams finger-tight to allow for minor adjustments, and then secure them fully once the entire tier is aligned. This progressive tightening method prevents the structure from twisting or binding as it grows taller.
Securing the Structure and Final Adjustments
Once all modular tiers are stacked to your desired height, you must secure the structure to the wall to eliminate any risk of tipping. This step is essential for tall, narrow, or heavily loaded corner units. Attach the anti-tip straps, L-brackets, or specialized wall anchors provided with your modular kit to the top tier of the shelf, securing them firmly into the wall anchors you prepared earlier.
After the wall connections are secure, perform a final torque check on every screw, bolt, and connector throughout the entire assembly. Ensure that no joints are loose and that the shelf does not wobble when gentle pressure is applied.
If your modular system features adjustable leveling feet, make the final micro-adjustments now to distribute the shelf’s weight evenly across the floor. If you are using structural shims on an uneven floor, ensure they are pushed firmly under the base panels and trim any protruding material flush with the edge of the shelf for a clean, professional finish.
Safety Checks and Weight Distribution
Before placing any items on your newly installed corner shelf, conduct a thorough visual and physical safety inspection. Gently shake the shelf from side to side and front to back to verify that the wall anchors are holding securely and that there is no movement at the joints. Inspect all brackets and connectors to ensure they are fully seated and show no signs of gaps or stress.
When loading the shelf, always follow the golden rule of weight distribution: place the heaviest items on the lowest shelves. This keeps the center of gravity low, which significantly enhances the overall stability of the unit. Distribute items evenly across each individual shelf rather than concentrating heavy objects in the center or on one side, which can cause the panels to bow over time.
Regularly monitor the shelf for early signs of structural stress, especially during the first few weeks of use. Look out for bowing horizontal panels, loose connectors, or wall anchors that appear to be pulling away from the drywall or masonry. If you notice any of these warning signs, immediately unload the affected shelves and inspect the hardware for damage or incorrect installation.
Customization and Maintenance Tips
One of the greatest advantages of a modular corner shelf is the ability to customize it to suit your changing storage needs. You can integrate various modular accessories such as pull-out drawers, fabric bins, shelf dividers, or even integrated LED strip lighting to enhance both functionality and visual appeal. When adding accessories, ensure they are compatible with your specific modular system and do not exceed the overall weight limits of the structure.
Maintaining your corner shelf will preserve its appearance and structural integrity for years to come. Follow routine cleaning protocols based on the specific surface material of your shelf; for instance, wipe wood veneers with a dry or slightly damp microfiber cloth, and avoid harsh chemical cleaners that can strip protective finishes. For metal or laminate surfaces, a mild soapy water solution is usually sufficient, provided you dry the surfaces immediately to prevent moisture damage.
Wood and metal components naturally expand and contract with changes in indoor humidity and temperature, which can cause hardware to loosen over time. Establish a maintenance schedule to periodically check and tighten all screws, cam locks, and wall brackets—ideally once every six months. This simple habit prevents structural sagging and ensures your DIY modular corner shelf remains safe and sturdy.
Frequently Asked Questions (FAQ)
Can I install a modular corner shelf on drywall?
Yes, you can install a modular corner shelf on drywall, but you must take specific precautions to ensure it is secure. Whenever possible, you should align the shelf’s mounting brackets with the structural wooden or metal studs behind the drywall, securing them with standard wood screws. If a stud is not available at your mounting location, you must use heavy-duty toggle bolts or hollow-wall anchors rather than standard plastic expansion plugs, which can easily pull out of drywall under load. Always verify the weight rating of the specific anchors you choose to ensure they can support both the shelf and its intended contents.
How do I handle uneven floors during installation?
Handling uneven floors requires leveling the base of the shelf before building upward to prevent the entire structure from leaning. If your modular shelf system includes adjustable leveling feet, simply thread them in or out until the base tier is perfectly level according to your spirit level. If your system does not have adjustable feet, you can place thin wooden or plastic structural shims under the low points of the base panels. Once the shelf is fully assembled and secured, use a utility knife to trim any protruding shims flush with the base of the shelf so they are completely hidden from view.
Community discussion
Share your experience or ask a question. Comments are reviewed before publication.