
Building a custom toy storage rack using modular shelving components allows you to design a highly adaptable system tailored to your child’s changing play habits and your home’s specific layout. Unlike fixed, pre-assembled furniture, modular systems let you select individual frames, shelves, and bins that can be reconfigured as your child grows from toddler toys to board games and study materials. By planning your layout carefully, selecting compatible components, and executing a secure assembly, you can create a durable, organized storage solution that maximizes vertical space while keeping safety at the forefront.
Plan Your Space and Toy Storage Needs
Before purchasing any modular components, you must thoroughly assess the physical space where the toy storage rack will stand. Begin by measuring the available floor footprint, noting the exact width and depth of the designated area. Measure the ceiling height as well, especially if you plan to utilize vertical space with a taller shelving unit. It is crucial to account for clearances; ensure the rack will not obstruct the swing of doors, the opening of drawers on adjacent furniture, or access to electrical outlets and light switches. In compact urban apartments, such as typical Singapore flats, every centimeter counts, so double-checking these dimensions prevents costly layout mistakes.
Next, categorize your child’s current toy collection to determine the specific storage requirements. Group the toys by size, weight, and how frequently they are used. Large, heavy items like wooden building blocks or toy garages require deep, sturdy lower shelves, while lightweight plush toys, art supplies, and small action figures can occupy higher, shallower tiers. Assigning specific shelf heights and depths based on these categories ensures that frequently used items remain within your child’s reach, promoting independent play and easy cleanup.
Products mentioned in this guide
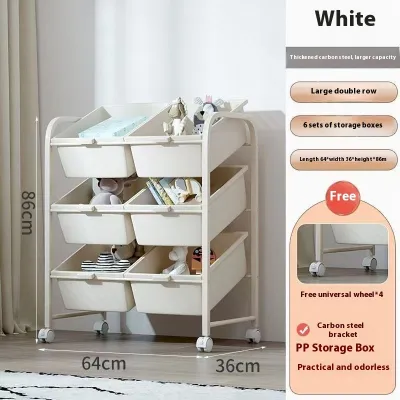
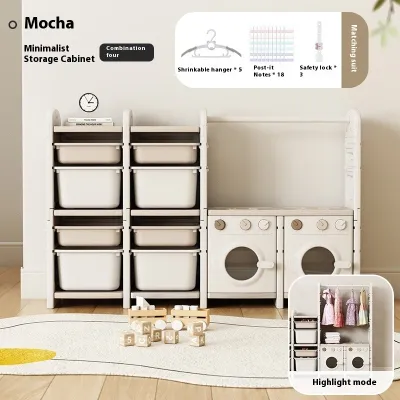
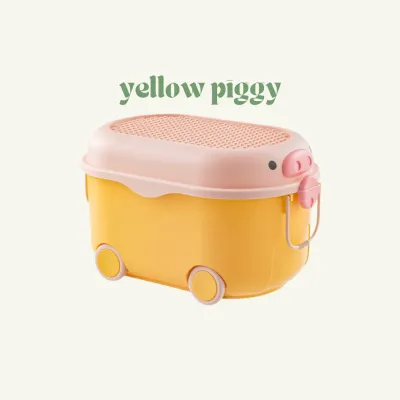
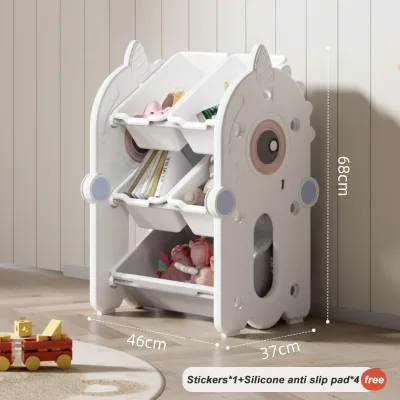
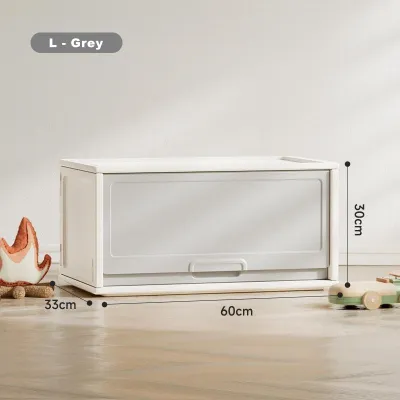
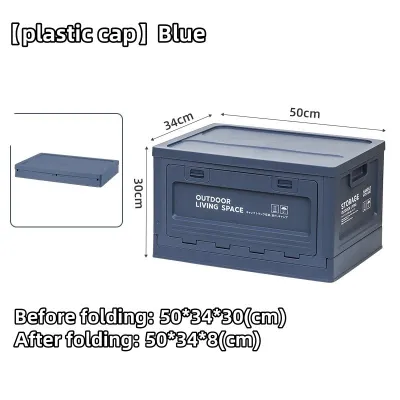
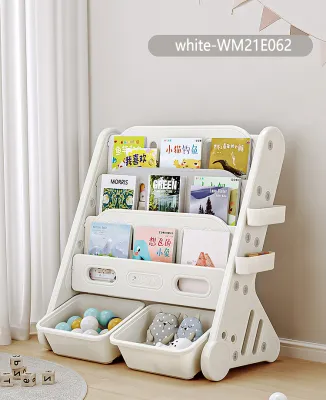
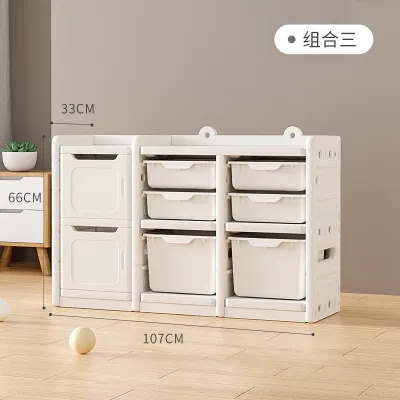
Prices are valid at publication and may change. Please refer to the product page for the latest price.
Finally, map out a preliminary layout on paper or using a digital planning tool. This layout should visualize how the modular rack will sit within the room relative to other furniture. Ensure the proposed structure does not block air conditioning vents, wall-mounted fans, or natural light sources. A well-planned layout maintains clear walkways, allowing children to move safely around the room without bumping into the corners of the shelving unit.
Choose the Right Modular Shelving Components
Selecting the right modular shelving components requires a careful balance of structural integrity, compatibility, and child safety. When browsing components, always verify the weight capacity labels printed on the manufacturer’s packaging or specification sheets. Avoid assuming that a shelf is durable or rigid simply because of its material name, such as solid wood or steel. Different manufacturing processes, joint designs, and material thicknesses significantly affect how much weight a shelf can safely support without bowing or collapsing.

The type of shelf surface you choose should match the specific toys being stored. Solid shelves, made of materials like laminate or sealed wood, are ideal for small items, loose puzzle pieces, and miniature figurines because they prevent small parts from slipping through. On the other hand, grid, wire, or slatted shelves work exceptionally well for larger, lighter toys, storage baskets, and stuffed animals. These open designs optimize visibility, making it easier for children to spot their toys, and they promote airflow, which is particularly beneficial in humid climates to prevent dust and moisture buildup.
Pay close attention to the connectors, brackets, and fasteners that hold the modular system together. Verify that all components come from the same product line or are explicitly certified as compatible by the manufacturer, as even minor millimeter differences can compromise structural stability. Inspect the physical design of the components to ensure all edges are smooth, rounded, or fitted with protective plastic caps. Avoiding sharp metal edges or exposed screw threads is essential for preventing scratches, cuts, and pinched fingers during daily use.
Gather Tools and Prepare the Assembly Area
A successful assembly begins with a clean, organized workspace and the correct tools close at hand. While many modular shelving kits include basic assembly tools, having a set of standard hand tools ready will make the process much smoother. Gather a high-quality screwdriver set, a measuring tape, a spirit level, and a rubber mallet. A rubber mallet is particularly useful for modular systems that use friction-fit connectors or interlocking joints, as it allows you to seat the components securely without marring or denting the finish.
Before unboxing your components, clear the floor in the assembly area to give yourself ample room to maneuver. Lay down a protective barrier, such as a clean canvas drop cloth, a large yoga mat, or flattened cardboard boxes from the packaging. This protective layer prevents the shelving parts from scratching your flooring—whether it is hardwood, vinyl, or polished tile—and protects the finish of the shelving components themselves during the assembly process.
Once the workspace is prepared, unbox all components and group them by type. Sort the vertical posts, shelves, brackets, and fasteners into separate piles. Count every item against the manufacturer’s inventory list included in the instruction manual. Identifying any missing or damaged parts before you begin assembly saves time and prevents the frustration of having to halt construction midway.
Step-by-Step Assembly of the Toy Storage Rack
Constructing your custom toy storage rack in a logical, systematic sequence ensures that the final structure is stable, square, and safe. Begin by assembling the base frame or the lowest tier of the shelving unit. Lay out the bottom horizontal supports and connect them to the base of the vertical posts. Use your rubber mallet to gently tap friction-fit connectors into place, ensuring they are fully seated. If your system uses screws or bolts, thread them in by hand first to avoid cross-threading, then tighten them just enough to hold the frame together. Ensuring the base is perfectly square and level at this stage is critical, as any misalignment here will amplify as you build upward.
Once the base is secure, begin installing the vertical posts and horizontal shelves. For modular systems, it is often easiest to work from the bottom up, installing one tier at a time. As you add each shelf, connect it to the vertical supports using the designated brackets or collars. A key technique during this phase is to tighten all fasteners only partially. Leaving the joints slightly loose allows for minor adjustments and prevents the frame from binding or twisting as you add higher levels. If you tighten each joint fully as you go, you may find that the upper shelves do not align properly with the mounting holes.
After all shelves and vertical posts are in place, use a spirit level to check both the horizontal alignment of each shelf and the vertical alignment of the upright posts. Place the level on multiple shelves, checking from left to right and front to back. If the rack is slightly tilted, gently nudge the frame into alignment. Once you are satisfied that the entire structure is perfectly level and square, go back and apply the final torque to all fasteners, tightening them securely in a diagonal or cross-pattern to distribute the tension evenly.
Securing the Rack for Child Safety
No toy storage rack assembly is complete without implementing robust anti-tip measures. Because children naturally tend to climb shelves or pull on drawers to reach toys, unsecured shelving units pose a serious tip-over hazard. Install the manufacturer-provided anti-tip straps, brackets, or wall anchors immediately after completing the main assembly. These anchors must be secured directly into wall studs or solid masonry walls using the appropriate screws and wall plugs. If you are anchoring into drywall without a stud, use heavy-duty toggle bolts or specialized drywall anchors designed for load-bearing applications.
In addition to physical wall anchors, proper weight distribution is a fundamental safety strategy. Always place the heaviest items, such as large plastic bins filled with building blocks, heavy books, and wooden train sets, on the bottom shelves. This lowers the overall center of gravity of the storage rack, making it inherently more stable and less likely to tip forward. Reserve the middle and upper shelves for lighter toys, board games, and soft items.
If you encounter a wall structure that seems unstable, or if you are unsure how to safely anchor the rack to your specific wall material, stop the assembly immediately. Do not rely on temporary solutions like double-sided tape or wedging the rack against other furniture. Instead, consult a qualified professional handyman or contractor to ensure the unit is anchored securely and safely.
Organize and Maintain Your Custom Toy Storage
With the physical structure securely assembled and anchored, you can focus on organizing the toys to maximize the rack’s efficiency. Utilize modular bins, baskets, or trays that match the exact dimensions of your shelves. Using containers that fit snugly prevents wasted space and keeps small toy parts, such as building bricks, puzzle pieces, and craft supplies, neatly contained. Opt for clear plastic bins so children can easily see what is inside, or use color-coded baskets with simple labels or picture tags to help young children identify where toys belong during cleanup.
Maintaining the structural integrity of your custom toy storage rack requires ongoing attention. Over time, the vibration from daily use, pulling bins in and out, and the shifting weight of toys can cause modular connectors and fasteners to loosen slightly. Establish a routine to check the stability of the rack every few months. Gently shake the frame to check for wobble, and use your tools to retighten any loose screws, bolts, or brackets. This simple preventive step ensures the rack remains safe and rigid over years of use.
Proper cleaning is also essential to preserve the finish and prevent material degradation. Wipe down the shelving surfaces regularly using a soft, slightly damp microfiber cloth to remove dust and fingerprints. Always refer to the manufacturer’s care instructions for specific cleaning recommendations, especially for specialized finishes like powder-coated steel, natural wood, or laminated particle board. Avoid using abrasive scrubbing pads or harsh chemical solvents, which can strip protective coatings and leave the material vulnerable to moisture and wear.
Frequently Asked Questions (FAQ)
Can I add more tiers to my modular toy storage rack later?
Yes, most modular shelving systems are designed for vertical or horizontal expansion, but you must verify the manufacturer’s structural limits before doing so. Check the product manual or packaging for the maximum recommended height and total weight capacity of the frame. Adding too many tiers can compromise the stability of the unit and increase the leverage exerted on wall anchors. If you decide to expand vertically, ensure that you purchase compatible extension kits from the same manufacturer, and always install additional wall anchors at the new highest point to maintain proper anti-tip safety.
How do I clean modular shelving without damaging the finish?
To clean your modular shelving safely, use a soft, damp microfiber cloth with a mild, diluted dish soap if necessary. Avoid using abrasive sponges, steel wool, or harsh chemical cleaners containing bleach or ammonia, as these can scratch or degrade the protective finish. After wiping down the shelves with a damp cloth, immediately follow with a dry, clean towel to remove any residual moisture. Preventing water from pooling in joints, seams, or unsealed edges is crucial, particularly for wood-based or metal components, to prevent swelling, warping, or rust.
Community discussion
Share your experience or ask a question. Comments are reviewed before publication.