
Building a functional corner storage cabinet from individual modular shelving units is an effective way to maximize underutilized space while tailoring storage to your exact needs. By combining standalone modules into a unified corner configuration, you can create a custom storage solution that fits your room’s layout. Achieving a stable, safe, and visually cohesive result requires careful planning, precise alignment, and secure anchoring. This guide outlines the step-by-step process to transform individual shelving components into a reliable corner storage system, emphasizing the critical role of manufacturer guidelines in maintaining structural integrity.
Planning Your Corner Layout and Unit Configuration
Before purchasing or assembling any components, a thorough assessment of your physical space is essential. Start by measuring the width, depth, and height of the corner where the cabinet will stand. Use a reliable tape measure and account for any architectural features that could obstruct the units, such as baseboards, skirting boards, light switches, electrical outlets, or nearby window frames. In many homes, especially compact apartments or HDB flats in Singapore, even a few millimeters of deviation caused by a skirting board can prevent a modular unit from sitting flush against the wall.
Next, verify the finished dimensions of the modular shelving units you plan to use. Compare these specifications directly against your measured space. It is equally important to plan the logistics of moving the units into the room. Check the clearance of your doorways, hallways, stairwells, and lift access to ensure the flat-packed or pre-assembled components can be safely transported to the assembly site.
Products mentioned in this guide
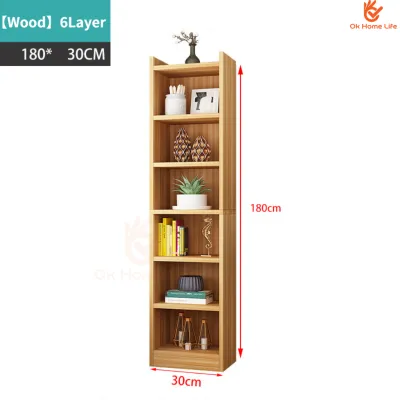
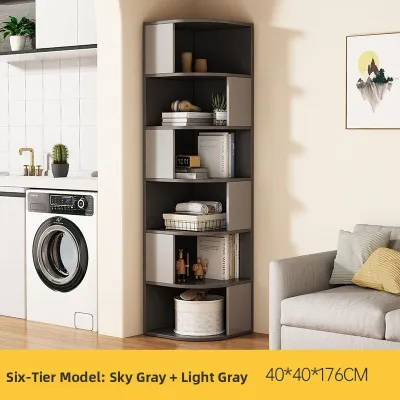
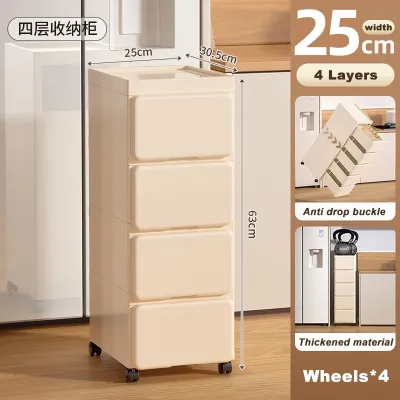
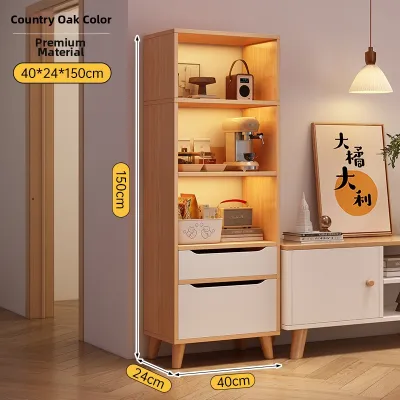
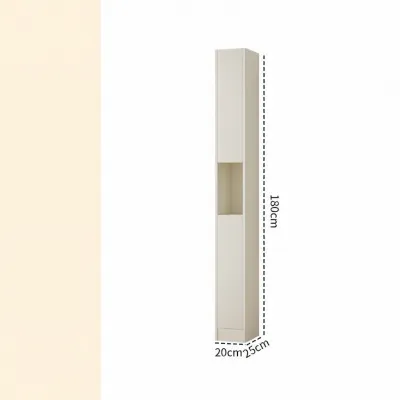
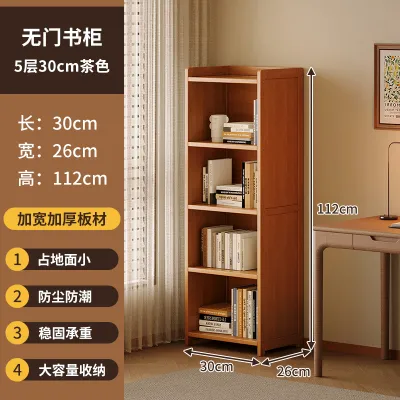
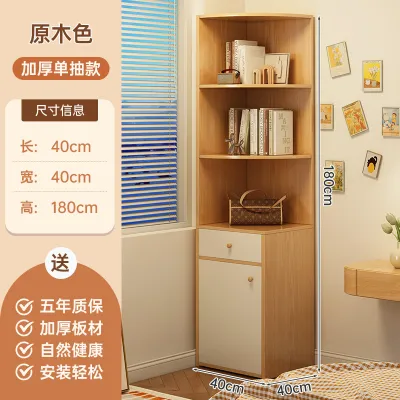
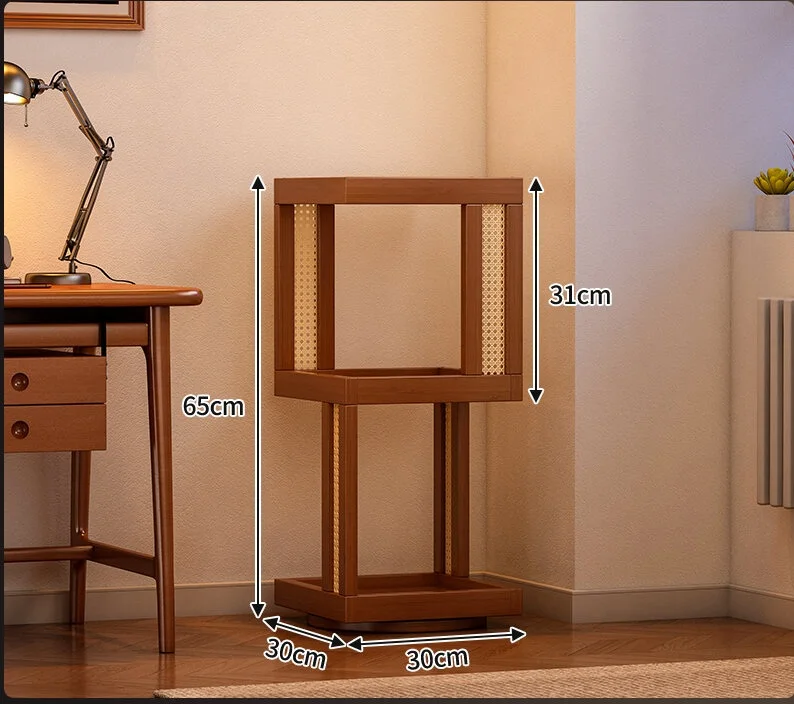
Prices are valid at publication and may change. Please refer to the product page for the latest price.
Determine the exact angle of your corner. While most corners are designed to be a standard 90-degree angle, structural settling or plastering variations can create irregular angles. You can check this with a framing square or by measuring a 3-4-5 triangle in the corner. Based on the angle and available space, plan your unit arrangement. Common configurations include an L-shape (where one unit butts against the side of another), a U-shape for larger spaces, or a staggered layout.
Finally, review the manufacturer’s specifications for each modular unit. Ensure the modules are explicitly designed or rated to be placed adjacent to other units or connected in a combined system. Confirming compatibility beforehand prevents structural instability and alignment issues later.
Essential Tools and Connection Materials
Assembling and securing a modular corner storage cabinet requires a specific set of tools to ensure precision and safety. Prepare a clean, flat workspace and gather your tools before starting. You will need a high-quality tape measure, a spirit level (at least 60 cm long for accurate readings), a rubber mallet to seat joints without damaging the finish, and the appropriate screwdrivers or Allen keys specified by the manufacturer.

The hardware used to connect the individual units depends entirely on the shelving material and the manufacturer’s design. For wire or metal shelving systems, this often involves approved interlocking clips, post clamps, or heavy-duty zip ties designed for structural use. For wooden, MDF, or composite modular units, connection hardware typically includes jointing plates, standard L-brackets, or specialized connector screws that thread through pre-drilled holes in adjacent panels. Always use the hardware recommended or supplied by the manufacturer to maintain the product warranty and structural rating.
Safety is paramount, particularly for tall or narrow configurations. You must select an anti-tip anchoring kit that is compatible with both the height of your assembled cabinet and your specific wall material. In Singapore, most residential walls are solid concrete or masonry, which require expansion anchors or masonry plugs and matching screws. If you are anchoring to drywall or stud walls, you will need toggle bolts or stud-finding tools to secure the brackets to the wooden or metal studs.
Never attempt unauthorized drilling, cutting, or structural modifications to the shelving units unless the product manual explicitly permits it. Modifying the load-bearing components can compromise the structural integrity of the material, leading to sudden failure or collapse under load.
Step-by-Step Guide to Assembling and Connecting Units
Building the Individual Shelving Units
Begin by assembling each modular unit as a standalone structure. Work on a flat, protected surface—such as a clean floor covered with cardboard or a drop cloth—to prevent scratching the panels or frame. Carefully follow the manufacturer’s step-by-step instructions for each module. Pay close attention to the orientation of panels, shelves, and support rails, as installing a single piece backward can affect the alignment of the entire corner configuration.
As you assemble, ensure all joints, dowels, screws, and fasteners are fully tightened but not stripped. Once a unit is assembled, check it for squareness. You can do this by measuring diagonally from opposite corners; if the two diagonal measurements are equal, the unit is square. Place the unit on a flat surface and check its stability. If it wobbles or leans, loosen the fasteners slightly, adjust the frame until it is square, and then re-tighten the hardware.
Some modular systems require you to leave specific side panels, backboards, or trim pieces unattached during the initial build to allow for inter-unit connections or cable routing. Only deviate from the standard assembly steps if the manufacturer’s instructions explicitly direct you to do so for a corner setup.
If you discover any missing, damaged, or misaligned parts during assembly, stop immediately. Do not attempt to force ill-fitting components together or substitute unapproved hardware. Contact the manufacturer or retailer to obtain the correct replacement parts before proceeding with the installation.
Aligning and Leveling the Corner Arrangement
Once all individual units are assembled, carefully move them into their designated positions in the corner. Position the units according to your planned layout, leaving a small, even gap between them if the manufacturer’s connection brackets or thermal expansion guidelines require it. Take care not to drag the units across the floor, as this can damage both the flooring and the base of the shelving.
Use a spirit level to check the horizontal and vertical alignment of each unit. Place the level on the top shelf, middle shelves, and along the vertical uprights. If your modular units feature built-in adjustable leveling feet, turn them clockwise or counterclockwise to compensate for uneven flooring. If the units do not have adjustable feet, use appropriate, high-density plastic or wood shims placed under the base to achieve perfect level.
Verify that the top surfaces and front edges of adjacent units are completely flush with one another. Misaligned units not only look unprofessional but also create uneven weight distribution and place unnecessary stress on the connection points. If the front edges do not line up, check if the walls are out of square or if the floor slopes, and adjust the leveling feet or shims accordingly.
Re-measure the diagonal distances of the entire corner configuration and check the alignment relative to the wall lines. Ensuring the entire setup is square and true at this stage prevents binding, warping, and gaps when you permanently connect the units.
Securing and Anchoring the Final Structure
With the units perfectly aligned and leveled, you can now connect them to form a single, cohesive corner storage cabinet. Use the manufacturer-approved connection methods to join the adjacent frames. For wooden or laminate units, this typically involves installing jointing plates or connector screws through the pre-drilled holes at the top, middle, and bottom of the adjacent side panels. For metal wire shelving, secure the post clamps or interlocking clips tightly at multiple heights.
Next, install the anti-tip anchoring kits to secure the completed structure to the wall. This step is critical for any configuration, especially those that are tall, narrow, or intended to hold heavy items. Align the wall brackets with the designated anchoring points on the cabinet. Mark the drilling locations on the wall, move the cabinet slightly if necessary to drill the holes, insert the appropriate wall plugs (such as masonry plugs for concrete walls), and secure the brackets firmly.
When driving screws into the shelving material or the wall anchors, avoid over-tightening. Over-tightening can strip the threads in wooden panels, crack plastic connectors, or warp metal frames, which severely compromises the structural integrity of the modular system. Use hand tools for the final tightening turns to maintain precise control over the torque.
If you encounter difficulties during this process—such as a wall material that cannot support the anchoring hardware, or units that do not align without forcing and warping the frame—halt the installation. Do not proceed with an unstable setup. Seek professional advice or consult a qualified contractor to ensure the system is anchored safely and securely.
Final Stability Checks and Safety Verification
Before placing any items onto your new corner storage cabinet, you must perform a systematic safety and stability check. Begin with a gentle shake test. Apply light pressure to the upper sections of the cabinet from different angles to ensure there is no excessive wobbling, swaying, or separation between the connected modules. The entire structure should feel rigid and move as a single, solid unit.
Re-check the alignment using your spirit level. Place the level on multiple shelves across different units, as well as the top surfaces, to confirm that the structure did not shift or warp during the securing and anchoring process. If you detect any deviation, adjust the leveling feet or wall anchors before loading the shelves.
Review the product manuals or labels to identify the maximum load capacity for each individual shelf and the overall cabinet structure. Never exceed these limits. When planning how to store your items, follow the weight distribution rule: place the heaviest items on the bottom shelves to lower the center of gravity, and store lighter items on the upper shelves. This distribution minimizes structural stress and further reduces tipping risks.
Finally, conduct a thorough visual inspection of all visible fasteners, connection brackets, and wall anchors. Confirm that every screw is fully seated, all clips are locked in place, and the wall brackets are flush against both the wall and the cabinet frame. Regular inspections over time will help ensure the hardware remains tight and secure.
Frequently Asked Questions (FAQ)
Can I mix different sizes or depths of modular units?
Mixing different sizes, depths, or heights of modular units within a single corner configuration is possible, but it introduces structural and aesthetic challenges. Varying the depths can lead to uneven load distribution and make it difficult to align the front edges flush, which may prevent standard connection hardware from fitting properly. If you combine units of different heights, the top surfaces will be uneven, which can affect the visual flow and limit your anchoring options.
Always consult the manufacturer’s compatibility guidelines before attempting to mix different modules. Some systems are designed with modular increments that allow for stepped or staggered configurations, while others require identical units for safe connection. If the manufacturer does not support direct connection between different sizes, you can place the units adjacent to each other without physical connectors, provided each individual unit is independently leveled, stabilized, and anchored to the wall.
Is wall anchoring mandatory for a corner storage cabinet?
Wall anchoring is highly recommended and often mandatory for modular corner storage cabinets, particularly those that are tall, narrow, or heavily loaded. While arranging units in an L-shape or corner configuration provides a wider physical footprint and slightly more inherent stability than a single standalone unit, it does not eliminate the risk of tipping. External forces, such as pulling on a drawer, climbing, or uneven weight distribution, can still cause a heavy cabinet to tip forward.
Skipping the wall anchors poses severe safety risks, especially in households with children or pets who might attempt to climb the shelves, or in homes with uneven flooring. Manufacturer instructions and local safety standards almost always dictate that units above a certain height must be anchored. To ensure a safe living environment, always install the included anti-tip hardware according to the manufacturer’s specifications and your specific wall type.
Community discussion
Share your experience or ask a question. Comments are reviewed before publication.