
Creating an environment that fosters independence is a cornerstone of the Montessori philosophy. By adapting modular shelving components into a child-height, open-access shelf, you can design a custom storage solution tailored to your child’s developmental needs. This approach allows children to choose and return their toys independently, encouraging order and self-reliance from an early age. This guide walks you through the entire process of planning, selecting, assembling, and safely securing a modular Montessori shelf for your home.
Planning the Shelf Dimensions and Room Layout
To design an effective Montessori shelf, start by assessing your child’s physical reach. For toddlers, the top shelf should generally align with their chest or shoulder height, allowing them to see and reach items easily without stretching or climbing. A height of around 50 to 60 centimeters is often ideal for very young children, while older children may comfortably reach shelves up to 90 centimeters high.
Next, measure your available floor space carefully. In compact living environments, such as modern apartments, maximizing floor area while maintaining clear walkways is essential. Ensure there is ample room in front of the shelf for your child to sit, play, and easily maneuver large toys or trays without blocking pathways.
Products mentioned in this guide
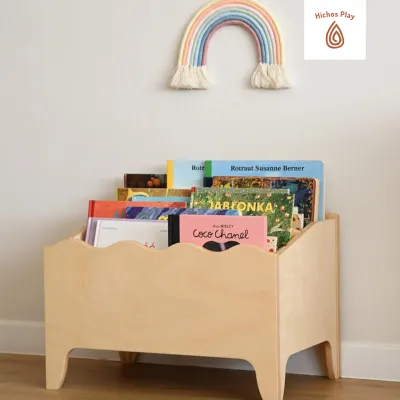
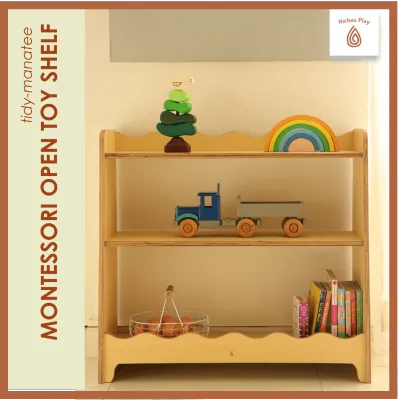
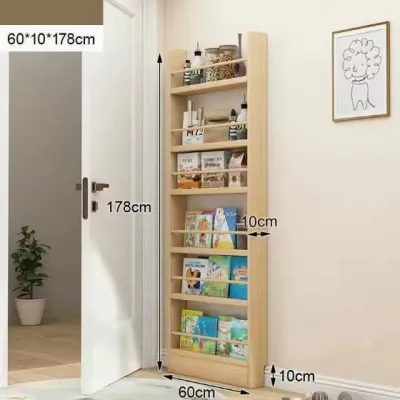
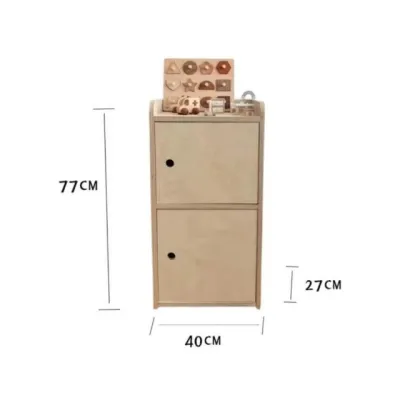
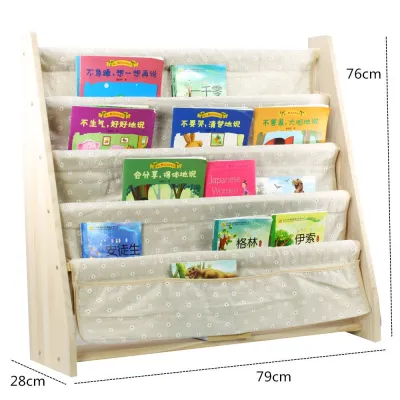
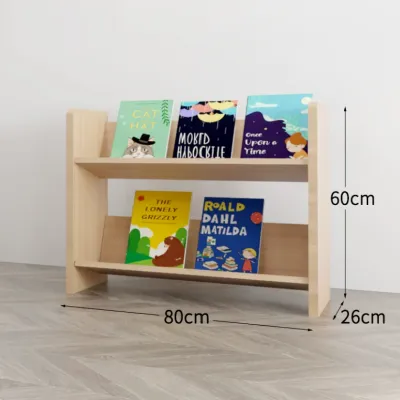
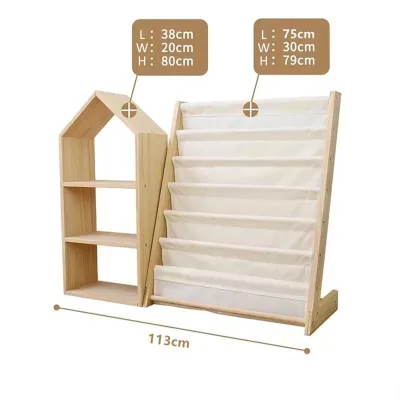
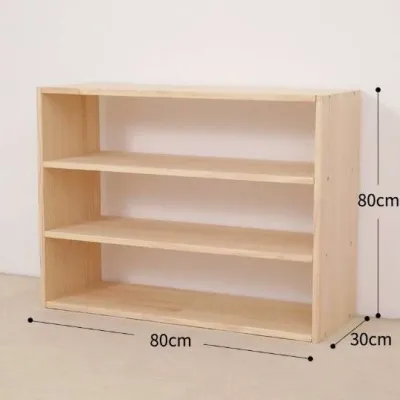
Prices are valid at publication and may change. Please refer to the product page for the latest price.
Before purchasing any modular components, verify the logistics of your space. Measure the clearances of your entryways, hallways, and especially passenger lifts if you live in a high-rise building. If you plan to assemble the unit in a larger room and move it to the nursery later, ensure the fully assembled dimensions can easily pass through standard doorways and tight corners.
Selecting Modular Components and Materials
When choosing modular components, prioritize materials that can withstand daily use while remaining safe for children. Look for solid wood or high-quality engineered wood with smooth, rounded edges to prevent scratches or splinters. Check the product specifications for non-toxic, low-emission finishes or water-based coatings, which are particularly important in humid climates where finishes must resist peeling and moisture.

Examine the connection mechanisms of the modular system. Sturdy joint hardware, such as metal-to-metal cam locks, dowels, or heavy-duty brackets, provides better structural rigidity than simple friction-fit plastic connectors. Avoid systems that rely solely on lightweight tension rods, as these can easily shift or collapse under the weight of active play.
Always verify the load-bearing capacity listed on the manufacturer’s product label. Children’s books and solid wooden toys can be surprisingly heavy when grouped together. Ensure each individual shelf level is rated to support the weight of your planned items, and avoid overloading the unit beyond these certified limits.
Step-by-Step Assembly and Configuration
Begin by preparing a clean, flat workspace, preferably on a soft rug or cardboard packaging to protect the shelf panels from scratches. Unpack all modular components, organize the hardware into separate trays, and carefully review the manufacturer’s assembly manual. Having all tools and parts laid out beforehand prevents assembly errors and ensures a smoother build process.
Assemble the base and vertical supports first. If your modular system uses dowels or locking pins, ensure they are fully seated into their pre-drilled holes before proceeding to the next step. Loose joints at the base can compromise the structural integrity of the entire unit, so take your time to align each piece precisely.
Attach the horizontal shelves starting from the bottom and working your way up. Use a spirit level to check the alignment of each shelf before fully tightening the fasteners. Tightening the screws in a diagonal pattern can help distribute tension evenly and prevent the frame from twisting during assembly.
Once the main frame is secure, configure any modular inserts, dividers, or back panels. For a Montessori setup, open-backed shelves or simple vertical dividers work best to create distinct, uncluttered zones. These visual boundaries help children understand where each toy belongs, reinforcing the sense of order and predictability in their environment.
Safety Anchoring and Stability Verification
Securing the shelf to the wall is a non-negotiable safety step for any child-accessible furniture. First, identify your wall structure to select the appropriate mounting hardware. In many local apartments, walls are made of solid concrete or brick, which require masonry wall plugs and a hammer drill, whereas drywall partitions require specialized hollow-wall anchors.
Attach the anti-tip safety brackets or straps strictly according to the manufacturer’s instructions. Mount the wall-side bracket directly into a wall stud or solid masonry, and secure the furniture-side bracket to a solid structural member of the shelf, rather than a thin backboard. Keep the anchor straps taut to minimize any potential forward movement.
Perform a rigorous physical stability test once the anchoring system is installed. Grasp the top of the shelf and firmly pull forward and shake it from side to side to check for any wobbling, shifting, or loose joints. The unit should remain firmly anchored to the wall without any noticeable play or separation.
If you encounter crumbling plaster, hollow walls with unknown stud locations, or if you are unsure about drilling into your specific wall type, stop immediately. Consult a qualified local handyman or professional installation service to ensure the unit is anchored safely and securely.
Organizing Items for Independent Access
The way you arrange items on the shelf directly influences how your child interacts with their environment. Place the heaviest items, such as large wooden blocks or heavy storage bins, on the lowest shelves. This keeps the center of gravity low, which naturally enhances the physical stability of the unit and makes heavy items safer for a child to lift.
Select open trays, shallow baskets, or low-profile bins that fit neatly within the modular compartments. Ensure these containers do not overhang the front edge of the shelves, as protruding items can easily be knocked over by a passing child. Trays with handles are ideal, as they allow children to carry an entire activity to their play mat independently.
Implement a thoughtful toy rotation system rather than crowding every toy onto the shelves at once. Displaying only a limited number of activities—typically one or two items per shelf compartment—prevents sensory overload and encourages deeper engagement. Store extra toys out of sight and swap them out every few weeks to maintain your child’s interest and keep the space organized.
Frequently Asked Questions (FAQ)
Can I stack modular cubes to make the shelf taller as my child grows?
Stacking modular units is a convenient way to expand storage, but it significantly increases the risk of tipping by shifting the center of gravity upward. If you choose to stack units, you must use the manufacturer’s approved interlocking hardware to lock the modules together securely. Additionally, heavy-duty wall anchoring becomes absolutely mandatory for any stacked configuration to prevent accidental tip-overs. Always check the manufacturer’s specifications for maximum stacking limits and warranty conditions before adding vertical layers.
What should I do if the modular shelves wobble after assembly?
If your shelf wobbles, first check for uneven flooring, which is common near baseboards or on tiled surfaces. You can use felt pads, adjustable leveling feet, or thin furniture shims to level the base. Next, inspect all joints and fasteners to ensure they are fully tightened and seated correctly, as loose screws are a primary cause of instability. Finally, re-evaluate how weight is distributed across the shelves; move heavier items to the bottom levels and remove any excess weight from the upper shelves to restore balance.
Community discussion
Share your experience or ask a question. Comments are reviewed before publication.