
Assembling and styling a modular display shelf allows you to customize your storage to fit the exact dimensions of your living space while showcasing your personal style. Doing this successfully requires a careful balance of precise structural assembly, safety precautions, and visual design principles. By understanding how to secure joints, anchor frames to different wall types, and arrange items using proven styling rules, you can create a safe, stable, and visually striking centerpiece for any room.
Whether you are setting up a study corner, organizing a living room, or optimizing a compact entryway, a modular system offers the flexibility to adapt to your changing needs. However, a shelf is only as good as its assembly and stability. Taking the time to prepare your space, use the correct tools, and follow a systematic build process ensures your display shelf remains a beautiful and secure fixture in your home for years to come.
Preparing Your Space and Tools for Assembly
Before unboxing your modular components, you must accurately assess the physical space where the shelf will stand. Measure the height, width, and depth of the designated area, taking into account baseboards, light switches, electrical outlets, and wall cornices that might obstruct a flush fit. Additionally, consider the access route to this space. Measure your doorways, tight corridors, and lift doors to ensure you can safely transport large panels or partially assembled modules into the room without damaging your walls or the furniture itself.
Products mentioned in this guide
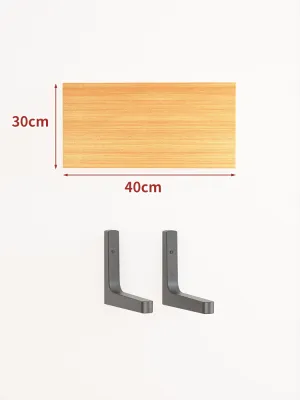
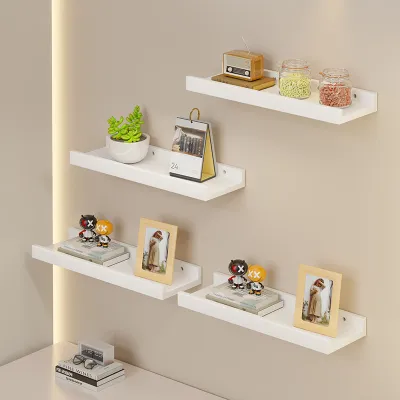
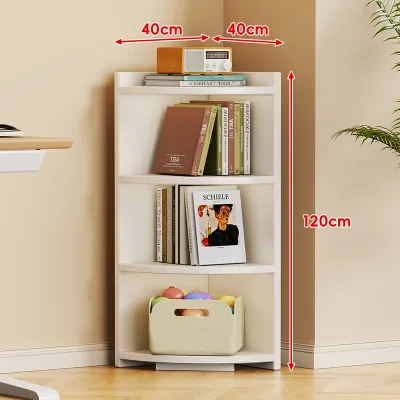
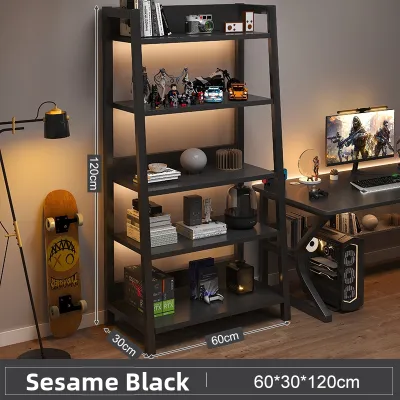
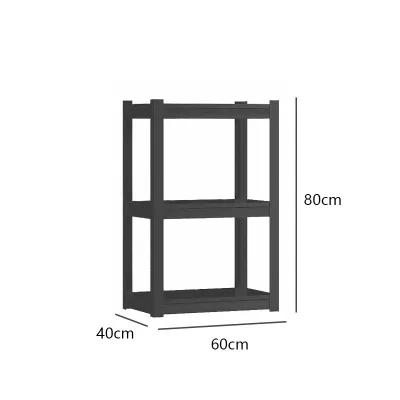
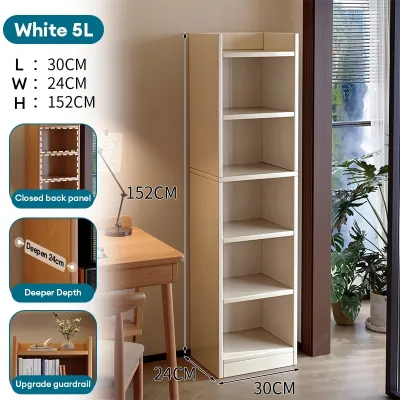
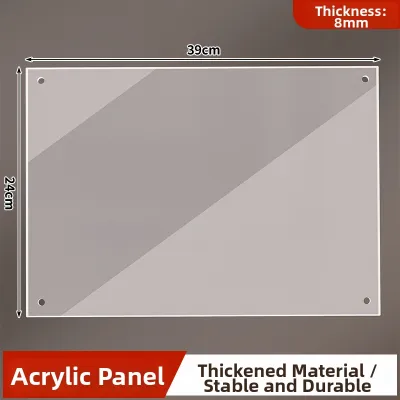
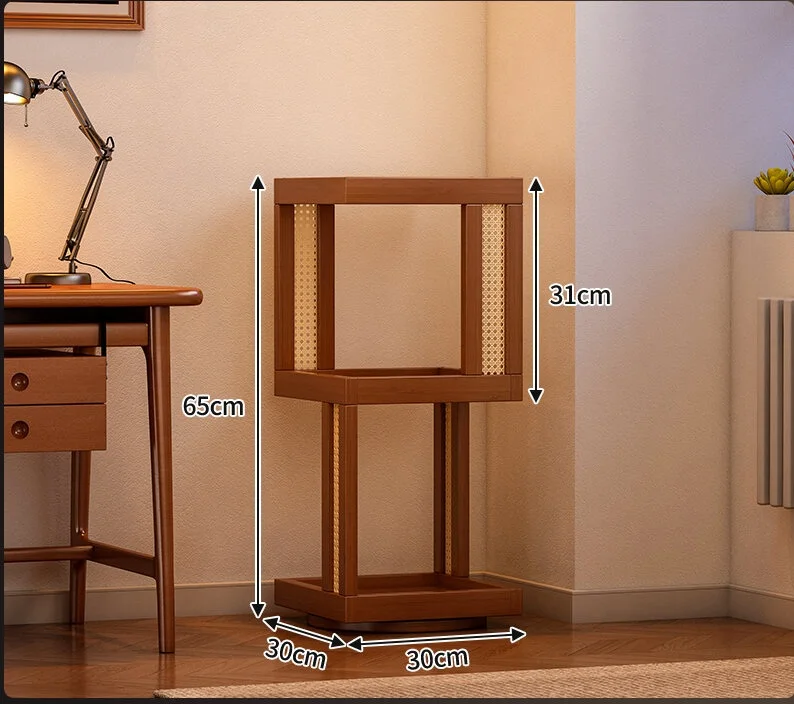
Prices are valid at publication and may change. Please refer to the product page for the latest price.
Once the space is cleared, unbox all your DIY components and lay them out systematically on a clean, soft surface, such as a large rug or the cardboard packaging. This protects both your flooring and the finish of the shelf panels from scratches. Locate the manufacturer’s parts list and verify that every single piece—including vertical panels, horizontal shelves, dowels, cam locks, screws, brackets, and connectors—is present. Identifying a missing component early prevents the frustration of having to halt assembly mid-build.
Having the right tools on hand makes the assembly process smooth and prevents damage to the hardware. Gather a high-quality measuring tape, a spirit level, a manual Phillips-head screwdriver, and a flathead screwdriver. A rubber mallet is highly recommended for modular systems, as it allows you to tap joints and plastic connectors firmly into place without marring or denting the surfaces. If your modular system requires wall anchoring into solid concrete or brick walls, you will also need a hammer drill, appropriate masonry drill bits, and a stud finder if you are working with drywall partitions.
Safety should always be your top priority during any DIY project. Wear slip-resistant work gloves to protect your hands from sharp laminate edges, wooden splinters, or pinches when snapping connectors together. If you need to drill holes into the wall for anti-tip brackets, wear safety glasses to shield your eyes from concrete dust or plaster debris. Ensure the workspace is well-ventilated and free of tripping hazards before you begin putting the pieces together.
Assembling the Modular Display Shelf Step-by-Step
Building the Base and Vertical Supports
The foundation of your modular display shelf dictates the structural integrity of the entire unit. Begin by assembling the bottom row or base frame directly on your flat, protected floor space. If the base of the shelf is not perfectly level, this slight deviation will multiply as you build upward, causing the entire structure to lean, wobble, or place uneven stress on the joints. Place a spirit level across the top of the assembled base frame, checking both left-to-right and front-to-back alignment to ensure it is perfectly horizontal.

With the base leveled, begin connecting the first set of vertical supports or side panels. When inserting wooden dowels, metal cam pins, or plastic connectors, ensure they are fully seated in their pre-drilled holes. Avoid forcing or hammering pieces together with excessive violence. If a panel does not slide in easily, check for misaligned pins or debris inside the pre-drilled holes. Forcing a tight joint can split engineered wood panels, crack plastic connectors, or strip the internal threads of the joints, permanently weakening the frame.
Attaching Shelves and Securing Connections
Once the vertical supports for the first tier are securely in place, position the first set of horizontal shelves. Engage the locking mechanisms carefully according to the manufacturer’s instructions. If your modular shelf uses cam locks, insert the metal cam wheel into its designated hole, ensure it aligns with the connecting pin, and turn it clockwise with a manual screwdriver until you feel firm resistance. Do not over-rotate the cam lock, as this can break the cast metal housing or strip the wood surrounding the lock.
For modern, snap-together modular cubes or plastic connector systems, use your rubber mallet to gently tap the shelf panels into the corner connectors. Listen for a distinct, clean snapping sound that indicates the panel is fully locked into place. Work systematically from one side of the shelf to the other to ensure even pressure. As each tier is completed, use your measuring tape to measure diagonally from corner to corner of each compartment. If the diagonal measurements are identical, your compartments are perfectly square, ensuring the next level will align flawlessly.
As you build upward, avoid using high-torque power drills to tighten screws into materials like particleboard or medium-density fibreboard (MDF). High-torque settings can easily strip the pre-drilled holes, rendering the screws useless and compromising the joint’s strength. If you prefer using a cordless screwdriver to speed up the process, set the clutch to its lowest torque setting and perform the final tightening manually. This gives you better feel and control, preventing damage to the delicate fibers of engineered wood.
Securing the Shelf for Stability and Safety
Every modular display shelf has physical load limits that must be respected to maintain structural safety. Check the manufacturer’s manual or product labels to identify the maximum weight capacity per individual shelf, as well as the total weight limit for the entire unit. Exceeding these limits can cause shelves to sag, joints to pull apart, or the entire frame to buckle. Keep in mind that these limits assume the weight is distributed evenly across the surface rather than concentrated in a single spot.
To eliminate the risk of dangerous tip-over accidents, tall modular shelves must be anchored securely to the wall. Any shelving unit that is significantly taller than it is deep poses a tipping hazard, especially in homes with active children or pets who might attempt to climb the shelves. Use the anti-tip kits, wall brackets, or safety straps provided by the manufacturer. If none are included, purchase a high-quality, aftermarket anti-tip furniture strap designed for your specific wall type.
Before drilling any holes, consider your home’s construction and local guidelines. In Singapore, most internal walls in HDB flats and condominiums are constructed of solid concrete or precast panels. These walls require a hammer drill, masonry drill bits, and heavy-duty plastic wall plugs (rawlplugs) to create a secure anchor point. If you are mounting to a drywall partition, you must locate the vertical studs using a stud finder and screw the bracket directly into the stud, or use specialized hollow-wall anchors if mounting between studs is unavoidable.
Always check the manufacturer’s instructions for both the shelf and the anchoring hardware before drilling. If instructions conflict, if your wall material is unidentified, or if you are unsure of the load-bearing capacity of your walls, stop the installation and consult a qualified professional installer. Taking shortcuts with wall anchoring can lead to severe property damage or personal injury.
In addition to mechanical wall anchors, you can physically lower the unit’s center of gravity by distributing your items strategically. Place your heaviest possessions—such as large books, heavy ceramic pots, or storage boxes—on the absolute lowest shelves. Save the upper levels for lightweight decorative items, which naturally increases the physical stability of the structure.
Styling the Display Shelf for a Cohesive Look
Balancing Physical and Visual Weight
Styling a display shelf requires balancing physical stability with visual harmony. To keep the unit grounded, place visually heavy items on the lower shelves. Large, solid objects, dark-colored containers, and dense stacks of books create a strong visual foundation at the bottom, making the entire arrangement feel stable and intentional. As your eyes move up the shelf, the items should become progressively lighter, sparser, and more delicate.
Use the “rule of thirds” to guide your layout. Divide each shelf space visually into three equal sections and place your focal points accordingly. Vary the heights of your decor items to keep the eye moving across the display. For instance, pair a tall vase with a medium-sized frame and a small decorative bowl to create an appealing staggered silhouette.
Avoid the temptation to fill every square inch of space. Negative space—the empty areas around your objects—is crucial for a clean, sophisticated look. It gives the eyes a place to rest and allows your carefully curated decor pieces to stand out rather than getting lost in a chaotic clutter.
Arranging Decor, Books, and Functional Items
Break up monotony by mixing how you display books. Instead of lining them all up vertically, stack some horizontally to act as pedestals for smaller decorative objects. For vertical books, use sturdy bookends to prevent them from sliding and putting uneven pressure on the shelf sides.
Group decorative items in odd numbers, particularly in clusters of three. This arrangement feels naturally balanced to the human eye. Combine items with different textures and materials—such as pairing a smooth ceramic pot with a textured woven basket and a metallic sculpture—to add depth and visual richness.
Incorporate functional storage solutions like fabric boxes or woven seagrass baskets on lower shelves. These containers are perfect for tucking away loose items, cables, or paperwork, keeping your space tidy while maintaining a clean aesthetic.
Adding natural elements like trailing plants can soften the hard lines of modular shelving. However, ensure that no water drips onto wood, laminate, or MDF components during watering, as moisture can cause engineered wood to swell, warp, or peel. If you install small LED strip lights or puck lights to highlight your display, verify that they do not generate excess heat, and keep all cords neatly routed and secured to prevent snagging.
Maintaining and Reconfiguring Your Modular Shelf
Regular maintenance preserves both the appearance and the structural integrity of your modular shelf. Dust the surfaces weekly with a dry, soft microfiber cloth. Avoid using harsh chemical cleaners, abrasive pads, or excessive water, especially on engineered wood or laminated finishes. In Singapore’s humid climate, exposed seams or unsealed edges can absorb airborne moisture or cleaning liquids, leading to swelling, bubbling, and structural weakening.
Periodically inspect the structural connections of your shelf. Over time, daily use, vibrations, and changes in environmental humidity can cause joints to loosen slightly. Spend a few minutes every six months checking the tightness of cam locks, screws, and snap-fit connectors, tightening them gently if necessary.
When you want to change your layout, do not attempt to drag or lift a fully assembled modular shelf, as this can warp the frames and snap the joints. Always empty the shelf completely first. Disassemble the unit systematically from the top down to maintain a safe center of gravity throughout the process. Store all spare connectors, pins, and wall-anchoring hardware in a labeled container so they remain organized and ready for your next design configuration.
Frequently Asked Questions (FAQ)
Can I add more modules to my display shelf later?
Yes, provided the manufacturer’s system is designed for expansion. Before buying add-on modules, verify that the connectors are fully compatible and check if the original finish or color batch matches. Most importantly, ensure that the existing base structure and wall anchors can safely support the additional height, weight, and wind load if placed near windows.
How do I fix a wobbly modular shelf on an uneven floor?
To stabilize a shelf on an uneven floor, do not rely on makeshift cardboard wedges. Instead, use adjustable leveling feet if your unit has them, or insert high-quality plastic furniture shims or adhesive anti-slip felt pads under the low corners. Ensure the unit is completely level using a spirit level before loading it with items.
Is it safe to use a modular display shelf as a room divider?
Using a shelf as a room divider is safe only if the unit is specifically designed to be freestanding and has a finished back. It must have a wide, stable base to prevent tipping. For safety, freestanding room dividers should be securely anchored to the floor, the ceiling, or an adjacent wall, particularly in high-traffic areas.
Community discussion
Share your experience or ask a question. Comments are reviewed before publication.