
Assembling and reconfiguring a modular shelf rack requires a systematic approach of precise measurement, careful component organization, sequential frame construction, and strategic weight distribution. By understanding how to adjust the modular connectors and secure the unit safely, you can transform a standard flatpack into a customized storage solution that maximizes every square centimeter of your home. Whether you are organizing a utility room, setting up a home office, or maximizing pantry space, taking the time to plan your layout ensures a stable, functional, and long-lasting setup.
Measure and Plan Your Space Before Assembly
In compact living environments, such as apartments in Singapore, space is at a premium, making accurate planning essential. Begin by measuring the exact floor width, depth, and vertical clearance of your target area using a reliable tape measure. Do not rely on visual estimates, as even a few millimeters of discrepancy can prevent a rigid metal or wooden frame from fitting into a tight alcove.
Account for skirting boards along the base of the walls, which can push the bottom of the rack several centimeters away from the wall surface. Check the locations of power outlets, light switches, internet ports, and wall-mounted fixtures to ensure the fully assembled rack does not block access to essential utilities. Additionally, consider the swing path of nearby doors, wardrobe panels, or windows to prevent collisions once the rack is in place.
Products mentioned in this guide
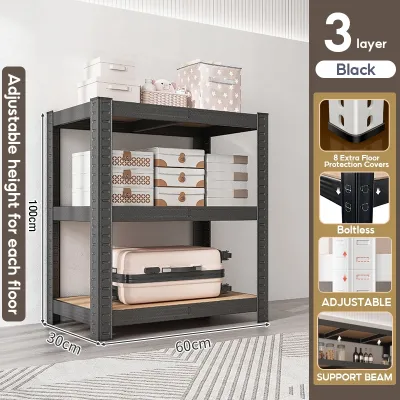
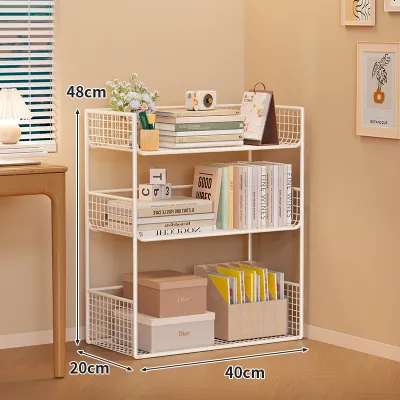
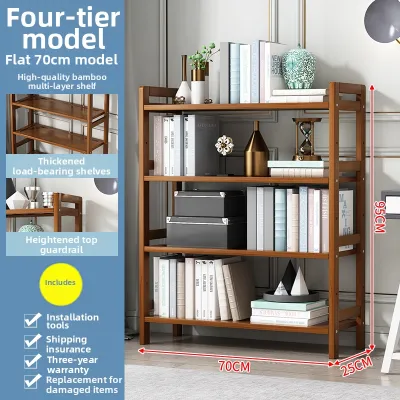
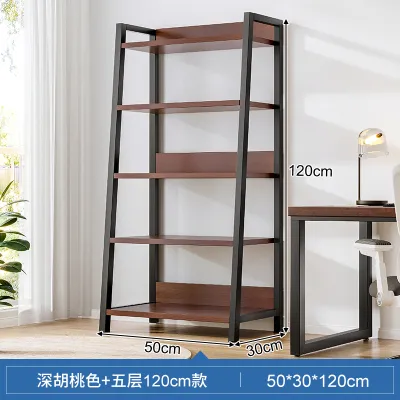
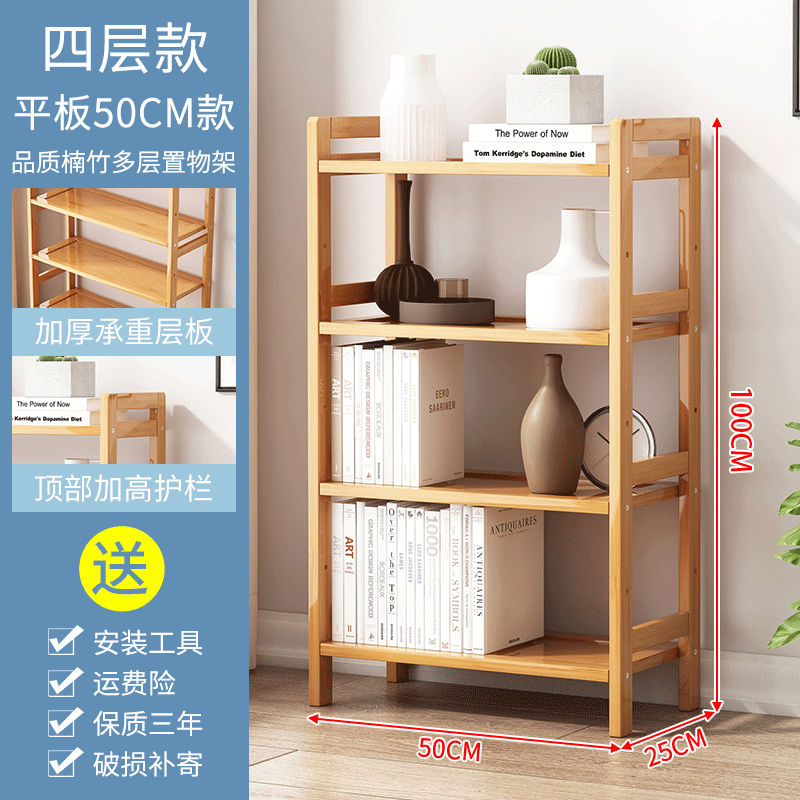
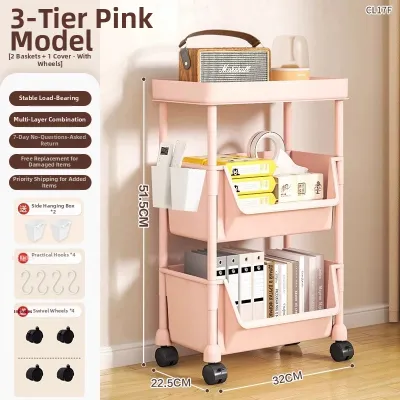
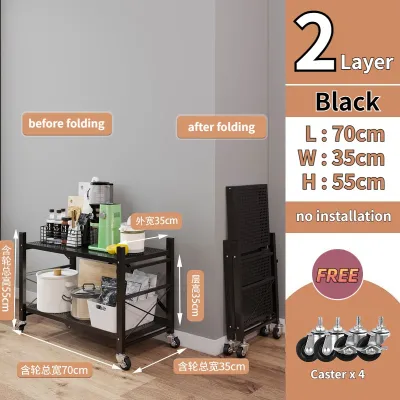
Prices are valid at publication and may change. Please refer to the product page for the latest price.
When planning the layout, list the items you intend to store and group them by height and weight. Heavy storage boxes, toolkits, or kitchen appliances must sit at the bottom of the rack to maintain a low center of gravity and prevent tipping. Lighter items, such as decorative pieces, books, or pantry goods, can occupy the upper tiers.
Review the manufacturer’s specified dimensions for the fully configured unit before starting. Ensure there is sufficient clearance for walkways, leaving at least 60 to 90 centimeters of open space in high-traffic corridors so household members can pass comfortably without bumping into the frame.
Organize Components and Prepare Your Workspace
Unboxing a modular shelf rack can be overwhelming if parts are scattered. Begin by clearing a spacious, flat area on your floor near the final installation site. Lay down a clean blanket, rug, or the flattened cardboard packaging to protect both your flooring and the rack’s finish from scratches during the assembly process.

Carefully unpack all components and group them by type, separating vertical uprights, horizontal beams, shelf panels, corner connectors, and hardware packets. Locate the manufacturer’s instruction manual and find the inventory checklist. Count every single screw, bolt, bracket, and shelf peg before you begin assembly to ensure nothing is missing.
If any parts are missing or damaged, pause the project and contact the retailer or manufacturer for replacements rather than attempting to substitute mismatched hardware from your toolbox. Using incorrect fasteners can compromise the structural integrity of the entire rack.
Gather the specific tools recommended in the manual. For many boltless or modular systems, a rubber mallet is the primary tool required to seat joints securely without denting the metal or plastic. If your system uses threaded fasteners, select a screwdriver or hex key that matches the screw heads. Avoid using power drills on high torque settings or improvised tools like metal hammers, as these can easily strip threads, bend brackets, or crack plastic connectors.
Build the Base and Main Frame Step-by-Step
The stability of your entire shelf rack depends on a solid, square foundation. Begin by assembling the bottom-most level of the frame. Attach the leveling feet or protective end caps to the bottom of the vertical uprights. If your floor is slightly uneven—a common occurrence in utility yards or tiled areas—adjustable leveling feet are crucial; adjust them now so the base sits flat.
Connect the lower horizontal support beams to the uprights according to the manufacturer’s diagram. Use a spirit level to check that the base is horizontal across both its width and depth. When joining the components, tighten the locking mechanisms, screws, or cam locks only partially at first. Keeping the connections slightly loose allows for minor adjustments as you build upward.
Once the first tier is assembled and verified as square, proceed to attach the vertical extensions or upright connectors. If you encounter resistance when fitting joints together, stop immediately. Forcing a misaligned tab or bolt can warp the metal or strip the connector, permanently weakening the structure. Instead, back out the component, check for obstructions or manufacturing debris, realign the pieces, and try again.
Once the entire main frame is erected and confirmed to be plumb and level, systematically tighten all fasteners from the bottom up. Double-check each joint to ensure it is fully seated and locked into place before adding the shelf panels.
Reconfigure Shelves and Modules for Custom Storage
One of the greatest advantages of a modular shelf rack is its ability to adapt to your changing storage needs over time. Most modern systems utilize adjustable slots, keyhole connectors, or peg systems along the uprights, allowing you to customize the height of each shelf tier. To accommodate tall, bulky, or irregularly shaped items like vacuum cleaners, suitcases, or large storage bins, measure the height of these items first and position the shelf supports accordingly.
If your modular system consists of individual cubes or stackable sections, you can arrange them in various configurations, such as an L-shape to fit into a tight corner, or a stepped pattern to sit beneath a sloped ceiling or staircase. When configuring your layout, always prioritize structural balance.
Refer to the manufacturer’s documentation to identify the maximum load capacity for individual shelves and the overall unit. Distribute the weight of your items evenly across the surface of each shelf rather than concentrating heavy loads in the center, which can cause the panels to sag or bow. Always place the heaviest items on the lowest shelves to keep the unit’s center of gravity as low as possible, reducing the risk of accidental tipping.
Verify Stability and Secure the Rack Safely
Once your modular shelf rack is fully assembled and configured, it is essential to perform a thorough safety and stability check. Gently shake the unit from side to side and front to back to identify any wobble or loose connections. It is common for joints to settle slightly after the initial assembly or once weight is first applied; use your tools to re-tighten any screws, bolts, or locking tabs that may have loosened during this settling phase.
If your rack is tall, narrow, or configured with a high center of gravity, wall anchoring is highly recommended—and often mandatory according to the manufacturer’s safety guidelines. Review the product manual for instructions on installing anti-tip kits or wall brackets.
The type of wall anchor you need depends entirely on your wall material. For solid concrete or brick walls, typical in many Singapore homes, you will need masonry plugs and a hammer drill. For drywall or plasterboard partitions, locate the wooden or metal studs behind the wall to secure the brackets, or use heavy-duty hollow-wall anchors. If you are uncertain about your wall type, the location of hidden utility pipes and electrical wires, or the correct anchoring hardware to use, stop the installation and consult a qualified handyman or professional installation service to ensure the rack is safely secured.
Frequently Asked Questions (FAQ)
Can I add more modules to my existing shelf rack later?
Yes, many modular shelf systems are designed to expand as your storage needs grow, but this requires careful verification of compatibility and structural limits. Before purchasing additional tiers, side units, or extension packs, consult the manufacturer’s official catalog to ensure the new components are fully compatible with your existing model’s locking mechanisms and dimensions. Never exceed the maximum recommended height or weight limits specified by the manufacturer, as stacking units too high can compromise structural integrity. Additionally, verify that your floor space can accommodate the expanded footprint and that your existing wall anchors are sufficient to secure the larger configuration. If you are extending the rack vertically, you must install additional wall brackets to prevent tipping.
How do I disassemble a modular rack without damaging the connectors?
Disassembling a modular rack for relocation or reconfiguration requires patience and the correct tools to avoid warping the components or breaking the connectors. Refer to the original instruction manual to understand how the locking mechanisms release. For boltless keyhole systems, use a rubber mallet to gently tap the support beams upward from underneath near the joints, which will disengage them from the upright slots without bending the metal. If your system uses plastic clips or cam locks, use a flathead screwdriver or the designated release tool to gently pry them open without applying excessive force. Once disassembled, sort and store all small hardware, screws, and connectors in labeled bags. Keep the metal or wooden panels flat in a dry, climate-controlled environment to prevent warping, rust, or moisture damage before you are ready to reassemble them.
Community discussion
Share your experience or ask a question. Comments are reviewed before publication.