
Assembling and customizing modular storage rack shelves independently is a highly practical way to optimize your home’s storage capacity. Whether you are organizing a tight utility closet, a household shelter, or a balcony, modular systems offer the flexibility to adapt to your changing storage needs. By taking a systematic approach to planning, preparing your workspace, and executing the assembly step-by-step, you can build a stable and highly functional shelving system without the added expense of professional installation. The key to a successful DIY build lies in understanding your specific space constraints, verifying component compatibility, and following structured safety checks during and after the assembly process.
Pre-Assembly Planning and Space Measurement
Before purchasing or unboxing your modular storage rack shelves, a thorough assessment of your physical space is essential to ensure a seamless fit. Start by measuring the exact floor footprint where the unit will stand, taking into account any baseboards, electrical outlets, or light switches that might restrict placement. It is equally important to measure the vertical clearance up to the ceiling, especially if you plan to maximize vertical space with a tall unit. Remember to account for the swing clearance of nearby doors, the pull-out distance of drawers, and the minimum walkway width required for comfortable movement around the room.
Once you have your physical dimensions, cross-reference them with the product specifications provided by the manufacturer. Pay close attention to the load capacity ratings detailed on the packaging or instruction manual, as exceeding these limits can compromise structural integrity. Different shelf designs—such as wire mesh, particle board, or heavy-duty steel—are engineered for specific weight thresholds and environmental conditions. For instance, high-humidity areas like utility rooms or semi-outdoor balconies require finishes that resist moisture, so verify that your chosen material is rated for its intended environment.
Products mentioned in this guide
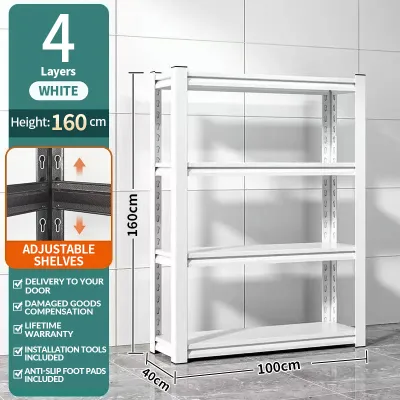
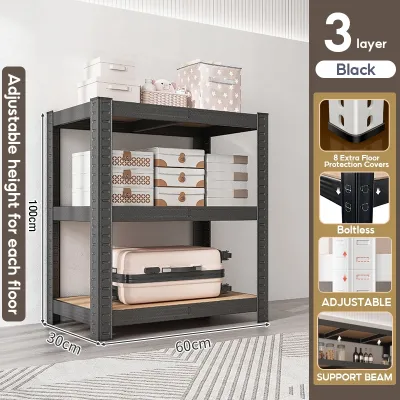
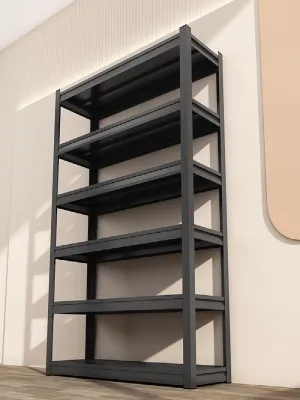
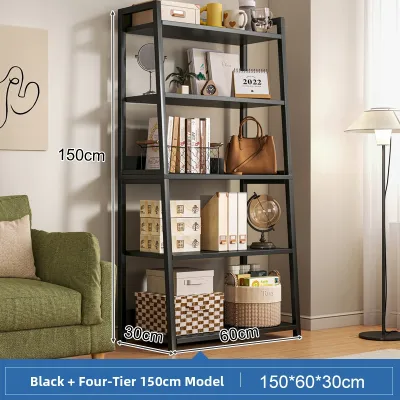
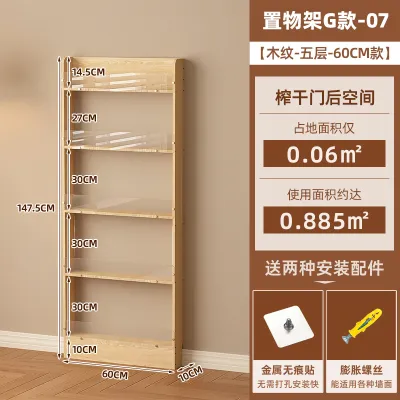
Prices are valid at publication and may change. Please refer to the product page for the latest price.
Before laying out any parts, clear a spacious work area and perform a complete inventory check. Unpack all components carefully and group similar items together, such as upright posts, shelf panels, plastic sleeves, and leveling feet. Compare the quantities of every screw, bracket, and connector against the parts list in the manual to ensure nothing is missing. Discovering a missing structural component halfway through assembly can halt your progress and leave you with an unstable, partially built frame.
Essential Tools and Safety Preparations
Having the correct tools on hand before you begin will make the assembly process smoother and prevent damage to the shelving components. While many modular kits claim to require no tools, keeping a few basic hand tools nearby is highly recommended. A rubber mallet is invaluable for gently tapping shelves into place without denting the metal or chipping the protective finish. A spirit level is crucial for verifying that each shelf is perfectly horizontal, while an adjustable wrench or pliers may be needed for tightening leveling feet or securing optional wall anchors.

Personal safety should always be a priority during any DIY furniture assembly project. Wearing a pair of fitted work gloves protects your hands from sharp metal edges, pinched fingers, and friction burns when sliding tight connectors into place. If your modular kit involves heavy steel frames or engineered wood panels, wearing closed-toe shoes is a sensible precaution against accidental drops.
To protect both your new shelving unit and your home’s flooring, prepare a clean, flat assembly surface. Laying down a large piece of clean cardboard, a drop cloth, or an old blanket prevents scratches on delicate floor surfaces like vinyl, hardwood, or polished tiles. This protective barrier also keeps small hardware pieces from rolling away or getting lost in carpet fibers. Ensure the workspace is well-lit and free of clutter so you can move around the unit safely as you build.
Step-by-Step Assembly Guide for Modular Shelves
Constructing your modular shelving unit requires a methodical, bottom-up approach to ensure structural stability. While different brands utilize proprietary locking mechanisms, the fundamental sequence of building the frame remains consistent across most modular designs. Always keep the manufacturer’s instruction manual open and nearby to verify the orientation of specialized connectors, clips, or brackets.
Building the Base and Vertical Frames
The foundation of your storage rack dictates the stability of the entire structure, making the base assembly the most critical phase. Begin by attaching the base plates, heavy-duty casters, or adjustable leveling feet to the bottom of the vertical upright posts. If your kit includes threaded leveling feet, screw them in completely, then back them out slightly to allow room for fine adjustments later. If you are installing casters for mobility, ensure the locking wheels are positioned at the front of the unit where they can be easily accessed.
Next, connect the horizontal base beams to the vertical posts to establish the lower frame. When assembling boltless or rivet-style racks, ensure the structural tabs are fully seated into the post slots before applying pressure. Use a rubber mallet to tap the joints firmly into place, listening for the solid sound of a fully engaged connection. For bolted systems, thread all fasteners loosely by hand first; this allows the frame to remain flexible while you make alignment adjustments.
Before tightening any hardware, check the squareness of the base frame by measuring diagonally from corner to corner in both directions. If the two diagonal measurements are equal, your frame is square and properly aligned. Use a spirit level to check that the vertical posts are perfectly upright and that the base is level on the floor. If the floor surface is uneven, adjust the individual leveling feet until the bubble in the spirit level sits squarely in the center indicator.
Installing and Adjusting the Shelf Layers
With a stable base established, you can begin installing the individual shelf layers at your desired heights. For wire shelving systems, this typically involves snapping plastic split sleeves or tapered clips onto the vertical posts at matching height grooves. Ensure that the arrows or indicators on the clips point upward and that all clips for a single shelf are aligned at the exact same height marker. If the clips are misaligned by even a single groove, the shelf will sit at an angle, causing uneven weight distribution and potential instability.
Once the support clips or brackets are securely positioned, lower the shelf panel down over the vertical posts until it rests firmly on the supports. Apply even downward pressure on all four corners of the shelf to seat it securely onto the tapered sleeves or brackets. You can use a rubber mallet to gently tap the corners of the shelf, ensuring there are no visible gaps or loose fittings between the shelf collar and the support clip.
When planning the vertical spacing between your shelves, consider the dimensions of the items you intend to store. Leave adequate clearance above each shelf so you can easily slide items in and out without scraping the shelf above. If you are storing tall plastic bins, heavy storage boxes, or specialized equipment, measure their heights beforehand and adjust the shelf positions accordingly. It is generally best to space the shelves evenly to maintain balanced structural tension throughout the entire height of the frame.
Customizing Your Storage Rack for Specific Needs
The primary advantage of modular storage rack shelves is their ability to be customized to suit your specific organizational requirements. To maximize both safety and utility, always place your heaviest, bulkiest items on the lowest shelves of the unit. This practice lowers the overall center of gravity of the storage rack, significantly reducing the risk of accidental tipping or structural sway. Lighter, less frequently used items should be reserved for the middle and upper shelves.
For smaller or loose items that might slip through wire grids or roll off flat surfaces, incorporate modular accessories to enhance organization. Plastic storage bins, fabric baskets, and adjustable shelf dividers help categorize items while keeping them securely in place. If your modular system supports them, side hooks, hanging bars, or utility baskets can be attached to the outer frame to utilize external space for hanging tools, cords, or cleaning supplies.
As your storage needs evolve over time, do not hesitate to reconfigure the layout of your modular rack. One of the greatest benefits of these systems is their adaptability; you can easily raise, lower, or remove shelf layers to accommodate new purchases or seasonal gear. If you find yourself storing taller items in the future, removing a single shelf layer can provide the necessary clearance without requiring you to purchase an entirely new storage unit. Always unload all items from the shelves before attempting to adjust or reconfigure any components.
Stability Checks and Ongoing Maintenance
Once assembly is complete and before you begin loading your items, perform a thorough stability check to ensure the unit is safe for daily use. Gently push the frame from side to side and front to back to check for any lateral sway, wobbling, or loose joints. If you notice any movement, recheck all connectors, tighten any loose bolts with a wrench, and ensure all shelf collars are fully seated on their support clips.
For tall, narrow, or top-heavy shelving units, installing a wall-anchoring kit is a critical safety requirement. Racks that exceed a certain height-to-depth ratio, or those placed in high-traffic areas, homes with pets, or active households, should always be secured to a wall. Follow the manufacturer’s instructions to attach anti-tip straps or L-brackets to the top frame of the rack, securing the other end directly into a wall stud or solid masonry using appropriate wall plugs.
Maintaining your modular storage rack involves periodic inspections and proper cleaning to prolong its lifespan. Every few months, inspect the frame for any signs of structural sagging, loose hardware, or surface wear. Wipe down the shelves regularly using a soft cloth and mild, non-abrasive cleaners recommended by the manufacturer. Avoid using harsh chemical solvents or abrasive scrubbing pads, which can damage protective powder coatings or chrome finishes and expose the underlying metal to rust and degradation.
Frequently Asked Questions (FAQ)
Can I add extra shelves to my modular rack later?
Yes, most modular systems allow you to add extra shelves, provided you do not exceed the manufacturer’s maximum overall load capacity for the entire unit. Before purchasing additional tiers, verify that the new shelf panels, clips, or brackets are fully compatible with your existing post design, diameter, and locking mechanism. Adding too many shelves can also alter the weight distribution, so ensure the unit remains balanced and stable after modification.
How do I prevent a tall storage rack from tipping over?
To prevent a tall storage rack from tipping, always distribute weight evenly and keep the heaviest items on the lowest shelves to maintain a low center of gravity. Additionally, install a compatible wall-anchoring kit or anti-tip straps, securing them firmly into wall studs or solid masonry as directed by the product manual. Avoid overloading the upper shelves, and never allow children or pets to climb or hang on the shelving unit.
Community discussion
Share your experience or ask a question. Comments are reviewed before publication.